Emerson Rosemount 2160 Quick Start Manual
Wireless vibrating fork level switch
Hide thumbs
Also See for Rosemount 2160:
- Reference manual (92 pages) ,
- Quick start manual (40 pages) ,
- Quick installation manual (21 pages)

Related Manuals for Emerson Rosemount 2160


Summary of Contents for Emerson Rosemount 2160
- Page 1 Quick Start Guide 00825-0100-4160, Rev BB June 2016 ™ Rosemount 2160 Wireless Vibrating Fork Level Switch...
- Page 2 June 2016 Quick Start Guide NOTICE This guide provides basic guidelines for the Rosemount 2160. It does not provide instructions for detailed configuration, diagnostics, maintenance, service, troubleshooting, or installations. Refer to the Rosemount 2160 Reference Manual for more instruction. The manual and this guide are also available electronically on EmersonProcess.com/Rosemount.
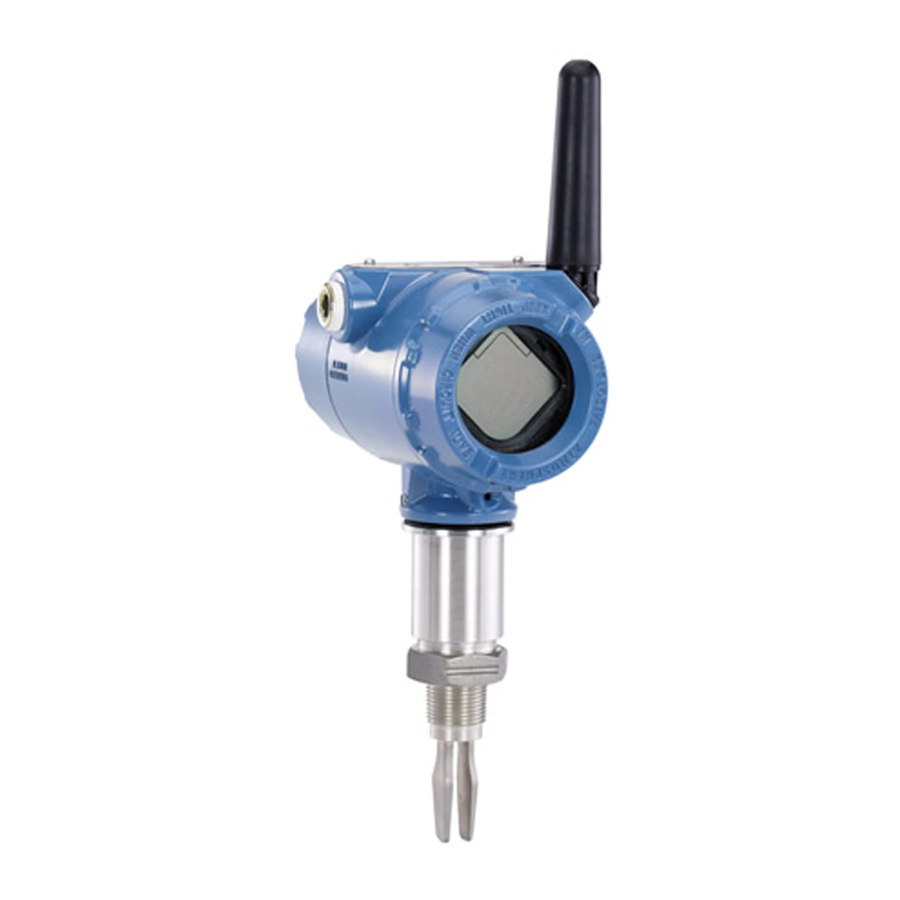
- Page 3 June 2016 1.0 Rosemount 2160 Overview The Rosemount 2160 Wireless Vibrating Fork Level Switch (“level switch”) uses vibrating short fork technology, and is suitable for virtually all liquid applications. The level switch is designed to use the principle of a tuning fork. A piezo-electric crystal oscillates the forks at their natural frequency (~1400 Hz).
-
Page 4: Before Installation
may exceed 37 lb. (18 kg). A risk assessment is required to be done before carrying, lifting, and installing the level switch. Handle the Rosemount 2160 with great care (Figure This level switch is designed for open or closed tank and pipe installation. -
Page 5: Installation Recommendations
Quick Start Guide June 2016 Mount the switch so that the battery side is accessible. Clearance of 2 in. (60 mm) is required for cover removal. On the circuit side of the electronics housing, provide 0.75 in. (19 mm) of clearance for units without an LCD display. -
Page 6: Power-Up Sequence
June 2016 Quick Start Guide Figure 5. Housing Rotation Set Screw on Rosemount 2160 Housing rotation set screw (use a -in. Allen key) 3.0 Wireless preparation 3.1 Power-up sequence The power module should not be installed on any wireless device until the Smart Wireless Gateway (“gateway”) is installed and functioning properly. - Page 7 Quick Start Guide June 2016 Figure 6. Example Installations Threaded installation Flanged installation Tri Clamp See the Rosemount 2120 Quick Release Kit Quick Start Guide installation installation instructions. A. PTFE for NPT and BSPT (R) thread B. Gasket for BSPP (G) thread C.
-
Page 8: Wireless Configuration
June 2016 Quick Start Guide Figure 7. Power Module Installation A. Cover B. Power module C. Rosemount 2160 5.0 Configuration Note The Power Module needs to be installed before the Field Communicator can interface with the Rosemount 2160. 5.1 Wireless configuration To communicate with the Smart Wireless Gateway (“gateway”), and ultimately... -
Page 9: Ams Wireless Configurator
8C914557 AMS Wireless Configurator Right-click on the Rosemount 2160 and select Configure. When the menu opens, select Join Device to Network and follow the method to enter the Network ID and Join Key. When a device joins a network, it appears in the Device Manager (Figure Figure 9. -
Page 10: Troubleshooting
3. Select 1: Locate Device and follow on-screen instructions to activate Squawk. 4. Look for the pattern 0-0-0-0 on the LCD of the located ‘squawking’ Rosemount 2160. 5. To de-activate Squawk, exit the feature. Note It can take up to 60 seconds for the Rosemount 2160 to return to normal operations. -
Page 11: Basic Setup
If you do not see Configure Update Rate, use Fast Key sequence 2, 2, 1, 3, 1, 5 and disable Advanced Broadcasting first. Operation mode The Rosemount 2160 has three operation modes: “Standard” – Default operation mode with no fault detection. ... -
Page 12: Sensor Output Delay
June 2016 Quick Start Guide Sensor output delay When the level switch detects a change in process conditions from wet-to-dry or dry-to-wet, the Sensor Output Delay parameter causes a delay of up to 3600 seconds before a new process condition is indicated in the process variables. How to change or view the sensor output delay 1. -
Page 13: Verify Operation
Device Status screens. Refer to the Rosemount 2160 w e t Reference Manual for error codes and other messages. 6.2 Field Communicator To communicate with a Field Communicator, power the Rosemount 2160 by connecting the power module and connect the Field Communicator (Figure 10). ®... -
Page 14: Product Certifications
All wireless devices require certification to ensure that they adhere to regulations regarding the use of the RF spectrum. Nearly every country requires this type of product certification. Emerson is working with governmental agencies around the world to supply fully compliant products and remove the risk of violating country directives or laws governing wireless device usage. -
Page 15: International Approvals
Non-incendive for Class I, Division 2, Groups A, B, C, and D Dust Ignition-proof for Class II/III, Division 1, Groups E, F, and G Ambient temperature limits: –50 to 70 °C ™ For use with Emerson process Management SmartPower option 701PBKKF Enclosure Type 4X / IP66 Specific condition of safe use 1. - Page 16 2160X**S***********I7******, and 2160X**E***********I7****** (“*” indicates options in construction, function and materials). 1. The Rosemount 2160 may be used in a hazardous area with flammable gases and vapors with apparatus groups IIC, IIB and IIA, and with temperature classes T1 to T5.
- Page 17 The Rosemount 2160 enclosure is made of aluminum alloy and given a protective epoxy coating; however, care should be taken to protect it from impact or abrasion if located in an area where Equipment Protection Level Ga is required (Zone 0 locations).
- Page 18 June 2016 Quick Start Guide Figure 11. EC Declaration of Conformity for Rosemount 2160 (Page 1)
- Page 19 Quick Start Guide June 2016 Figure 12. EC Declaration of Conformity for Rosemount 2160 (Page 2)
- Page 20 June 2016 Quick Start Guide Figure 13. EC Declaration of Conformity for Rosemount 2160 (Page 3)
- Page 21 Quick Start Guide June 2016 Rosemount 2160 China RoHS List of Rosemount 2160 Parts with China RoHS Concentration above MCVs / Hazardous Substances Hexavalent Polybrominated Polybrominated Part Name Lead Mercury Cadmium Chromium biphenyls diphenyl ethers (Pb) (Hg) (Cd) (Cr +6)
- Page 22 June 2016 Quick Start Guide...
- Page 23 Quick Start Guide June 2016...
- Page 24 Enquiries@AP.EmersonProcess.com Standard Terms and Conditions of Sale can be found at www.Emerson.com/en-us/pages/Terms-of-Use.aspx Middle East and Africa Regional Office The Emerson logo is a trademark and service mark of Emerson Emerson Process Management Electric Co. Emerson FZE P.O. Box 17033, Rosemount and Rosemount logotype are trademarks of Emerson Jebel Ali Free Zone - South 2 Process Management.
Need help?
Do you have a question about the Rosemount 2160 and is the answer not in the manual?
Questions and answers