
Related Manuals for Riva RC4100-1212-27


Summary of Contents for Riva RC4100-1212-27
-
Page 1: Quick Installation Guide
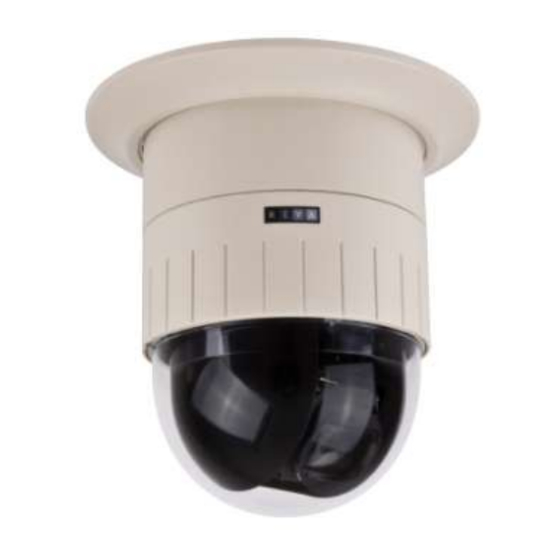
Quick Installation Guide This manual has been designed to guide you through basic settings of your IP devices, such as installation and configuration for using them. www.rivatech.de... - Page 2 Step1. Assemble and install IP camera Bubble Dip Switch Lock Screw Lock Holder DIP1 - Camera ID DIP 2 - RS485, PTZ protocol, Baud rate Ceiling Mount Bracket for indoor UNLOCK 1 2 3 4 5 6 1 2 3 4 5 6 Before installation, DIP switches should be set to configure the camera ID, communication protocol.
- Page 3 Ø 147.0 mm SAFETY WIRE SCREW(Ø4.0) COVER HOLE CELING BRACKET LOCK HOLDER1 MOUNTING HOLE SAFETY WIRE HOLE 1. Find the places which are strong enough to support the camera, about 2kg. 2. Make a hole, Ø 147mm, on the ceiling. 3.
- Page 4 LOCK HOLDER.1 10° LOCK HOLDER.2 COVER COVER HOLE 8. Fix the camera by driving a screw on lock holder1 and 2. 9. Install the cover by inserting cover lock and twisting clockwise. The camera may fall off the ceiling even after the proper installation and mounting.
- Page 5 Step2. Connect cables to IP device Connect each cable to the device. To see the correct positions of all connectors, refer to the following image below. IR SENSOR or DOOR SENSOR D/O 1 D/O 2 TERMINAL BLOCK (FEMALE) LINE OUT LAN CABLE 100 BaseT MIC/ LINE IN...
-
Page 6: Step3. Set Up Network Environment
Step3. Set up network environment The default IP address of your IP device is 192.168.XXX.XXX. You can find the available IP address from the MAC address of your device. Please make sure the device and your PC are on the same network segment before running the installation. If the network segment was different between your PC and the device, change your PC’s settings as below. -
Page 7: Step4. View Video On Web Page
Step4. View video on web page View the live video on a web page using your IP device and its IP address. To have the correct IP address ready and use it on a web page: 1. Convert a MAC address to an IP address. Refer to the Hexadecimal-Decimal Conversion Chart at the end of this manual. -
Page 8: Step5. Setting Ip Address
Step5. Setting IP Address To set up the Network configuration: 1. Click Setup on the upper right of the web page. The login page is displayed as below. 2. Enter the default user name (root) and the default password (pass), and then select OK. The default username and password are: root... - Page 9 Advanced setup (IPAdminTool) IPAdminTool is a utility program for IP products. Following list shows a part of features that IPAdminTool provides. Configure IP address, Subnet mask and Gateway Shows network related information such as MAC address Updates firmware ...
-
Page 10: Resetting To The Factory Default Settings
Resetting to the Factory Default Settings This will reset all parameters, including the IP address, to the Factory Default initialization. To perform the Factory Default settings: 1. Disconnect the power supply from the device. 2. Connect the power to the device with the Reset button pressed and held. 3. - Page 11 Hexadecimal-Decimal Conversion Table Refer to the following table when you convert the MAC address of your device to IP address. Hex Dec Hex Dec Hex Dec Hex Dec Hex Dec Hex Dec Hex Dec 00 0 25 37 4A 74 6F 111 94 148 B9 185...
Need help?
Do you have a question about the RC4100-1212-27 and is the answer not in the manual?
Questions and answers