Sign In
Upload
Download
Table of Contents
Contents
Add to my manuals
Delete from my manuals
Share
URL of this page:
HTML Link:
Bookmark this page
Add
Manual will be automatically added to "My Manuals"
Print this page
×
Bookmark added
×
Added to my manuals
Manuals
Brands
Pakedge Manuals
Wireless Router
RE-1
User manual
Pakedge RE-1 User Manual
High-speed gigabit av router
Hide thumbs
1
2
Table Of Contents
3
4
5
6
7
8
9
10
11
12
13
14
15
16
17
18
19
20
21
22
23
24
25
26
27
28
29
30
31
32
33
34
35
36
37
38
39
40
41
42
43
44
45
46
47
48
49
50
51
52
53
54
55
56
57
58
59
60
61
62
63
64
65
66
67
68
69
70
71
72
73
74
75
76
77
78
79
80
81
82
83
84
85
86
87
88
89
90
91
page
of
91
Go
/
91
Contents
Table of Contents
Bookmarks
Table of Contents
Table of Contents
Contents
Introduction
Customer Service and Technical Support
Installing
Getting to Know Your Product
Accessing the Router
Dashboard
Settings
Connecting to the Internet
Additional WAN Options
Port Forwarding
1:1 Nat
Real-Time Monitoring
Isolated Guest Network
Virtual DMZ
Changing the IP Address of the LAN Zone
VLAN Settings
Static Route
DHCP Reservation
Quality of Service
Dual Wan
Dynamic Dns/Pakedgeddns
Parental Controls
Snmp
File Sharing
Mapping Network Drives
Mac os X
Windows 7
Media Server
Upnp
Vpn
Pptp
Openvpn
Openvpn Client Setup
Windows
Os X
Ios
Android
Username/Password
Diagnostics
Remote Access
Time Zone
Configuration
Firmware
Reboot
Appendix A - Limited Warranty
Advertisement
Quick Links
1
Getting to Know Your Product
2
Accessing the Router
3
Connecting to the Internet
4
Username/Password
5
Reboot
Download this manual
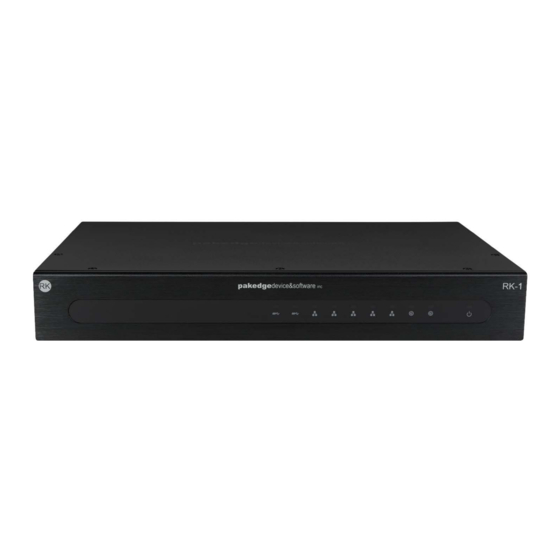
RE-1, RE-2, RK-1
High-Speed Gigabit AV Router
User Guide
Table of
Contents
Previous
Page
Next
Page
1
2
3
4
5
Advertisement
Table of Contents
Need help?
Do you have a question about the RE-1 and is the answer not in the manual?
Ask a question
Questions and answers
Related Manuals for Pakedge RE-1
Network Router Pakedge RK-1 Quick Start Manual
7-port gigabit router with bakpak (9 pages)
Wireless Router Pakedge RE-2 User Manual
High-speed gigabit av router (91 pages)
Wireless Router Pakedge WR-1 User Manual
With bakpak lite (76 pages)
Wireless Router Pakedge WR-1 Manual
(4 pages)
This manual is also suitable for:
Re-2
Rk-1
Table of Contents
Print
Rename the bookmark
Delete bookmark?
Delete from my manuals?
Login
Sign In
OR
Sign in with Facebook
Sign in with Google
Upload manual
Upload from disk
Upload from URL


Need help?
Do you have a question about the RE-1 and is the answer not in the manual?
Questions and answers