Table of Contents
Advertisement
Quick Links
Download this manual
See also:
Installation Manual
Advertisement
Table of Contents

Related Manuals for Riva RC3502HD-5211IR


Summary of Contents for Riva RC3502HD-5211IR
-
Page 1: Quick Installation Guide
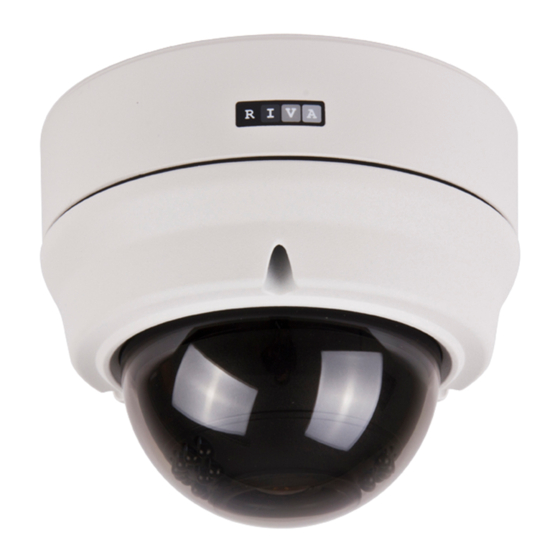
Quick Installation Guide This manual provides instructions for quick installation and basic configuration of your IP device. www.rivatech.de... - Page 2 Step1. Connect cables to IP device Connect required cables to the device including the power cable, LAN cable, and other optional cables. To see the correct positions of all connectors, refer to the following image below. www.rivatech.de...
- Page 3 *This button is located under PCB. PAL, NTSC button Pressing the button cycles through PAL, NTSC, and no No video video output mode: output -> PAL->NTSC .Video used only installation and works for 3 minutes when PAL/NTSC button is pushed. Reset Button *This button is located under PCB.
- Page 4 Step2. Install IP device 1) Place the installation template (paper) that included package on the desired installation surface. Drill three holes correct positions based on the template paper, and insert anchor blocks into the holes. 3) Place the waterproof silicon band on the bottom plate of the device and make it align with screw holes.
- Page 5 Step3. Set the lens position 1) Remove the dome cover. 2) Set the lens position by rotating the camera gimbal; to pan, rotate the reinforced lower body of the gimbal; to tilt, vertically adjust the camera gimbal. B. To pan, rotate the A.
-
Page 6: Step4. Set Up Network Environment
Step4. Set up network environment The default IP address of the device is 192.168.XXX.XXX. Users can identify the IP address of the device from converting the MAC address’s hexadecimal numbers, which is attached to the device. Be sure that the device and PC are on a same area network before running the installation. - Page 7 To modify the device’s default IP address for customized network area; 1. Find the device from the IPAdminTool’s list and highlight the device’s name. 2. Right-click the mouse and select “IP Address”; IP Setup window appears. Give new unique IP address in last two sets and mirror other PC environment Info information in other boxes...
- Page 8 4. Click ‘Setup’ to complete the modification. When the dialog box appears to request user name and password, enter the default value for the administrator account (case- sensitive) as below: root Password: pass Step5. View video on web page Once the device has the proper IP address, users can view the live streaming images through a web browser.
- Page 9 3. Follow the instructions of the dialog boxes and complete the installation. Once the installation is complete, start the web browser again and check if video stream is displayed in the main view frame. This software requires the Microsoft XML Parser V6 If “...
-
Page 10: Resetting To The Factory Default Settings
Rebooting Perform the following procedures to reset your device: 1. While the device is on, press the reset button for 1~2 seconds. 2. Wait for the system to reboot. Resetting to the Factory Default Settings When reset the device to the factory default setting, all parameters including the IP address will be initialized. -
Page 11: Hexadecimal-Decimal Conversion Table
Hexadecimal-Decimal Conversion Table Refer to the following table when you convert the MAC address of your device to IP address. www.rivatech.de... - Page 12 www.rivatech.de...
Need help?
Do you have a question about the RC3502HD-5211IR and is the answer not in the manual?
Questions and answers