Table of Contents
Advertisement
Quick Links
C
L
A
S
C
L
A
S
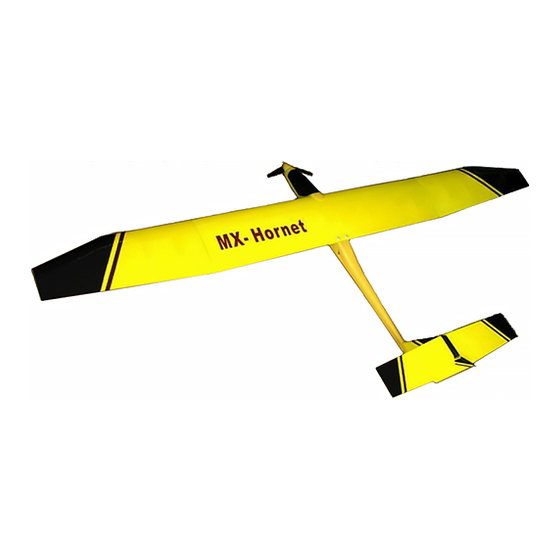
Congratulations on your purchase of this classic 3-channel radio-controlled
almost-ready-to fly electric-powered sports-aerobatic electric-powered glider!
This model includes rudder, elevator and throttle controls. With its smoothly
contoured spinner, folding propeller, rugged fuselage and built-up, Mylar covered removable 3-piece wing, it is
rugged enough for use as a trainer or to be enjoyed as an everyday flyer, and it is large enough to gracefully
deal with most of the effects of wind or turbulence.
We invite you to enjoy the pride of ownership and
the joy of flying this graceful ARF EP Glider.
Safety precautions and assembly tips ...
I.
II. Warranty, liability waiver & return policy
III. Specifications .................................
IV. Parts list ......................................
I. SAFETY PRECAUTIONS & ASSEMBLY TIPS
(IMPORTANT – PLEASE READ THIS SECTION BEFORE YOU BEGIN ASSEMBLY)
1. This product should not be considered a toy, but rather a sophisticated, working model aircraft that functions
much like a full-scale airplane. Because of its performance capabilities, this product, if not assembled and
operated correctly, could cause injury to you or spectators and damage to property. Maxford USA provides
you with a high-quality, thoroughly tested model airplane kit with assembly instructions. However, the quality
and capabilities of your finished model airplane depend on how you assemble it, and your safety depends on
how you use and fly it. Any testing or flying of this model airplane is done entirely at your own risk.
Copyright: Maxford USA 2014
H
O
H
O
S
I
C
3
-
C
H
A
S
I
C
3
-
C
H
A
R
N
E
T
R
N
E
T
N
N
E
L
A
R
F
N
N
E
L
A
R
F
Special Features .............................. 4
1
V.
Assembly Instructions ..................... 4
2
VI.
Setup And Adjustments ..................... 7
3
VII.
3
VIII. Storage, field setup & preflight checks
1
Page
of 8
R
C
G
L
I
D
E
R
R
C
G
L
I
D
E
R
7
Hornet/S140630
Advertisement
Table of Contents

Subscribe to Our Youtube Channel
Related Manuals for Maxford USA HORNET


Summary of Contents for Maxford USA HORNET
- Page 1 Because of its performance capabilities, this product, if not assembled and operated correctly, could cause injury to you or spectators and damage to property. Maxford USA provides you with a high-quality, thoroughly tested model airplane kit with assembly instructions. However, the quality and capabilities of your finished model airplane depend on how you assemble it, and your safety depends on how you use and fly it.
- Page 2 II. WARRANTY, LIABILITY WAIVER & RETURN POLICY Maxford USA guarantees this kit to be free from defects in material and workmanship at the time of purchase. All our products have been inspected in our factory and are checked again when shipped from our warehouse.
- Page 3 (the buyer or user of this product) are involved in any claim or suit, you will not sue Maxford USA or any of its representatives. If you do not fully accept the above liability and waiver, you may request a return-merchandise authorization number (RMA#) as explained below in item 2.
- Page 4 B. ITEMS YOU MUST SUPPLY TO COMPLETE THIS ARF: 3-channel or more radio. 2 standard servos (rudder and elevator). Electronic speed control (Maxford USA Uranus 60A or equivanent). 3S or 4S 1,800 mAh or greater Lipo battery. Lipo charger (and DC power supply) Outer rotor motor (Maxford USA Uranus 35425 or equivalent).
- Page 5 Shown without the supplied with your motor to install the motor in the nose as shown. metal motor mounting plate (NOTE: The X-mount supplied with a Maxford USA Uranus 35425 motor may not be necessary. Instead, we supply a motor mounting plate with holes predrilled at 25 mm on- center as shown at the right.
- Page 6 C. ASSEMBLING & MOUNTING THE WING: The HORNET features plug-in wing panels which are easily joined and attached to the fuselage for flying and may be quickly disassembled after flight for easy transportation and storage. 1. Join the three wing panels together by inserting the dihedral joiners (the 2 sets of straight steel rods) into the holes in the root tibs of each of the 3 panels, then slide all 3 panels snugly together.
- Page 7 Mylar. Never apply heat to any trim, insignia, marking or plastic part. 5. As with all radio-controlled models, this airplane must pass the radio-range ground check recommended by your radio’s manufacturer or you may not fly safely. Copyright: Maxford USA 2014 Page of 8...
- Page 8 6. Although the HORNET handles winds nicely in the hands of an experienced glider pilot, we suggest you choose a day with less than a 15 mph breeze for your flights. Congratulations on your new HORNET. May you enjoy many Happy Landings! Reminder …...
Need help?
Do you have a question about the HORNET and is the answer not in the manual?
Questions and answers