Table of Contents
Advertisement
Quick Links
Download this manual
See also:
Assembly & User Manual
Advertisement
Table of Contents

Summary of Contents for Sunny SF-RB1117
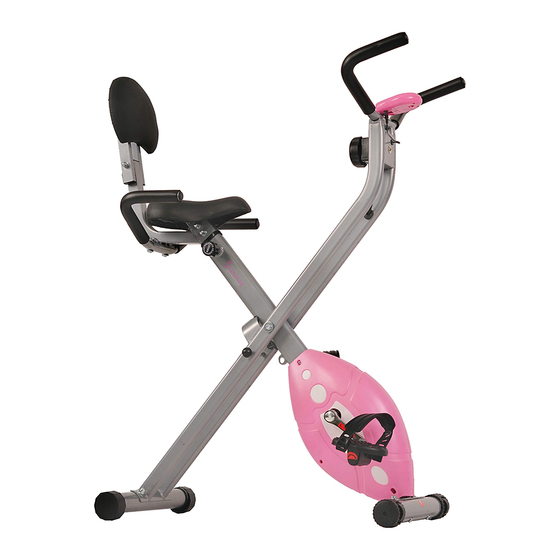
- Page 1 Folding Recumbent Bike SF-RB1117 Assembly & User Manual Please read this manual carefully before using this product. Retain owner’s manual for future reference. For Customer Service, please contact: support@sunnyhealthfitness.com...
-
Page 2: Important Safety Information
IMPORTANT SAFETY INFORMATION We thank you for choosing our product. To ensure your safety and health, please use this equipment correctly. It is important to read this entire manual before assembling and using the equipment. Safe and effective use can only be assured if the equipment is assembled, maintained, and used properly. -
Page 3: Exploded Drawing
EXPLODED DRAWING HARDWARE PACKAGE... -
Page 4: Parts List
PARTS LIST Part No. Description Main Frame Rear Frame Rear Stabilizer Adjustable End Caps Front Stabilizer Front End Caps Pedals (R & L) Cranks (R & L) Saddle Support Saddle Stem Insert Saddle Flat Washer (M8) Nylon Nut (M8) Handlebar Handlebar Foam Exercise Monitor Tension Control... -
Page 5: Assembly Instructions
ASSEMBLY INSTRUCTIONS STEP 1: Unfold the Main Frame (No. 1) and Rear Frame (No. 2). Secure the position using Locking Pin (No. 12). Connect the Rear Stabilizer (No. 3) to the Rear Frame (No. 2) with 2 Carriage Bolts (No. 13), 2 Curved Washers (No. 14), 2 Spring Washers (No. 15) and 2 Dome Nuts (No. - Page 6 ASSEMBLY INSTRUCTIONS STEP 3: Remove the 3 Flat Washers (No. 8a) and 3 Nylon Nuts (No. 8b) from the Saddle (No. 8). Fix the Saddle (No. 8) to the Saddle Support (No. 7) and reassemble the washers and nuts previously removed. Loosen the Adjustment Knob (No. 17) and slide the Saddle Support (No.
- Page 7 ASSEMBLY INSTRUCTIONS STEP 5: Connect the Backrest Stem Support (No. 21) to the Saddle Support (No. 7) with 2 Flat Washers (No. 8a), 2 Dome Nuts (No. 16), 2 Carriage Bolts (No. 24), and 2 Spring Washer (No. 15). STEP 6: Remove Flat Washers (No.
- Page 8 ASSEMBLY INSTRUCTIONS STEP 7: Connect the Handlebar (No. 22) to the Backrest Stem Support (No. 21) by fastening 2 Allen Bolts (No. 18) and 2 Curved Washers (No. 14). The assembly is now complete!
-
Page 9: Exercise Instructions
EXERCISE INSTRUCTIONS Beginning How to start your exercise will vary from person to person. If you have not exercised for a long period of time, have been inactive for a while, or are severely overweight, you must start slowly, and gradually increasing your exercise time by a few minutes each session. -
Page 10: Warm Up & Cool Down Exercises
WARM UP & COOL DOWN EXERCISES Head Roll Rotate your head to the right for one count to feel the stretch up the left side of your neck, then rotate your head back for one count. Rotate your head to the left for one count to feel the pull on the right side of your neck, then drop your head to your chest for one count. - Page 11 WARM UP & COOL DOWN EXERCISES Inner Thigh Stretch Sit with the soles of your feet together and your toes pointed outward. Pull your feet in as much as possible. Gently push your knees toward the floor with your elbows. Hold for 15 counts. Hamstring Stretch Extend your right leg.
-
Page 12: Adjustment Instructions
ADJUSTMENT INSTRUCTIONS RESISTANCE ADJUSTMENT To ensure smooth and efficient cycling motions, the belt tension braking system on your Folding Recumbent Bike has been pre-tensioned by our factory during production. To adjust the tension during use, turn the Tension Knob (No. 11) clockwise to increase the tension.


Need help?
Do you have a question about the SF-RB1117 and is the answer not in the manual?
Questions and answers