Table of Contents
Advertisement
Quick Links
Advertisement
Table of Contents

Related Manuals for Sunny SF-RW5508


Summary of Contents for Sunny SF-RW5508
- Page 1 ULTRA TENSION MAGNETIC PRO ROWER SF-RW5508 USER MANUAL IMPORTANT! Please retain owner’s manual for maintenance and adjustment instructions. Your satisfaction is very important to us, PLEASE DO NOT RETURN UNTIL YOU HAVE CONTACTED support@sunnyhealthfitness.com or 1- 877 - 90SUNNY (877-907-8669).
-
Page 2: Important Safety Information
IMPORTANT SAFETY INFORMATION We thank you for choosing our product. To ensure your safety and health, please use this equipment correctly. It is important to read this entire manual before assembling and using the equipment. Safe and effective use can only be achieved if the equipment is assembled, maintained and used properly. It is your responsibility to ensure that all users of the equipment are informed of all warnings and precautions. -
Page 3: Exploded Diagram
EXPLODED DIAGRAM HARDWARE PACKAGE... -
Page 4: Parts List
PARTS LIST Description Spec. Qty. Description Spec. Qty. Computer w/ wire 1a Main Frame & 1b Computer Case Foam Grip Φ30*3*220 Receiver w/link Wire End Cap Φ32*17 Screw ST4.2*16 Handlebar 5a/b Trunk Wire Refer to #122 6L/R End Cap L/R PT80*40*71.5 Tension Control Φ1.5*450*27... - Page 5 Description Spec. Qty. Description Spec. Qty. Aluminum Rail 100*50*1170 M10*H9.5*S17 Axle Φ10.9*80 Bolt M8*100*12*S14 Locating Mount Φ11.4*Φ27*26 Pull Pin Φ8*115*120 Washer Φ17*Φ6*1.5 Allen Wrench Aluminum Rail Allen Wrench Support Frame Rubber Board 157*66*6 Spanner S17-19 Screw M5*16*Φ8.5 Spanner S13-14-15 Back Stand 157*93*228 C Clip Fixing Axle for...
- Page 6 ASSEMBLY INSTRUCTIONS STEP 1: Attach Front Stabilizer (No. 9) to Main Frame (No. 37) using 2 Bolts (No. 7) and 2 Washers (No. 8). Tighten and secure with Allen Wrench (No. 103). STEP 2: Unscrew and remove Bolt (No. 71) and Axel (No. 74), then remove Washer (No.
- Page 7 STEP 3: Figure 1 101# 8*115*120 1PCS NOTE: To avoid damage to the wires, please ensure that you keep the wires beneath Main Frame (No. 37) and Aluminum Frame (No. 73), away from the connection point of the two sections, (see Figure 2).
-
Page 8: Exercise Computer
EXERCISE COMPUTER BUTTON FUNCTION MODE: Press to enter setting value. Press to select main display function. Press and hold for 3 seconds to reset all function values. SET: Press to set desired function values. Press and hold to set function values quicker. RESET: Press to reset function value. -
Page 9: Operation
NOTE: 1. After being inactive for 4 minutes the power to the monitor will turn off automatically. 2. This monitor uses 2 AA batteries. If the display appears improper or becomes difficult to read, please try installing new batteries before attempting to contact. 3. - Page 10 START ROWING UNDER SCAN MODE: Scan sign appears (shown in the top left corner of the monitor picture below). Automatically cycles through functions in a pre-set order displaying each function for 6 seconds (then repeats). Function value counts down from target value (when target value has been preset). Function value counts up from 0 if no target is preset.
-
Page 11: Adjustment Guide
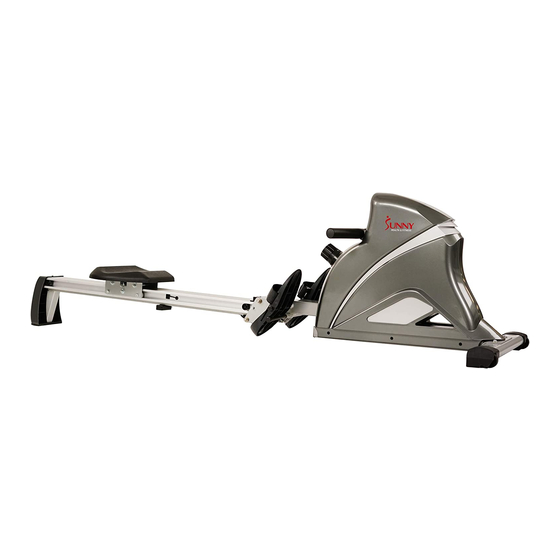
ADJUSTMENT GUIDE PEDAL ADJUSTMENT The pedal strap is adjustable and can be personalized to fit the user’s foot size. MOVING THE MACHINE To move the machine, lift up Aluminum Rail (No. 73) until the transportation wheels on End Caps (No. 6L/R) touch the ground.
Need help?
Do you have a question about the SF-RW5508 and is the answer not in the manual?
Questions and answers