
Related Manuals for PureLink Pure Stream VIP-200


Summary of Contents for PureLink Pure Stream VIP-200
-
Page 1: Quick Start Guide
VIP-200 Video over IP Extender and Matrix System Point to Point Extension Configuration Quick Start Guide PureLink 535 East Crescent Avenue Ramsey, NJ 07446... -
Page 2: Table Of Contents
PureLink VIP-200 User Manual V1.0 Contents What is in the box ............................3 Transmitter kit Receiver kit ......................... 3 Overview ................................. 4 Auto IP Addressing ............................4 Manual IP Addressing ..........................4 DHCP Addressing ............................4 One Transmitter to One Receiver Setup (point to point extension) ............... 5 KVM Operation ............................... -
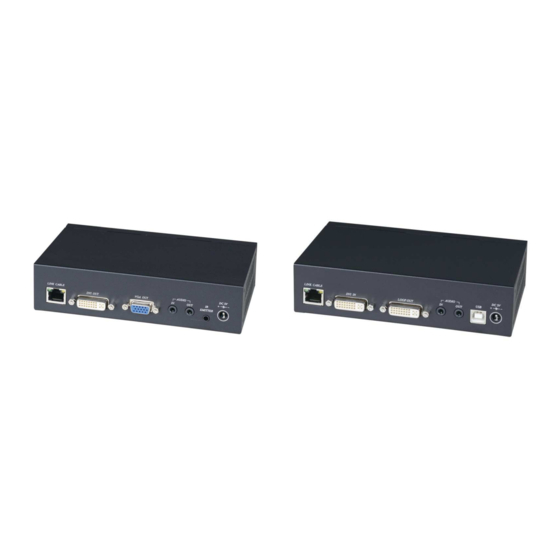
Page 3: What Is In The Box
PureLink VIP-200 User Manual V1.0 What is in the box Transmitter kit Receiver kit 1x VIP200H/D/V-TX 1x VIP200H/DV-RX 1x Power Adapter 1x Power Adapter 1x Infrared Receiver 1x Infrared Emitter Remote Control... -
Page 4: Overview
PureLink VIP-200 User Manual V1.0 Overview The VIP200 series allows point to point, point to many, many to point, and many to many configurations. The VIP200 series is set to work out of the box as a point to point system, no configuration is necessary, simply plug them together using CAT5e or better cable. -
Page 5: One Transmitter To One Receiver Setup (Point To Point Extension)
PureLink VIP-200 User Manual V1.0 One Transmitter to One Receiver Setup (point to point extension) Point to Point direct connection via CAT5e or better cable (Auto IP mode recommended) The Transmitter and Receiver ship in Auto IP mode, which allows them to discover each other with no configuration required. -
Page 6: Remote Control
PureLink VIP-200 User Manual V1.0 Remote Control Initial setup of remote control NOTE: In point to point configuration, many of the remote functions are not valuable/applicable, as they are meant for managing multiple transmitters or receivers. A remote being used for the first time, or after battery replacement, needs to be assigned an ID The universal ID that will control all receivers is 8. -
Page 7: Mute/Unmute Image
PureLink VIP-200 User Manual V1.0 • Disable Channel Buttons on Receiver o “Menu”,”27”,”Enter” • Display Selected Channel o “Enter” • Set to Factory Default o “Menu”,”333”,”Enter” • Receiver reboot o “Menu”,”999”,”Enter” It is typical in a point to point system that the transmitter is set on channel 0. The receiver must match in order to receive the signal. -
Page 8: Troubleshooting - Point To Point
PureLink VIP-200 User Manual V1.0 Troubleshooting – Point to Point Receiver can’t find Transmitter • Receiver is not set to correct channel for transmitter • Receiver or Transmitter are not connected via CAT cable or via network switch • Power to transmitter is off •... -
Page 9: Specifications
PureLink VIP-200 User Manual V1.0 Specifications Subject to change without notice... -
Page 10: Network Switch Requirements
PureLink VIP-200 User Manual V1.0 Network Switch Requirements While a Point to Point normally is configured with the transmitter and receiver directly connected to each other by CAT cable, it is possible to have point to point over a network switch. The requirements for a network switch are: •...
Need help?
Do you have a question about the Pure Stream VIP-200 and is the answer not in the manual?
Questions and answers