Sign In
Upload
Download
Table of Contents
Contents
Add to my manuals
Delete from my manuals
Share
URL of this page:
HTML Link:
Bookmark this page
Add
Manual will be automatically added to "My Manuals"
Print this page
×
Bookmark added
×
Added to my manuals
Manuals
Brands
Perfect Aire Manuals
Air Conditioner
NP8000
User manual
Perfect Aire NP8000 User Manual
Hide thumbs
1
Table Of Contents
2
3
4
5
6
7
8
9
10
11
12
13
14
15
16
page
of
16
Go
/
16
Contents
Table of Contents
Bookmarks
Advertisement
Table of Contents
1
Table of Contents
2
Safety Precautions
3
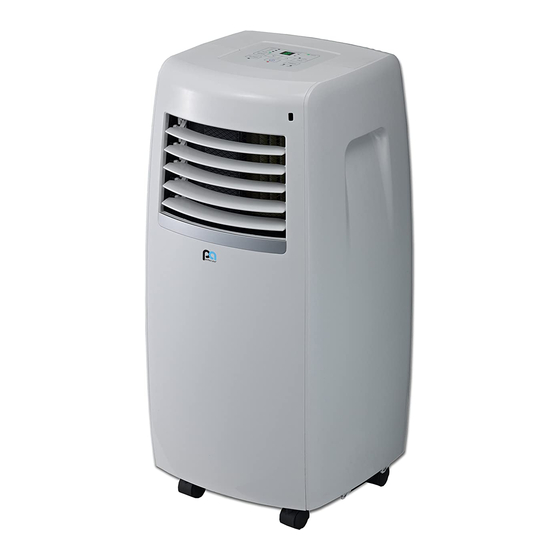
Identification of Parts
4
Names of Parts
5
Air Conditioner Features
6
Operating Instructions
7
Installation Instructions
8
Water Drainage
9
Care and Maintenance
10
Troubleshooting Tips
Download this manual
Table of
Contents
Previous
Page
Next
Page
1
2
3
4
5
Advertisement
Table of Contents
Need help?
Do you have a question about the NP8000 and is the answer not in the manual?
Ask a question
Questions and answers
Related Manuals for Perfect Aire NP8000
Air Conditioner Perfect Aire NP12000 User Manual
(16 pages)
Air Conditioner Perfect Aire NPH12000 User Manual
(16 pages)
Air Conditioner Perfect Aire NP10000 User Manual
(16 pages)
Air Conditioner Perfect Aire 2PACH8000 User Manual
Perfect aire 8,000, 11,000 & 12,000 btu window air conditioner (18 pages)
Air Conditioner Perfect Aire 1PAMSH09-SZW-14.5 User Manual
Perfect aire 1pamsh09-szw-14.5; 1pamsh18-szw-15; 1pamsh12-szw-15; 1pamsh22-szw-15; 1pamsh09-szo-14.5; 1pamsh18-szo-15; 1pamsh12-szo-15; 1pamsh22-szo-15 split type air conditioners (16 pages)
Air Conditioner Perfect Aire PATWH10002 User Manual
10.000, 12.000, 14.000 btu thru-the-wall air conditioner (26 pages)
Air Conditioner Perfect Aire 2PAC6000 User Manual
Window air conditioner (6,000, 8,000, 10,000 & 12,000 btu) (17 pages)
Air Conditioner Perfect Aire 12.000 BTU Manual
12.000 btu thru-the-wall air conditioner with 10.600 btu electric heater (27 pages)
Air Conditioner Perfect Aire PAHP18002 User Manual
Window air conditioner with 16,000 btu heat pump / 16,000 btu electric heater / 16,000 btu electric heater (18 pages)
Air Conditioner Perfect Aire 1PAMSHQCW12-15 User Manual
12,000 btu / 15 seer quick connect ductless mini-split with 11,500 btu heat pump (12 pages)
Air Conditioner Perfect Aire 1PAMSHQCW12-15 Installation Manual
Ductless mini-split with 11,500 btu heat pump; 12,000 btu / 15 seer quick connect (16 pages)
Air Conditioner Perfect Aire 1PAMSH30-SZW-16 User Manual
Inverter single zone split-type air conditioner (16 pages)
Air Conditioner Perfect Aire PORT8000 User Manual
(20 pages)
Air Conditioner Perfect Aire 1PEC12000 User Manual
(20 pages)
Air Conditioner Perfect Aire 1PAMSHH09-25 User Manual
Ductless mini-split system hyper heat / high efficiency (20 pages)
Air Conditioner Perfect Aire 8000PPAC User Manual
(15 pages)
This manual is also suitable for:
Np10000
Table of Contents
Save PDF
Print
Rename the bookmark
Delete bookmark?
Delete from my manuals?
Login
Sign In
OR
Sign in with Facebook
Sign in with Google
Upload manual
Upload from disk
Upload from URL


Need help?
Do you have a question about the NP8000 and is the answer not in the manual?
Questions and answers