
Related Manuals for Perfect Aire PORT8000


Summary of Contents for Perfect Aire PORT8000
- Page 1 PORTABLE AIR CONDITIONER USER MANUAL FOR MODELS: PORT8000 PORT10000 PORT12000 PORT14000 Before using your air conditioner, please read this manual carefully and keep it for future reference, along with your receipt.
- Page 2 CONSUMER PRODUCT INFORMATION For your own records, please attach a copy of your sales receipt to this manual and complete the following: Model Number: _____________________________________ Serial Number: _______________________________________ Purchase Date: ____________________________________ Store Purchased: _____________________________________ Installation Date: ___________________________________ Installation Co.: _______________________________________ Installer Name: _____________________________________ Installer Phone No.: ___________________________________...
-
Page 3: Table Of Contents
CONTENTS SAFETY PRECAUTIONS ..............1 IDENTIFICATION OF PARTS ............3 INSTALLATION INSTRUCTIONS .............5 CARE AND MAINTENANCE ............10 AIR CONDITIONER FEATURES ............11 OPERATING INSTRUCTIONS ............12 TROUBLESHOOTING ...............14 This manual provides the information needed for proper use and maintenance of this air conditioner. Basic preventative care can help extend the life of this unit. -
Page 4: Safety Precautions
SAFETY PRECAUTIONS READ SAFETY PRECAUTIONS BEFORE INSTALLATION To prevent injury to the user or other people and property damage, the following instructions must be followed. Incorrect operation due to ignoring of instructions may cause harm or damage. NEVER DO THIS. ALWAYS DO THIS. - Page 5 SAFETY PRECAUTIONS Please read through these instructions before you start the installation process. Improper installation can cause damage to the unit, your personal property, and also poses a personal safety hazard. • Installation must be performed according to the installation instructions. Improper installation can cause water leakage, electrical shock, or fire.
-
Page 6: Identification Of Parts
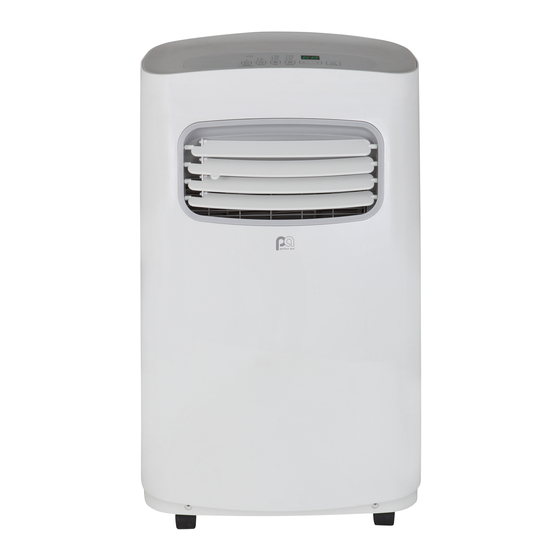
IDENTIFICATION OF PARTS ACCESSORIES Check that all the accessories are included in the package (Fig. 1) and refer to the installation instructions for their usage. Your Window Installation Kit fits windows 26.5 – 48 inches (67.5 – 123 cm) and can be shortened for smaller windows. TOOLS NEEDED: •... - Page 7 PARTS DIAGRAM FRONT 1. Control Panel 2. Horizontal Louver Blades (adjust manually) 3. Casters (4x) 4. Carrying Handle (both sides) FIG. 2 REAR 5. Upper Air Intake/Filter 6. Air Outlet 7. Power Plug Socket (used only when storing the unit) 8.
-
Page 8: Installation Instructions
INSTALLATION INSTRUCTIONS LOCATION FIG. 5 • The air conditioner should be placed on a firm surface to minimize noise and vibration. For safe and secure positioning, place the unit on a smooth, level floor strong enough to support the unit. •... - Page 9 STEP 1: FIG. 9 PREPARING THE EXHAUST HOSE Exhaust Hose Exhaust Hose Assembly ASSEMBLY Fig. 9 Press the exhaust hose into the window slider adapter and unit adapter; it will snap automatically to the adapters. STEP 2: Unit Adapter Window Slider Adapter INSTALL THE EXHAUST HOSE ASSEMBLY TO THE UNIT...
- Page 10 TYPE 1: STEP 4 Fig. 16. HUNG WINDOW INSTALLATION If desired, install the security bracket with 2 screws as shown. STEP 1 Fig. 13. Security Bracket Cut the adhesive foam seal A and B strips to the proper lengths, and attach them to the window sash and frame as shown.
- Page 11 TYPE 2: STEP 4 Fig. 21. SLIDING WINDOW If desired, install the security bracket with 2 screws as shown. INSTALLATION STEP 1 Security Fig. 18. Bracket Cut the adhesive foam seal A and B strips to the proper lengths, and attach them to the window sash and frame as shown.
- Page 12 WATER DRAINAGE Threaded Adapter (for garden hose draining option) During dehumidifying mode, remove the upper drain plug from the back of the unit and attach 3/4” vinyl tube included with the unit (5/8” outer diameter). If a longer hose is needed, a vinyl Continuous tube (3/4”...
-
Page 13: Care And Maintenance
CARE AND MAINTENANCE CAUTION Clean air conditioner occasionally to keep it looking and operating like new. Be sure to unplug the unit before cleaning to prevent shock or fire hazards. IMPORTANT Upper Filter 1. Be sure to unplug the unit before cleaning or servicing. (take out) 2. -
Page 14: Air Conditioner Features
AIR CONDITIONER FEATURES Thoroughly familiarize yourself with the control panel shown below and all of its functions. Afterwards, follow the symbol for the functions you desire. This unit can be controlled by the unit control or the remote control. NOTE: This manual does not include Remote Control Operations; see the Remote Control Instructions packed with the unit for details. -
Page 15: Operating Instructions
OPERATING INSTRUCTIONS COOL operation TIMER operation IF SETTING THE TIMER WHEN THE UNIT IS ON: • Press the “MODE” button until the “COOL” indicator light comes on. First press the TIMER button; the TIMER OFF • Press the ADJUST buttons “<” or “>” to select indicator light illuminates. - Page 16 Carefully tilt unit back slightly to assist the water in draining. If error does not clear after emptying, call Consumer Services. PERFECT AIRE CONSUMER SERVICES TOLL FREE NUMBER: 1.844.472.2473...
-
Page 17: Troubleshooting
TROUBLESHOOTING BEFORE CALLING FOR SERVICE, PLEASE REVIEW THE CHART BELOW ISSUE POSSIBLE CAUSES • Be sure unit is not too large or too small for the area of the room. • Verify that all doors, windows, curtains and any other openings are closed. Verify nothing is obstructing the front grille of unit, such as curtains, etc. - Page 20 Distributed by: Perfect Aire, LLC 5401 Dansher Rd. Countryside, IL 60525 844-4PA-AIRE | 844-472-2473 www.perfectaire.us PA/User_PORTs/11212017 Specification and performance data is subject to change without notice. Printed in China...
Need help?
Do you have a question about the PORT8000 and is the answer not in the manual?
Questions and answers