Advertisement
ENGLISH
Quick Start Guide
Unpacking
①Upon receiving your printer,
remove the packaging materials,
plastic bag, orange tapes, and the
accessory tray from under the lid.
Then, remove the protective foam
from under the platform according
to the procedure below:
②To remove the protective foam,
connect the printer to a power source
and turn on the printer. Initialization
will take approximately 10 min to
complete.
③Select "UTILITIES" > "MOVE
PLATFORM">"TO TOP">"YES"
to raise the platform.
④Remove the protective foam.
*Keep original packaging material in
the event of sending your unit back
for repair
(US) XYZprinting, Inc.
(EU) XYZprinting Netherlands B.V.
Welcome to your Nobel 1.0. Please read this guide carefully for tips on unpacking,
setting up, printing, and post processing to ensure an excellent 3D printing experi-
ence!
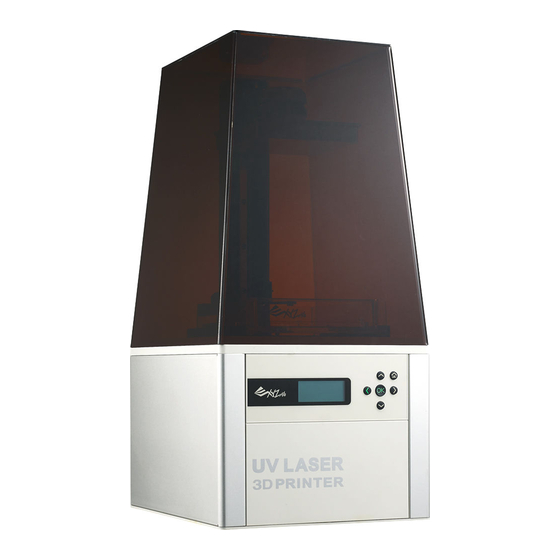
Product Overview & Accessories
Nobel 1.0 is shipped with the following parts and accessories. After unpacking,
please inspect the interior and exterior of the printer and accessories for damage.
Please contact support for any missing or defective parts and accessories.
Quick Start Guide
Warranty
Card
Power Adapter
Power Cable
Setting Up
Install and prepare the following parts before printing:
①Install the resin tank by pushing
the tank all the way into its slot.
②Calibrate the platform by selecting
"UTILITIES" > " HORIZON CALIB" and
follow the instructions on the screen.
After removing prints from the
platform, loosen 4 small screws over
the platform. When the platform has
descended, press down on the
platform with your hands 3 times.
Then, after 5 seconds tighten the four
screws with your fingers. (sequence:
F1->F2->B1-B2). Finally tighten the
screws with a coin or other tools
(sequence: F1->B1->F2->B2).
Email Support: infous@xyzprinting.com
Email Support: infoeu@xyzprinting.com
Platform
Lid
Filling Tubes
Cartridge Slot
Tank Slot
Operation Panel
Starter Resin
USB Wire
Nozzle cap
Inner Tube
USB Flash Drive
③Shake the resin cartridge for about
10 seconds.
B2
B1
F2
F1
④Assemble the nozzle cap and the
inner tube, and replace the bottle
cap with the assembled nozzle cap.
Install the filling tubes by first connecting
⑤
the black tube to the thick nozzle. Then attach
the transparent tube to the thin nozzle and
push the tube all the way down. After
installing the filling tubes, cover the lid.
Website: http://us.xyzprinting.com
Website http://eu.xyzprinting.com
(Back View)
Power
Switch
USB Drive Port
Power Jack
USB Wire Port
Resin Tank
Rinse Basket
Gloves
Scraper
-1-
Advertisement
Table of Contents

Related Manuals for XYZ Printing Nobel 1.0


Summary of Contents for XYZ Printing Nobel 1.0
- Page 1 ENGLISH Welcome to your Nobel 1.0. Please read this guide carefully for tips on unpacking, Quick Start Guide setting up, printing, and post processing to ensure an excellent 3D printing experi- ence! Unpacking Product Overview & Accessories Nobel 1.0 is shipped with the following parts and accessories. After unpacking, please inspect the interior and exterior of the printer and accessories for damage.
- Page 2 Removal and Cleaning http://support.xyzprinting.com/global_en/ Printing Support/document For tutorial videos, please go to: Nobel 1.0 is both a PC compatible When removing prints from the printer, http://support.xyzprinting.com/global_en/ perform the following post-processing and a standalone 3D printer. You can Support/tutorial...
Need help?
Do you have a question about the Nobel 1.0 and is the answer not in the manual?
Questions and answers