Advertisement
Advertisement

Related Manuals for Robam CXW-200-A861


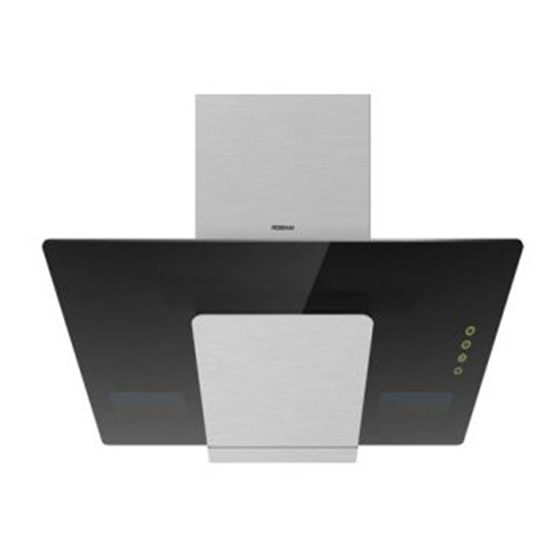
Summary of Contents for Robam CXW-200-A861
- Page 1 Operation Manual A861 CXW-200- Range Hood...
-
Page 2: Table Of Contents
CONTENTS 1.Important Information......1 2.Product Overview.......1 3.Installation..........2 4.Use Instruction........5 5.Maintenance and Services....6 6.Circuit Diagram........9 7.General Troubleshooting....10... -
Page 3: Important Information
If range hood has obvious damage, please don’t electrify and contact operator. Children and disability are not allowed to use range hood independently in order to avoid accident. Product Overview Technical Datas ≤57dB CXW-200-A861 Noise Model 200W a. c 220-240V 50Hz... -
Page 4: Installation
Non-Disassembly and Wash F Size & Dimension Picture 2 CXW-200-8312 Note:The lenghth is only for reference,in the brackets of the size is high of draw tube .(size:mm) Installation Warning 1.The range hood is prohibited from exhausting fume into hot flue ,which is used for exhausting gas fuel or other fuel fume. - Page 5 Non-Disassembly and W Free Installation Precautions Picture 3 Picture 4 Warning:Don't allow to contact fire with range hood Don't install the range hood too high and directly. Forbid gas stove from getting fire to prevent keep it free from external airflow to prevent damage of range hood or happening of accident.
- Page 6 Non-Disassembly and Wash F Installation: 1、Location: The dimension of mounting of removable baffle is decided according to actual situations. The range hood shall be centered vertically and kept horizontally. ( picture 10-2).Note:this only applies to the installation of electric induction cooker,if installed the gas hob,the installation height should according to the gas hob installation requirements.
-
Page 7: Use Instruction
Non-Disassembly and W Free 6.Installation of aluminum foil's air duct:Firstly,insert the aluminum foil's air duct with fixed bar between the inner and external rings of check valve vent, fasten it by ST3x10 tapping screw. Then fasten another side of aluminum foil's air duct with adhesive tap outside of room.When the wall's hole is bigger than air duct, the air duct can be pulled out of room directly;when the wall's pipe is smaller than air duct, there are four specifications for the interface of air duct,such as 140mm,150mm,160mm and 170mm.The operator can select reasonable specification according to wall's hole. -
Page 8: Maintenance And Services
Non-Disassembly and Wash F Picture 17 Af ter ensur ing power is on , if onl y the light is on, light ly pr ess power key to tur n off the light . If the mot or is wor ki ng when the power is on , pr ess “power ” swi tch by finger , its lam p twinkl es and range hood shal l be tur n off al l funct ions af ter 1 minut e. - Page 9 Non-Disassembly and W Free Picture 24 Picture 25 Remove the 2 screws on lamp shade plate Pull out of LED light is just by screwdriver. Dismounting of switch Picture 27 Picture 26 Remove two pieces of fastening screws on switch by Pull out of switch parts from LED hole to screwdriver.
- Page 10 Non-Disassembly and Wash F Dismounting of oil mesh Put pothook into stands. Picture 31 Picture 32 magnetic cap oil mesh panel Press it 1. Take two pieces of magnetic caps out by sharp tools, then revolve screws right 2-3 rings by screwdriver, and loose oil mesh panel.
-
Page 11: Circuit Diagram
Non-Disassembly and W Free Circuit Diagram Yellow/Green Lighting lamp Connection Box Brown Motor 220-240V Control Circuit Blue Capacitor 500VAC 5 Blue Earthing Terminal Black Orange Power Plug Brown Low Switch Yellow Blue High Switch Blue Lighting Switch Warning There shall be adequate ventilation of the room when the range hood is used at the same time as appliances burning gas or other fuels .
Need help?
Do you have a question about the CXW-200-A861 and is the answer not in the manual?
Questions and answers