Advertisement
Advertisement

Subscribe to Our Youtube Channel
Related Manuals for Robam CXW-200-A809


Summary of Contents for Robam CXW-200-A809
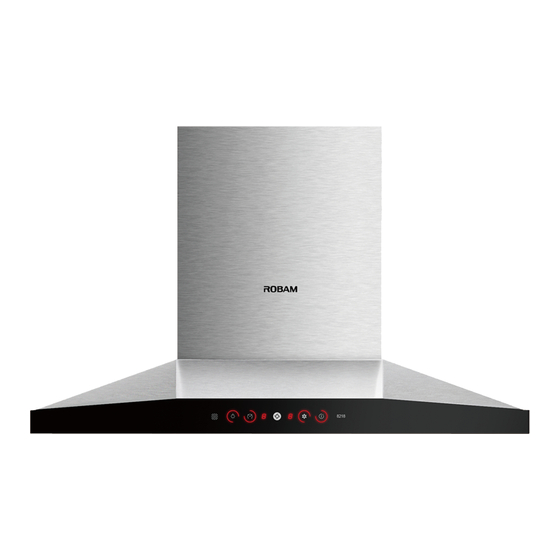
- Page 1 Operation Manual A818 CXW-200-A809 CXW-200-A818 Range Hood...
-
Page 2: Table Of Contents
Contents 1.Important ..........1 2.Introduction..........1 3.Installation Instructions......2 4.Use............5 5.Maintenance ..........7 6.Electrical Diagram........9 7.General Troubleshooting......9... -
Page 3: Important
吸油烟机 Range Hood Dear user Thank you very much for choosing ROBAM range hood.Please read the manual carefully before using the product. Important Packaging of New Hood Please dispose the packaging materials in an environmentally-friendly way to maintain a good environment. -
Page 4: Installation Instructions
机 烟 油 吸 Range Hood Body Size Figure 2 CXW-200-8302 A818 504(524) The marked sizes are for reference only. Size in the brackets is specific to A809 hood. (Unit: mm) Installation Instructions Warning 1. Flue gases shall not be discharged to the hot flue, which is exclusively used for discharging the combustion gas or other fuel fumes. - Page 5 吸油烟机 Range Hood Installation Notes Figure 3 Figure 4 CXW-200-8302 CXW-200-8302 A818 A818 Warning: put out the fire promptly after use. Don't ● Don' t install the hood too high and protect it from use the hob to bake the hood directly.Don't cook food outside airflow interference, so as not to reduce directly under the hood.
- Page 6 机 烟 油 吸 Range Hood Installation 1.Determine the position: the size of removable baffle (reference: 430mm) can be adjusted according to the actual situations. The installation pitch of holes is shown in Figure 10-1. The hook body shall be centered vertically and kept level.
-
Page 7: Use
吸油烟机 Range Hood 6. Install the aluminum exhaust pipe: insert one of the ends in the outer ring of the check valve connection and seal with exhaust pipe tapes. Then, put four snaps of the check valve connection in corresponding slots, and rotate them clockwise to fix the exhaust pipe to the check valve. - Page 8 机 烟 油 吸 Range Hood Figure 13 Figure 14 Light ● Press the light button to turn on the light and ● Plug in and a tick from the buzzer will indicate repress to turn it off. Each press will trigger a tick qualified installation.
-
Page 9: Maintenance
吸油烟机 Range Hood Maintenance There is a fire risk if cleaning is not carried out in accordance with the instructions. The hood shall be cleaned and maintained regularly depending on the surroundings, so as to keep its cleanness & efficiency and extend its service life. We recommend to: ●Clean the exhaust fume collecting hood and range hood body after each cooking. - Page 10 机 烟 油 吸 Range Hood Switch Removal Figure 7 ● After removing the light, use a Phillips screwdriver to remove the two screws on the switch. Push the switch assembly diagonally upward to take it out from the lamp hole for repair and replacement. Switch accessory Note: The light, filter mesh and switch shall be installed in a reverse order.
-
Page 11: Electrical Diagram
吸油烟机 Range Hood Electrical Diagram Spotlight Connection box Control circuit Motor Blue Blue Capacitance 500VAC 6μF Yellow Ground terminal Brown Power plug Orange Grey Strong extraction switch Black Yellow/Green White Medium extraction switch Blue Weak extraction switch Brown Blue 220V~ Stir-frying switch Yellow/Green E Lighting switch... - Page 12 Edition: A/1...
Need help?
Do you have a question about the CXW-200-A809 and is the answer not in the manual?
Questions and answers