Table of Contents
Advertisement
CS4210
CS4310
MODELS
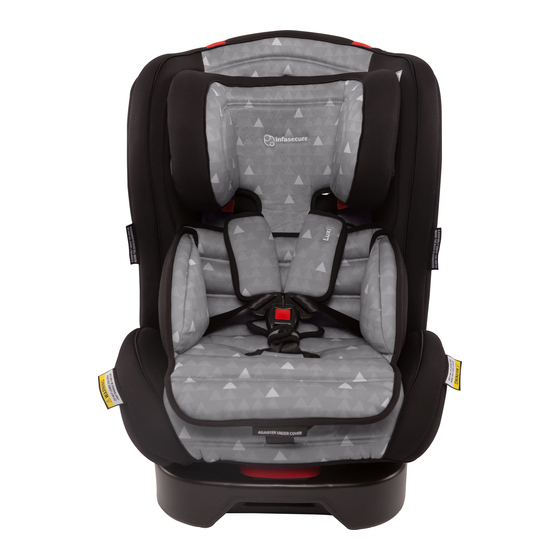
Convertible Car Seat
INFANT SEAT TO CHILD SEAT
(Rearward Facing)
Suitable for infant from
birth to approximately
6 months*
(Forward Facing)
Suitable for children
from approximately
6 months to 4
years* of age
Suitable for children
approximately
4 to 8 years* of age
0
T R AV E L L I N G S
T R AV E L L I N G S A F E L Y W I T H P E A C E O F M I N D
ANTI-REBOUND INCORPORATED
INTO SEAT DESIGN
*All references to age are to an average proportioned
child. Children vary in shapes and sizes. The ages
outlined above is an approximation only.
N E W B O
N E W B O R N T O E I G H T Y E A R S*
Y E A R S
8
t o
yrs
yrs.
E A C E O F M I N D
*The photo displayed
is indicative of the
type of restraint and may
have slight changes
depending on the model.
IMPORTANT
KEEP THIS BOOKLET IN THE
PLACE PROVIDED ON THE
CHILD RESTRAINT
y rs.
yrs.
y
1754:2010
Licence No. 25324
Sun Hood &
Seat protector
not available on
all models.
Advertisement
Table of Contents


Need help?
Do you have a question about the CS4210 and is the answer not in the manual?
Questions and answers