Table of Contents
Advertisement
Quick Links
FE75
FE100
FE200
FE250
FE300
INS75
INS100
Model No.
FE75, INS75, CRS3, CL75
FE100, INS100, CRS33
CL100
FE200, FE250, CRS66, CL200
FE300
43-05 20th AVENUE, LONG ISLAND CITY, N.Y. 11105 • 718-932-1414 • FAX 718-932-7860
AUTOMATIC
COFFEE URNS
OPERATION MANUAL
Contents
Specifications
Unpacking and Inspection
Installation
Brewing Instructions
Maintenance Tips Repair
Parts List Wiring Diagrams
ELECTRICAL SPECIFICATIONS
Kilowatts
1 Phase
3 Phase
7
5.3
8
6
7
5.3
10
7.5
—
—
CECILWARE CORPORATION
Volts
6
120/240
4.5
120/208
8
120/240
6
120/208
8
120/240
6
120/208
10
120/240
7.5
120/208
15
120/240
11.3
120/208
CRS3
CRS33
CRS66
CL75
CL100
CL200
Amps
1 Phase
3 Phase
(3 wire)
(4 wire)
29
15
26
12
34
20
29
17
29
20
26
17
42
24
38
22
—
37
—
33
N059A-8/99
Advertisement
Table of Contents

Related Manuals for Cecilware FE75


Summary of Contents for Cecilware FE75
- Page 1 ELECTRICAL SPECIFICATIONS Kilowatts Amps Volts 1 Phase 3 Phase Model No. 1 Phase 3 Phase (3 wire) (4 wire) 120/240 FE75, INS75, CRS3, CL75 120/208 120/240 FE100, INS100, CRS33 120/208 120/240 CL100 120/208 120/240 FE200, FE250, CRS66, CL200 120/208 —...
-
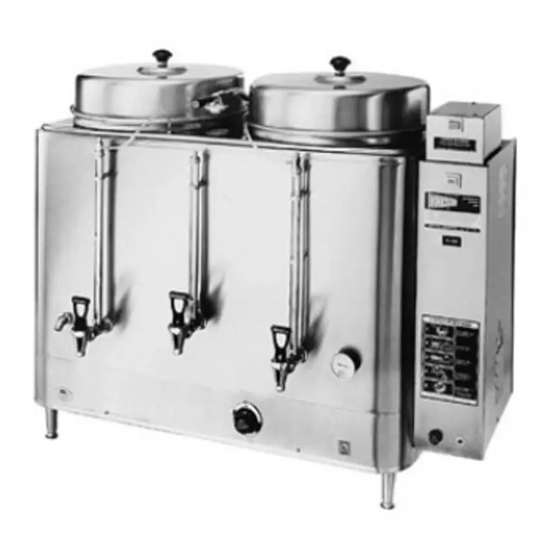
Page 2: Specifications
Cover(s) (3) are shipped with knob(s) on inside to prevent damage. Simply unscrew and reverse knob(s) and hardware. Your urn comes with one brew basket (11) and an introductory filter pack. Additional Cecilware filters are available from your dealer. - Page 3 RECOMMENDED WIRE SIZE FOR FIELD-WIRING URNS Wire Size Model No. Single Phase Three Phase FE75, CL75, CL100, CRS3, INS75 (2) 10 AWG (3) 10 AWG FE100, CRS33, INS100 (2) 8AWG (3) 10 AWG FE200, FE250, CL200, CRS66 (2) 6AWG (3) 8AWG FE300 —...
- Page 4 To prevent lime buildup, especially in hard water areas, remove and clean spray head cap and spray head disc frequently. To clean swivel valve (see III. 2) loosen nut and remove spray arm assembly from urn. Remove sediment by inserting a pipe cleaner through small hole in valve.
- Page 5 Place wire jumper across terminals 8 and 9 of terminal block (III. 5). Reinstall fuse. If water enters urn, replace float switch (3), as explained below. If no water enters urn, solenoid (27) or small relay (14) is not functioning. To check solenoid, remove fuse and disconnect leads from coil;...
- Page 6 AGITATOR • MANUAL TYPE (CL URNS) OPERATION: Immediately after brewing cycle, depress agitator ON switch and hold for about 20 seconds. Your coffee will be completely blended and ready to serve. MAINTENANCE: If agitator pump does not operate when agitator ON switch is pressed, replace switch. If pump still does not operate, replace pump.
- Page 7 ITEM NO. STOCK NO. DESCRIPTION MODEL NO. G043A Water heater 8kw -480V-3Ph FE/INS/CL75, 100; CRS3, 33 D021A Shank for coffee gauge All (except INS's) D045A Shank for gauges All INS's D017A Water and coffee faucet X005A Coffee gauge glass FE/INS/CL75, 100: CRS3, 33 X004A Coffee gauge glass FE/CL200;...
Need help?
Do you have a question about the FE75 and is the answer not in the manual?
Questions and answers