Altusen KN9116 Quick Start Manual
16 port kvm over the net
Hide thumbs
Also See for KN9116:
- Quick start manual (2 pages) ,
- User manual (128 pages) ,
- User manual (132 pages)
Table of Contents
Advertisement
Quick Links
Download this manual
See also:
User Manual
KN9116 16 port KVM over the NET
© 2004 ALTUSEN. All rights reserved. ALTUSEN is a trademark of ATEN, Inc. All Other trademarks are the property of their respective owners. PAPE-1214-800
This Quick Start Guide briefly describes how to install the
KN9116 KVM over the NET. For a more detailed
information, please refer to the user manual
1
Package Contents
The complete package consists of:
• 1 KN9116 KVM over the NET
• 2 Custom KVM Cable Sets
• 1 Power Cord
• 1 User Manual
• 1 Quick Start Guide
• 1 Registration Card
2
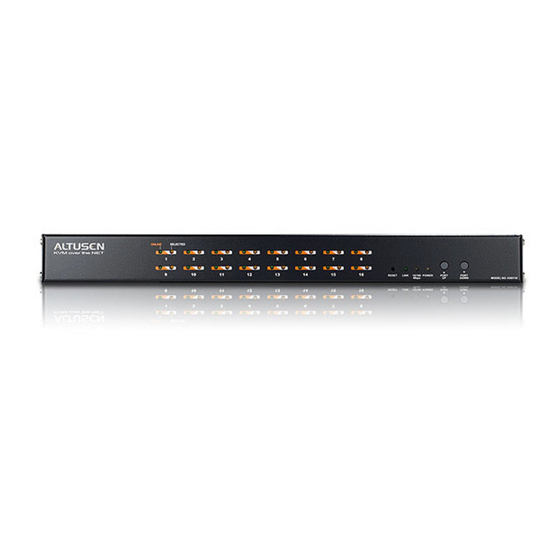
The KN9116 Unit ( Front View )
1. Port LEDs
2. Reset Button
3. Link LED
4. 10/100 Mbps Data LED
5. Power LED
1
6. Port Up
7. Port Down
2
3
The KN9116 Unit ( Rear View )
1. Power Jack
2. Power Switch
3. PON Port
4. LAN Port
5. Local Console Section
1
2
3
6. CPU Ports
4
5
6
4
System Requirements
Remote Computers
For best results, computers that remotely access the KN9116 should have at
least a P-III 1 GHz processor, with their screen resolution set to 1024 x 768.
For the Windows Client, you must have DirectX 7.0 or higher installed.
For the Java Client, you must have Sunʼs Java 2 (1.4 or higher).
Computers
The following equipment must be installed on the computers that connect to the
KN9116ʼs CPU ports:
A VGA, SVGA or Multisync port.
A 6-pin mini-DIN (PS/2 Style) keyboard port.
A 6-pin mini-DIN (PS/2 Style) mouse port.
5
Hardware Installation 1
Rack Mounting
1. Separate the front and rear modules by removing the four module attaching screws.
PORT
PORT
MODEL NO. KN9116
UP
DOWN
3
4
5
6
7
6
Hardware Installation 2
2. Screw the rack mounting brackets into the front and rear modules.
7
Hardware Installation 3
3. Screw the mounting brackets to the rack.
Advertisement
Table of Contents

Related Manuals for Altusen KN9116


Summary of Contents for Altusen KN9116
- Page 1 DOWN KN9116 16 port KVM over the NET © 2004 ALTUSEN. All rights reserved. ALTUSEN is a trademark of ATEN, Inc. All Other trademarks are the property of their respective owners. PAPE-1214-800 Hardware Installation 2 The KN9116 Unit ( Rear View ) 1.
- Page 2 1. Plug your keyboard, mouse, and monitor into the unit's Console Ports. The KN9116 OSD appears in the center of your screen, in addition to the OSD Control A toolbar is available to help you control the KN9116 from within the captured port. To 2.
Need help?
Do you have a question about the KN9116 and is the answer not in the manual?
Questions and answers