Advertisement
www.proform.com
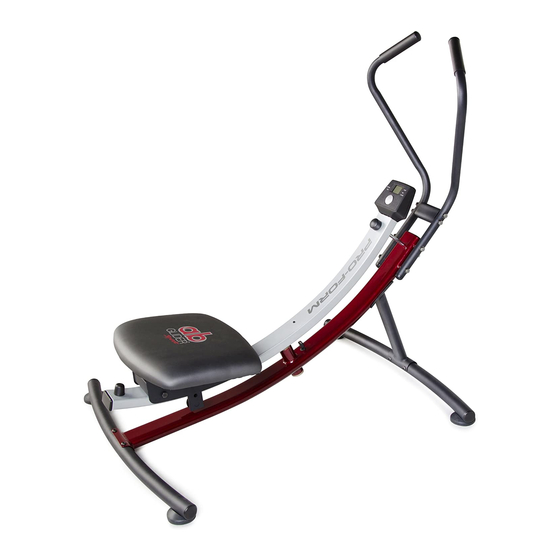
Model No. PFBE19410.2
Serial No.
Write the serial number in the
space above for reference.
Serial Number
QUESTIONS?
If you have questions, or if parts are
damaged or missing, DO NOT
CONTACT THE STORE; please
contact Customer Care.
IMPORTANT: Please register this
product (see the limited warranty
on the back cover of this manual)
before contacting Customer Care.
1-888-533-1333
CALL TOLL-FREE:
Mon.–Fri., 6 a.m.–6 p.m. MT
Sat. 8 a.m.–4 p.m. MT
ON THE WEB:
www.proformservice.com
CAUTION
Read all precautions and instruc-
tions in this manual before using
this equipment. Keep this manual
for future reference.
Decal
USER'S MANUAL
Advertisement
Table of Contents

Subscribe to Our Youtube Channel
Related Manuals for Pro-Form ab Glider PFBE19410.2


Summary of Contents for Pro-Form ab Glider PFBE19410.2
- Page 1 www.proform.com Model No. PFBE19410.2 USER'S MANUAL Serial No. Write the serial number in the space above for reference. Serial Number Decal QUESTIONS? If you have questions, or if parts are damaged or missing, DO NOT CONTACT THE STORE; please contact Customer Care. IMPORTANT: Please register this product (see the limited warranty on the back cover of this manual)
-
Page 2: Table Of Contents
TABLE OF CONTENTS WARNING DECAL PLACEMENT ............. .2 IMPORTANT PRECAUTIONS . -
Page 3: Important Precautions
IMPORTANT PRECAUTIONS WARNING: To reduce the risk of serious injury, read all important precautions and instructions in this manual and all warnings on your abdominal exerciser before using your abdomi- nal exerciser. ICON assumes no responsibility for personal injury or property damage sustained by or through the use of this product. -
Page 4: Before You Begin
BEFORE YOU BEGIN Thank you for selecting the PROFORM AB GLIDER cover of this manual. To help us assist you, note the ® abdominal exerciser. The versatile AB GLIDER product model number and serial number before con- abdominal exerciser is designed to help you develop tacting us. -
Page 5: Assembly
ASSEMBLY To hire an authorized service technician to assemble the abdominal exerciser, call 1-800-445-2480. Assembly requires two persons. Place all parts of the abdominal exerciser in a cleared area and remove the packing materials. Do not dispose of the packing materials until assembly is completed. In addition to the included tool(s), assembly requires a Phillips screwdriver and an adjustable wrench... - Page 6 To make assembly easier, read the information on page 5 before you begin. Attach a Base (2) to the Frame (1) with four M8 x 15mm Button Screws (29) and four M8 Washers (34). Tip: Start all the Button Screws before tightening any of them. Then, attach a Frame Foot (11) to the underside of the Frame (1) with an M4 x 16mm Screw (31) and an M4 Washer (48).
- Page 7 3. Attach the Handlebar (5) to the Upright (4) with an M10 x 157mm Button Bolt (30), two M10 Curved Washers (39), and an M10 Locknut (38). Tip: It may be helpful to use a hex key to turn the M10 x 157mm Button Bolt (30) while you are inserting it through the Handlebar (5) and the Upright (4).
- Page 8 5. Orient the Knee Pad (7) and the Roller Carriage (6) as shown. Attach the Knee Pad (7) to the Roller Carriage (6) with four M6 x 15mm Button Screws (28) and four M6 Washers (35). Wide Welded 6. Orient the Roller Carriage (6) as shown. Slide the Roller Carriage onto the Pivot Frame (3).
-
Page 9: How To Use The Abdominal Exerciser
HOW TO USE THE ABDOMINAL EXERCISER HOW TO MOUNT AND DISMOUNT THE HOW TO LOCK THE PIVOT FRAME ABDOMINAL EXERCISER To lock the Pivot Frame (3) so that it will not swivel The pivot frame can swivel from side to side, and from side to side, insert the Pin (27) into the Pivot the knee pad can move forward and backward;... - Page 10 HOW TO USE THE ABDOMINAL EXERCISER HOW TO STORE THE ABDOMINAL EXERCISER The abdominal exerciser can be used with the pivot The abdominal exerciser can be folded for storage. frame in the locked position or the unlocked position First, remove the Pin (27) if necessary. Next, remove (see HOW TO LOCK THE PIVOT FRAME on page 9).
- Page 11 FEATURES OF THE CONSOLE HOW TO USE THE CONSOLE The console features five modes that provide instant Note: Make sure that a battery is installed (see HOW exercise feedback during your workouts: TO INSTALL A BATTERY at the left). If there is a sheet of plastic on the display, remove the plastic.
-
Page 12: Exercise Guidelines
EXERCISE GUIDELINES WARNING: Aerobic Exercise—If your goal is to strengthen your cardiovascular system, you must perform aerobic Before beginning exercise, which is activity that requires large amounts this or any exercise program, consult your of oxygen for prolonged periods of time. For aerobic physician. - Page 13 SUGGESTED STRETCHES The correct form for several basic stretches is shown at the right. Move slowly as you stretch—never bounce. 1. Toe Touch Stretch Stand with your knees bent slightly and slowly bend forward from your hips. Allow your back and shoulders to relax as you reach down toward your toes as far as possible.
-
Page 14: Part List
PART LIST Model No. PFBE19410.2 R0212A Key No. Qty. Description Key No. Qty. Description Frame M6 x 15mm Button Screw Base M8 x 15mm Button Screw Pivot Frame M10 x 157mm Button Bolt Upright M4 x 16mm Screw Handlebar 3/8" x 40mm Button Screw Roller Carriage M4 x 20mm Screw Knee Pad... -
Page 15: Exploded Drawing
EXPLODED DRAWING Model No. PFBE19410.2 R0212A... -
Page 16: Ordering Replacement Parts
ORDERING REPLACEMENT PARTS To order replacement parts, please see the front cover of this manual. To help us assist you, be prepared to provide the following information when contacting us: • the model number and serial number of the product (see the front cover of this manual) •...
Need help?
Do you have a question about the ab Glider PFBE19410.2 and is the answer not in the manual?
Questions and answers