
Related Manuals for Nav TV NTV-KIT625


Summary of Contents for Nav TV NTV-KIT625
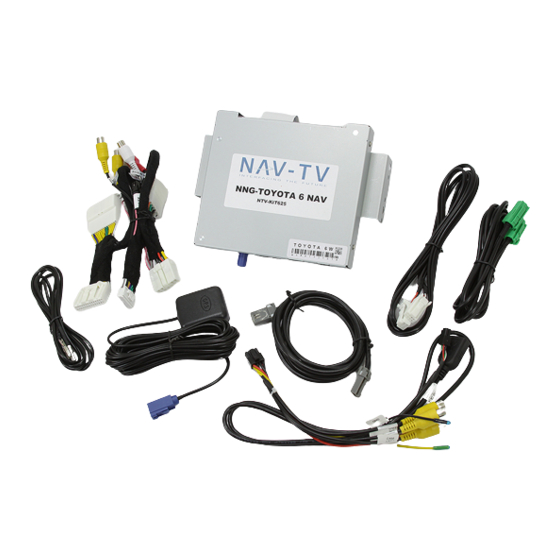
- Page 1 3950 NW 120 Ave, Coral Springs, FL 33065 TEL 561-955-9770 FAX 561-955-9760 NNG-Toyota 6 Navigation interface for ‘15-‘16 Toyota Sienna NTV-KIT625 11/02/15 NTV-DOC237...
- Page 2 Toyota 6 navigation system application guide 2015 – 2016 Sienna (Pioneer Apps Radio) P10692 ** Toyota 6 navigation system only compatible to vehicles listed above. Only compatible radio is Pioneer Apps radio (Entune Plus radio with 7” touch screen). Please verify the radio has APPS button on front plate for this system to install and work properly.
- Page 3 Toyota 6 Navigation System Installation Remove (6) small screws as indicated Remove factory ribbon cable from socket Carefully slide out the factory touch PCB to expose factory video ribbon cable Remove the factory video ribbon cable from socket Slide and install the factory ribbon cable to the supplied brown ribbon cable as shown above Length and space is very limited, ensure the ribbon cable is fully and squarely seated into the socket before clamping down.
- Page 4 Toyota 6 Navigation System Installation Insert the small touch ribbon cable to the NEW PCB as shown (contacts should be downward) Carefully insert the touch ribbon into the factory board as shown. A light push might be needed to help inserting the touch ribbon cable, ensure fully and squarely seated before clamping down.
- Page 5 Toyota 6 Navigation System Installation Place NEW PCB as shown Insert the 3-way ribbon as shown with extreme care 3-way ribbon cable required extreme care as the traces are very close to the edges. (FAILURE TO HANDLE THIS RIBBON WILL RESULT IN DELAY AND COST OF REPLACEMNT) P a g e...
- Page 6 Toyota 6 Navigation System Installation Flip and slide in the factory touch PCB as shown Insert the factory touch ribbon into the NEW PCB P a g e...
- Page 7 Toyota 6 Navigation System Installation Use the supplied (3) screws and (3) plastic spacers to secure the NEW PCB in place as shown Ensure all ribbon cables are insert fully and squarely into the sockets Prepare the radio chassis by flattened the grounding leg as indicated (FAILURE TO DO THIS MODIFICATION MIGHT RESULT IN PCB DAMAGE, DELAYS AND COST OF REPLACEMENT) P a g e...
- Page 8 Toyota 6 Navigation System Installation Cut the radio back plate as shown, before reinstalling the radio chassis for the harness to exit. Insert the video / touch cable to the NEW PCB and exit the harness through the modified hole. Reinstall (6) small screws to the radio.
-
Page 9: Master Wiring Diagram
Toyota 6 Navigation System Installation Master Wiring Diagram Refer to previous page for system wiring connections P a g e... -
Page 10: Dip Switch Setting
Toyota 6 Navigation System Installation Connect GPS Antenna to GPS Module (best GPS Antenna location is under passenger side A- pillar cover, on top of dash) Test system thoroughly before re-assemble of the radio and dash Test reverse camera function Test driver side speaker integration function (mute and voice from navigation software) Dip Switch Setting Default DIP switch setting... - Page 11 Toyota 6 Navigation System Installation Options Video Input harness Camera Input harness The Toyota 6 system is designed to accept multiple video and camera inputs, these harnesses are sold separately and require different system settings. Please contact us if you are interested in these optional features. Please follow all the steps in this installation manual, failure to do so might void the product warranty and/or damage the factory radio! Power...
- Page 12 Toyota 6 Navigation System Installation No Touch Response 1. Check both Radio mode and NAV mode for touch response 2. Check led lights for power and data indication 3. Check TP/LCD IN cable for any loose connection, or damage 4. Check PCB ribbon cables for loose, misalignment, or damage No GPS software loaded, touch screen alignment screen occurred Check map SD card at GPS module, see any sign of missing, loose, pop-out,...