
Poly CCX 505 Manuals
Manuals and User Guides for Poly CCX 505. We have 9 Poly CCX 505 manuals available for free PDF download: Instruction Manual, User Manual, Setup Sheet
Advertisement
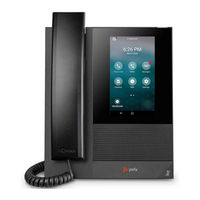
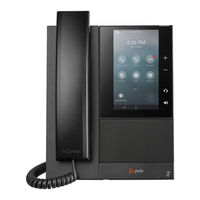
Poly CCX 505 Instruction Manual (281 pages)
Business Media Phone
Brand: Poly
|
Category: Cordless Telephone
|
Size: 2 MB
Table of Contents

Advertisement

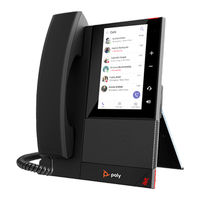
Poly CCX 505 Instruction Manual (41 pages)
Business Media Phones with Microsoft Teams Administrator Guide 8.1.5
Table of Contents


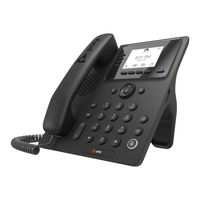
Poly CCX 505 Setup Sheet (4 pages)
Business Media Phone
Advertisement