Lexmark 436 Manuals
Manuals and User Guides for Lexmark 436. We have 5 Lexmark 436 manuals available for free PDF download: User Manual
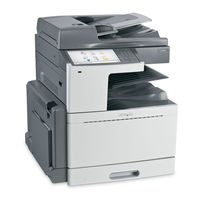
Lexmark 436 User Manual (363 pages)
Brand: Lexmark
|
Category: All in One Printer
|
Size: 13 MB
Table of Contents
-
-
-
-
-
Printing
88 -
Copying
97-
-
Advanced Options107
-
Save as Shortcut107
-
-
E-Mailing
108 -
Faxing
115-
-
Sending a Fax122
-
Delayed Send127
-
-
Scanning
130 -
-
Menus List139
-
Supplies Menu140
-
Paper Menu142
-
Bin Setup Menu152
-
Reports Menu153
-
-
Tcp/Ip Menu157
-
Ipv6 Menu158
-
Wireless Menu159
-
Appletalk Menu159
-
Smtp Setup Menu166
-
Security Menu167
-
Settings Menu173
-
Flash Drive Menu206
-
Print Settings209
-
Setup Menu211
-
Finishing Menu214
-
Quality Menu216
-
Utilities Menu220
-
Postscript Menu221
-
Pcl Emul Menu222
-
Html Menu224
-
Image Menu225
-
-
Help Menu227
-
-
-
Storing Supplies238
-
Clearing Jams
265-
Avoiding Jams265
-
203 Paper Jam268
-
Paper Jam269
-
231 Paper Jam270
-
24X Paper Jam271
-
250 Paper Jam277
-
281 Paper Jam278
-
455 Staple Jam285
-
Advertisement
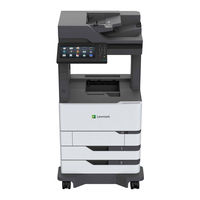
Lexmark 436 User Manual (296 pages)
Brand: Lexmark
|
Category: All in One Printer
|
Size: 18 MB
Table of Contents
-
-
-
E-Mailing
52 -
Faxing
54 -
-
Menu Map67
-
Device68
-
Print82
-
Paper91
-
Media Types93
-
Copy94
-
Fax98
-
Fax Defaults98
-
Fax Mode98
-
Fax Setup98
-
-
E-Mail102
-
Web Link Setup108
-
Ftp109
-
FTP Defaults109
-
USB Drive113
-
Flash Drive Scan113
-
Network/Ports119
-
Network Overview119
-
Tcp/Ip122
-
Snmp124
-
Ipsec125
-
802.1X126
-
LPD Configuration126
-
Thinprint127
-
Wi‑Fi Direct129
-
-
Security130
-
Login Methods130
-
Local Accounts131
-
Disk Encryption136
-
Miscellaneous137
-
-
Reports138
-
Help139
-
Troubleshooting139
-
-
-
Networking144
-
-
-
Recycling183
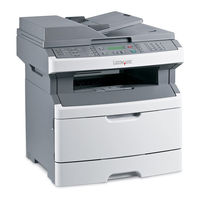
Lexmark 436 User Manual (235 pages)
Lexmark All in One Printer User's Guide
Brand: Lexmark
|
Category: All in One Printer
|
Size: 5 MB
Table of Contents
-
Basic Model10
-
Recycling36
-
Printing59
-
Copying68
-
E-Mailing77
-
Faxing81
-
Default Content105
-
Menus List108
-
Paper Menu108
-
Size/Type Menu109
-
Reports Menu115
-
Active NIC Menu116
-
Tcp/Ip Menu118
-
Wireless Menu119
-
Ipv6 Menu119
-
Appletalk Menu120
-
Usb Menu121
-
Settings Menu122
-
Flash Drive Menu132
-
Print Settings135
-
Setup Menu135
-
Finishing Menu136
-
Quality Menu138
-
Utilities Menu139
-
Postscript Menu140
-
Pcl Emul Menu141
-
Image Menu143
-
Storing Supplies148
-
Viewing Reports158
-
Clearing Jams161
-
Paper Jams162
-
Paper Jam164
-
Troubleshooting176
-
Fax Failed177
Advertisement
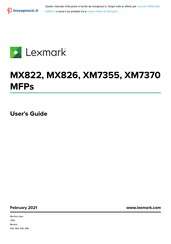
Lexmark 436 User Manual (342 pages)
Brand: Lexmark
|
Category: All in One Printer
|
Size: 23 MB
