JUKI DDL-9000C-S Series Manuals
Manuals and User Guides for JUKI DDL-9000C-S Series. We have 3 JUKI DDL-9000C-S Series manuals available for free PDF download: Engineer's Manual, Instruction Manual, Manual
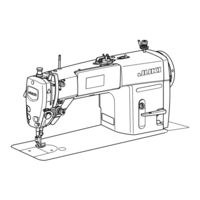
JUKI DDL-9000C-S Series Engineer's Manual (198 pages)
Direct-drive, High-speed, Sewing system with Automatic Thread Trimmer
Brand: JUKI
|
Category: Sewing Machine
|
Size: 14 MB
Table of Contents
Advertisement
JUKI DDL-9000C-S Series Instruction Manual (113 pages)
Brand: JUKI
|
Category: Sewing Machine
|
Size: 11 MB
Table of Contents

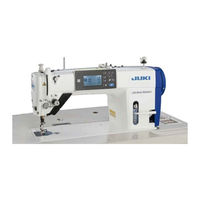
JUKI DDL-9000C-S Series Manual (4 pages)
Direct-drive, high-speed, lockstitch sewing system with automatic thread trimmer
Brand: JUKI
|
Category: Sewing Machine
|
Size: 0 MB
Advertisement
Advertisement