GEZE Powerturn F/R-IS Manuals
Manuals and User Guides for GEZE Powerturn F/R-IS. We have 6 GEZE Powerturn F/R-IS manuals available for free PDF download: Wiring Diagram, Installation And Service Instructions Manual, Installation Manual
Advertisement
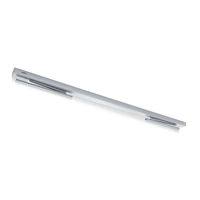
GEZE Powerturn F/R-IS Wiring Diagram (98 pages)
Brand: GEZE
|
Category: Door Opening System
|
Size: 9 MB
Table of Contents

GEZE Powerturn F/R-IS Wiring Diagram (88 pages)
1/2-leaf
Brand: GEZE
|
Category: Door Opening System
|
Size: 5 MB
Table of Contents
Advertisement

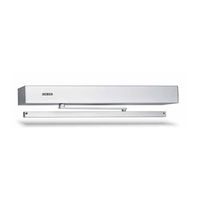
GEZE Powerturn F/R-IS Installation And Service Instructions Manual (56 pages)
1/2-Leaf
Brand: GEZE
|
Category: Door Opening System
|
Size: 10 MB
Table of Contents
GEZE Powerturn F/R-IS Installation And Service Instructions Manual (56 pages)
Brand: GEZE
|
Category: Door Opening System
|
Size: 10 MB
Table of Contents

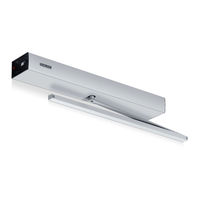
GEZE Powerturn F/R-IS Installation Manual (20 pages)
Mechanism for integrated closing sequence control
Brand: GEZE
|
Category: Door Opening System
|
Size: 7 MB