Table of Contents
Advertisement
Quick Links
Advertisement
Table of Contents

Subscribe to Our Youtube Channel
Related Manuals for Metos RG-200


Summary of Contents for Metos RG-200
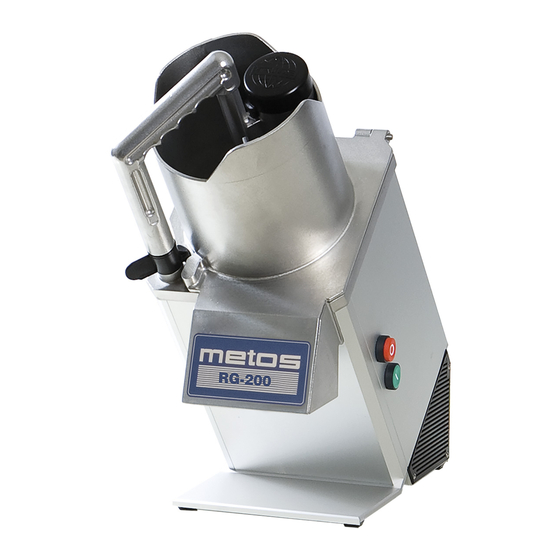
- Page 1 VEGETABLE SLICER RG-200 Installation and Operation Manual S/N: Rev.: 2.0...
- Page 3 Dear Customer, Congratulations on deciding to choose a Metos appliance for your kitchen activities. You made an excellent choice. We will do our best to make you a satisfied Metos customer like thousands of customers we have around the world.
- Page 4 20.2.2003 Rev. 2.0...
-
Page 5: Table Of Contents
20.2.2003 Rev. 1. General ......................1 1.1 Symbols used in the manual ..................1 1.2 Symbols used on the appliance ..................1 1.3 Checking the relation of the appliance and the manual ..........1 2. Safety ......................2 3. Functional description .................. 3 3.1 Construction ........................ - Page 6 20.2.2003 Rev.
-
Page 7: General
20.2.2003 Rev. 2.0 General 1. General Carefully read the instructions in this manual as they contain important information re- garding proper, efficient and safe installation, use and maintenance of the appliance. Keep this manual in a safe place for eventual use by other operators of the appliance. The installation of this appliance must be carried out in accordance with the manufactur- er’s instructions and following local regulations. -
Page 8: Safety
20.2.2003 Rev. 2.0 Safety 2. Safety Take care not to injure your hands on sharp blades and moving parts. Always use the pusher (1:G) when cutting through the feed tube (1:H), and never put your hands into the feed tube. The locking screw (1:J) must be unscrewed clockwise by means of the spanner (1:K). -
Page 9: Functional Description
20.2.2003 Rev. 2.0 Functional description 3. Functional description 3.1 Construction Fig. 1 Pusher plate Locking knob Feeder/lid Ejector plate Slicer Dicing grid Pusher Feed tube Shaft Locking screw Spanner On/Off switch Fig. 2 Feeder Stacking the products Using the feed tube Fig. -
Page 10: Operation Instructions
20.2.2003 Rev. 2.0 Operation instructions 4. Operation instructions 4.1 Operation procedures 4.1.1 Using the feeder The large feed compartment is used mainly for bulk feeding to potatoes, onions etc. (2:A) and for cutting larger products, such as cabbage. The large feed compartment is also used when the material is to be cut in a definite direc- tions, such as tomatoes and lemons. -
Page 11: Check Every Week
20.2.2003 Rev. 2.0 Operation instructions 4.2.2 Check every week • Check that the machine stops as soon as the pusher plate (1:A) has been moved up and restarts when the pusher plate is lowered. • Check that the machine cannot be started with the feeder/ lid (1:C) removed and with the pusher plate lowered. -
Page 12: Installation
20.2.2003 Rev. 2.0 Installation 5. Installation 5.1 Unpacking the appliance Check that all of the parts have been delivered, that the machine operates as intended, and that nothing has been damaged in transit. The machine supplier should be notified of any shortcomings within eight days. -
Page 13: Fitting The Components (Assembly)
20.2.2003 Rev. 2.0 Installation 5.3 Fitting the components (assembly) 5.3.1 Choosing the right cutting tools • Standard slicer (3:A) slices firm materials. Dices in combination with type 1 dic- ing grid (3:G1). • Slicer disc for dicing (3:B) dices in combination with type 1 dicing grid (3:G1) be- ginning from size 12,5x12,5 mm. -
Page 14: Troubleshooting
20.2.2003 Rev. 2.0 Troubleshooting 6. Troubleshooting PROBLEM MEASURES The machine cannot be started, or stops while Check that the plug is securely fitted into the power supply socket, or that it is running and cannot be restarted. the main switch is closed . Check that the feeder/lid (1:C), pusher plate (1:A) or the feed hopper is locked in the correct position. -
Page 15: Technical Specifications
20.2.2003 Rev. 2.0 Technical specifications 8. Technical specifications Circuit wiring diagram 230V 50Hz Circuit wiring diagram 110- 240V 50/ 60Hz Installation drawing... - Page 16 Circuit wiring diagram 230V 50Hz...
- Page 17 Circuit wiring diagram 110- 240V 50/ 60Hz...
- Page 18 Installation drawing...
- Page 19 Item Specification Capacity 6.5 kg/ min Capacity 100-600 port./ day Motor 0.37 kW Motor 100-240 V Motor 50/ 60 Hz Power supply socket Fuse in the fuse box for the premises Sound level 73 dB (A) Magnetic field < 0.5 mT Weight of the machine 18.3 kg Weight of a cutting plate...
Need help?
Do you have a question about the RG-200 and is the answer not in the manual?
Questions and answers