Advertisement
Advertisement
Table of Contents

Related Manuals for Gefen Super Booster Plus


Summary of Contents for Gefen Super Booster Plus
- Page 1 HDMI Super Booster Plus U S E R M A N U A L www.gefen.com...
- Page 2 Notice Gefen Inc. reserves the right to make changes in the hard ware, packaging and any accompanying doc u men ta tion without prior written notice. The HDMI Super Booster Plus is a trademark of Gefen Inc. © 2008 Gefen Inc., All Rights Reserved...
-
Page 3: Table Of Contents
TABLE OF CONTENTS Introduction Features Panel Descriptions Connecting and Operating the HDMI Super Booster Plus Auto Equalization Specifi cations Warranty... -
Page 4: Introduction
This plug and play installation takes mere seconds. You simply connect the HDMI cable on one side of the HDMI Super Booster Plus and the display’s cable on the other side. The HDMI Super Booster Plus sits between the end of your HDMI cable and your display. -
Page 5: Features
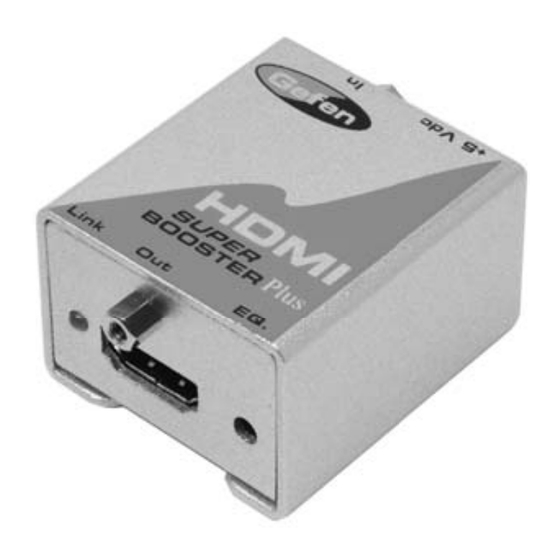
Locate an HDMI display up to 200 feet away from any HDTV source • Supports resolutions up to 1080p, 2K, and 1920 x 1200 • HDMI/HDCP compliant Includes: (1) HDMI Super Booster Plus (1) 5V DC Power Supply (1) User’s Manual... - Page 6 PANEL LAYOUT Front Panel Power LED Manual EQ Indicator Adjustment HDMI In Back Panel +5V DC In HDMI Out...
-
Page 7: Connecting And Operating The Hdmi Super Booster Plus
HDMI SUPER BOOSTER PLUS Connect the long HDMI cable from the source into the “HDMI In” on the front of the HDMI Super Booster Plus. The HDMI Super Booster Plus is placed next to your display to regenerate the HDMI cable. -
Page 8: Auto Equalization
AUTO EQUALIZATION Auto EQ OFF (Default) Auto EQ ON Remove the silver tape to expose the Dip Switch Bank By default, both Dip Switches should be in the off position as shown above. To enable the Auto EQ, please fl ip Dip Switch 1 to the ON position. You must then proceed to manually adjust the EQ by turning the EQ trim pot on the front of the unit in small increments. -
Page 9: Specifi Cations
SPECIFICATIONS Video Amplifi er Bandwidth ................165 MHz Input Video Signal ..................1.2 Volts p-p Input DDC Signal ................5 Volts p-p (TTL) Maximum Single Link Range ............1920 x 1200 x 60hz HDMI Input/Output Connector Type ............HDMI Type A Power Consumption ................
Need help?
Do you have a question about the Super Booster Plus and is the answer not in the manual?
Questions and answers