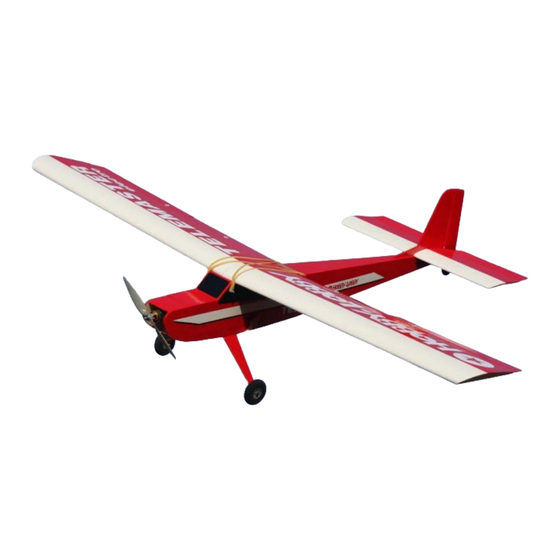
Summary of Contents for Hobby-Lobby Telemaster Electro V2 ARF
-
Page 1: Instruction Manual
Instruction Manual Telemaster Electro V2 ARF Wingspan: 73-1/4 in. Length: 53-1/2 in. Wing Area: 848 sq. in. Weight (with battery): 88 oz. - Page 2 Contents List to take an inventory and make sure it is complete. If any parts are missing acceptable quality, contact Hobby-Lobby.com Support at 866-512-1444. This manual assumes the builder possess intermediate assembly skills. Seek help from another pilot or an experienced modeler if you are unsure how to complete any step in this manual.
- Page 3 1. After unpacking all parts, sort the hardware and place like parts into separate holders. This will speed the building process and give you a good visual of all the hardware provided. 2. Begin by hinging the ailerons to the main wing panels using the CA hinges.
- Page 4 7. Install the flap servos in the same manor. The output arms on the two flap servos should face the same direction. The servo control horns for both flap servos should also face the same way. That will allow them to operate together when tied into the flap channel on the receiver.
- Page 5 11. Locate the fiberglass plate and place on top of the wing at the trailing edge. Trace the outline and remove the covering below the traced line. Glue the fiberglass plate to the wing with medium or thick CA glue. 12.
- Page 6 15. Mix up some epoxy and glue the horizontal stabilizer to the fuselage. Make sure it is centered and parallel to the horizon. 16. Locate the two balsa wood triangle stock pieces. These will be used to strengthen the stabilizer. Hold them in place as shown and trace around the edges.
- Page 7 19. Use 5-minute epoxy to glue the tail wheel wire into the slot in the rudder. 20. Install the rudder onto the vertical stabilizer using the CA hinges and thin CA glue. 21. Use the two larger wood screws to install the tail wheel plate to the bottom of the fuselage.
- Page 8 23. Locate the main landing gear, wheels, 4 locknuts, 4 washers, 4 mounting bolts, and the 2 long bolts that will be used as axles. 24. Start by installing a washer on the axle bolt, then the wheel, then another washer, and finally a locknut.
- Page 9 27. Slide the two pushrods through the fuselage from the front. You will need to remove the clevis from the threaded wire and insert that end first. 28. Make sure the pushrods go through the proper holes. You can twist and flex the rods as required.
- Page 10 31. Insert the two carbon fiber rods into the slots on the fuselage and secure with thin CA glue. 32. The receiver can be mounted using Velcro, double-sided tape, or a zip tie. Use 6” servo extension leads for the flap and aileron servo channels to make connecting them easier when installing the wing.
- Page 11 35. The battery is inserted through the front hatch and is secured using the supplied Velcro straps. Slide the battery forward or aft to achieve the proper CG, which is listed below. 36. Install the magnetic hatch by putting the back end in first and then laying the front down.
- Page 12 Warranty Hobby-Lobby guarantees this kit to be free from defects in both material and workmanship at the date of purchase. This warranty does not cover any component parts damaged by use or modification. In no event shall Hobby-Lobby’s liability exceed the original cost of the purchased kit.
- Page 13 Hobby Lobby International, Inc. 5614 Franklin Pike Circle Brentwood, TN 37027 (1-866-512-1444) www.hobby-lobby.com © 2011-2012 Hobby Lobby International, Inc. 5614 Franklin Pike Circle Brentwood, TN 37027 USA www.hobby-lobby.com...


Need help?
Do you have a question about the Telemaster Electro V2 ARF and is the answer not in the manual?
Questions and answers