Table of Contents
Advertisement
Quick Links
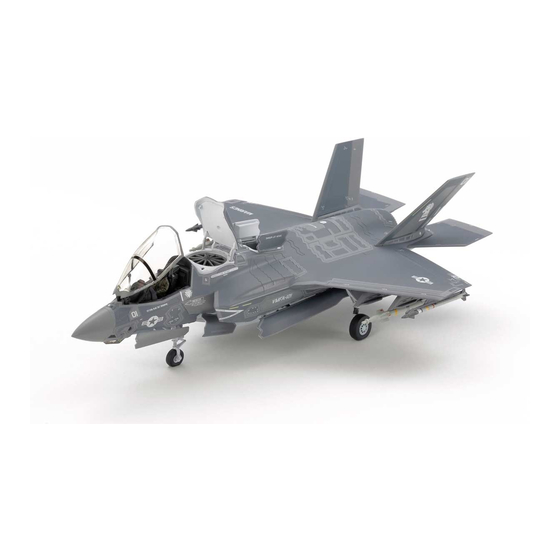
F-35 Lightning II
World's First 360-degree Multi-Vectored Thrust EDF Jet
Product officially licensed by
Main Specifications (receiver ready version)
Wingspan:
31-1/2" [800mm]
Length:
47-1/4" [1200mm]
Weight:
35oz [1000g]
Motor System:
Outrunner brushless motor (B2839/2750Kv
Speed Control:
45A w/Switch Mode BEC
Servos:
9g, (10pcs)
Battery:
4-Cell 14.8V 2200mah 20C Li-poly battery
Radio Required:
7-channel radio
(2.4GHz recommended)
Advertisement
Table of Contents

Subscribe to Our Youtube Channel
Related Manuals for Hobby-Lobby F-35 Lightning II


Summary of Contents for Hobby-Lobby F-35 Lightning II
- Page 1 F-35 Lightning II World's First 360-degree Multi-Vectored Thrust EDF Jet Product officially licensed by Main Specifications (receiver ready version) Wingspan: 31-1/2" [800mm] Length: 47-1/4" [1200mm] Weight: 35oz [1000g] Motor System: Outrunner brushless motor (B2839/2750Kv Speed Control: 45A w/Switch Mode BEC...
-
Page 2: Table Of Contents
Parts Included in Kit (receiver ready version) ...2 be able to imitate all kinds of thrilling maneuvers that Read Before Flight (general safety guidelines) ..3 are possible in the Full-Scale F-35 Lightning II. Safety Instructions for Charging and Before Beginning Assembly Using Li-Poly Batteries ........3... -
Page 3: Read Before Flight (General Safety Guidelines)
Read Before Flight (general safety guidelines) Safety Precautions 1. Before each flight, please check the aircraft 1. Please do not change any part of the plane using the radio system. Check the operation of without checking with Hobby Lobby. You will be all control surfaces and the motors to make sure responsible for any damages caused by these they are operating properly and that none of the... -
Page 4: Battery Precautions
Battery Precautions Mixing Epoxy • Do not use the battery if it is damaged or When mixing epoxy, make sure to use equal amounts deformed. of Part A and Part B. Mix the epoxy thoroughly. You • Do not solder the motor leads directly to the will have about 3 minutes before the epoxy begins to battery. -
Page 5: Stabilizer Install
Plug the aileron servo into the lead Stabilizer Install coming from the fuselage. Read through the following steps before attaching the hinges and elevators to the fuselage. You will need to complete these steps before the epoxy begins to cure. Before installing the hinges, it is recommended to apply a small amount of light oil to the hinge point of all four hinges. -
Page 6: Rudder Install
Repeat the procedure to attach the second Press the rudder firmly into the fuselage. elevator half to the fuselage using two hinges. Allow the epoxy to fully cure before continuing with the assembly of your model. Install both rudders at this time. Allow the epoxy to fully cure before continuing with the assembly of your model. -
Page 7: Receiver And Battery Install
Make sure the pitot tube on the nose Close the battery door. Turn the latches cone is aligned with the center line of the 1/4-turn to secure the door closed. fuselage before the epoxy cures. Linkage Install Receiver and Battery Install Before installing the linkages to the control Locate the leads for the servos. -
Page 8: Programming Your Radio System
Align the stabilizer so it is 7/16" (10.5mm to 11mm) Programming Your Radio System below the edge of the fuselage as shown. The following describes the mixing necessary to operate the thrust vectoring of your model. Use this information to program your radio to operate the thrust vectoring. - Page 9 From the D/R & EXPO screen, select the AILE From the D/R & EXPO screen, select the RUDD function. Set the dual rate switch for the ailerons to function. Set the dual rate switch for the rudder to the "1" position. Set the EXPO for +30% to make the "0"...
- Page 10 Select PROG.MIX1 from the radio menu. Set Thrust nozzle shown with left thrust mixing activated. the mix for ELEV to AUX2. Make sure the rates are both at +100%, and that the switch is set to MIX. There should be no offset for this mix. Thrust nozzle shown with up thrust mixing activated.
-
Page 11: Replacing Or Inspecting The Ducted Fan Unit
Replacing or Inspecting the Ducted Fan Unit. Setting the Control Throws Use the following to set the high and low rate throws for the ailerons and elevators. If you have used our mixing suggestions, the throws for the thrust vectoring will be correct once the control surface throws are set. - Page 12 HLI350004 Fuselage and Nose Cone HLI350007 HLI350010 Decals Brushless Motor 2750Kv HLI350008 Canopy and Nose Cone HLI350011 4S Lipoly Battery 2200mAh (Genuine Deans Ultra Conns) HLI350009 70mm Ducted Fan Unit...
- Page 13 HLI350012 45A ESC w/Switch Mode BEC HLI350015 9g Servo 90 degree Normal rotation (Ailerons, Elevator) HLI350016 9g Servo 90 degree Reverse rotation (Ailerons, Elevator) HLI350017 9g Servo 120 degree Normal rotation (Retracts, Thrust Vectoring) HLI350018 9g Servo 120 degree Reverse rotation (Retracts, Thrust Vectoring) HLI350013 Brushless Power System...
-
Page 14: Flying The F-35 Lightning Ii
Flying the F-35 Lightning II The F-35 Lightning II has solid flight performance when flown as a conventional electric ducted fan model (without using the vectored thrust). It is quick and responsive and the 70mm fan on 4 cells provides nearly 1 to 1 thrust. - Page 15 Use this page to take notes on building, programming your radio and flying your Lockheed Martin F-35 Lightning II.
- Page 16 Have Fun! We hope that you have many pleasant flights with your Lockheed Martin F-35 Lightning II. Hobby Lobby International 5614 Franklin Pike Circle Brentwood, TN 37027 www.hobby-lobby.com 0005...
Need help?
Do you have a question about the F-35 Lightning II and is the answer not in the manual?
Questions and answers