
Subscribe to Our Youtube Channel
Related Manuals for Hobby-Lobby albatros DVA


Summary of Contents for Hobby-Lobby albatros DVA
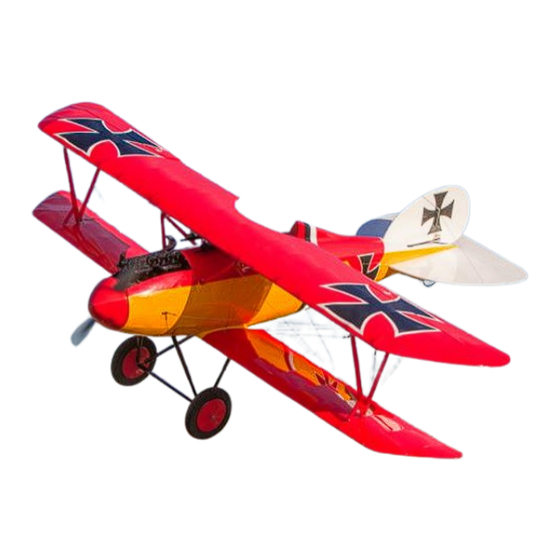
- Page 1 Albatros DVa Wingspan: 52 in. (1325mm) Length: 41 in. (1045mm) Wing Area: 723 in². (46.65dm²) Flying Weight: 60 oz. (1.70kg) Wing Loading 11.95 oz/sq. ft. Center of Gravity 2.6 in. (66mm) back from LE top wing...
- Page 2 Additional Items Required ¨ 4-channel Aircraft Radio w/ Receiver (minimum) ¨ 3 cell Lipo battery 2100-2500mAh ¨ (1) Hitec HS-322 servo ¨ (2) eRC 8g servos ¨ (1) eRC 9g metal gear servo ¨ (2) 12” servo wire extensions ¨ eRC Brushless 45 amp ESC w/SBEC ¨...
- Page 3 1. Install the full size servo for the elevator in the fuselage. Place the output shaft end of the servo toward the tail of the airplane. 2. Install the 9g metal gear servo for the rudder in the fuselage. Place the output shaft end of the servo toward the tail as well.
- Page 4 10. If there is too much wood showing on the top of the stabilizer, iron on a scrap of the matching covering from the spare covering provided. 11. Slide the horizontal tail into the slot in the fuselage and center. Do Not Glue yet. 12.
- Page 5 16. Single 35” piece of stranded wire is for the tail brace. The other pairs of wires will be used later for the main rigging of the wings. 17. Locate the tail brace parts shown in photo. You will also need the 35” wire and 2 crimp tubes.
- Page 6 25. With servo mounted on hatch, extend the length of the servo wire with a 12” extension. Tape the connection so that it cannot be pulled loose. 26. Tie the male plug end of the extension to the pull string located in the wing. 27.
- Page 7 32. Check the hinge gap and keep it small. Using the shaft of the pin as a guide is a good idea. 33. When satisfied with the fit of the aileron, CA it in place with a quick shot of thin CA glue.
- Page 8 36. The photo at the right shows the parts needed to assemble the landing gear. Not shown in the photo are the 3 wheel collars, you will need them as well. 37. Slide one wheel onto axel and then one of the wheel collars.
- Page 9 43. Slip on the second wheel and the final wheel collar and tighten, make sure that the wheels rotate freely. 44. The assembly should look like the photo to the right and is ready to install into the slots in the fuselage. 45.
- Page 10 48. You may need to use the end of a piece of ply to aid in inserting the spacers, they are a tight fit. 49. Once fully inserted apply a few drops of thin CA to retain the spacers.(See photo) 50.
- Page 11 54. The installation should look like the photo to the right. 55. With the dummy motor installed, the battery hatch installs and is held in place with magnets. 56. Install cabane struts on fuselage. Use small machine screw, washer and nut. 57.
- Page 12 61. In addition to the cable you will need this hardware. 62. Machine screws, washers and nuts to attach struts to wings and fuselage 63. Turnbuckles, cable connectors and cable crimps to attach cable and adjust cables. 64. Locate the cables and separate into groups shown.
- Page 13 73. Install swivel on side of fuselage nose with washer head wood screw. 74. Unscrew the turnbuckle so that you will have adjustment room later. 75. Start at the location shown in photo. 76. Slip one crimp on cable and thread cable through swivel on nose and back through crimp.
- Page 14 83. Thread cable through rear upper cabane swivel, then through a cable crimp, then the lower wing root connector and back through the crimp before going to the upper cabane swivel and back to the turnbuckle at the base of the outboard strut.
- Page 15 Warranty Hobby-Lobby guarantees this kit to be free from defects in both material and workmanship at the date of purchase. This warranty does not cover any component parts damaged by use or modification. In no event shall Hobby-Lobby’s liability exceed the original...
- Page 16 Hobby Lobby International, Inc. 5614 Franklin Pike Circle Brentwood, TN 37027 1-866-WE-FLY-RC (1-866-933-5972) www.hobby-lobby.com...
Need help?
Do you have a question about the albatros DVA and is the answer not in the manual?
Questions and answers