Advertisement
Quick Links
User Manual
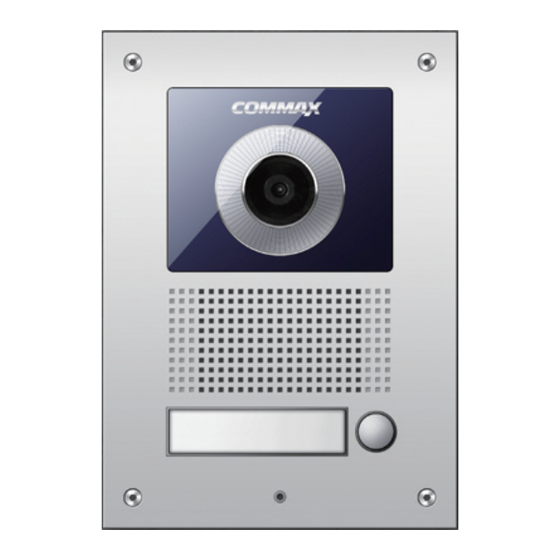
Door camera DRC-41UN
• Thank you for purchasing COMMAX products.
• Please carefully read this User's Guide (in particular, precautions for safety) before using a product and follow
instructions to use a product exactly.
• The company is not responsible for any safety accidents caused by abnormal operation of the product.
Advertisement

Summary of Contents for Commax DRC-41UN
-
Page 1: User Manual
User Manual Door camera DRC-41UN • Thank you for purchasing COMMAX products. • Please carefully read this User’s Guide (in particular, precautions for safety) before using a product and follow instructions to use a product exactly. • The company is not responsible for any safety accidents caused by abnormal operation of the product. -
Page 2: Table Of Contents
Contents 1. Introdution............. 2 2. Important Safeguard ........3 3. Part Names........... 4 4. Installation & Wiring ........6 5. Package contents ......... 8 6. Specification ..........9... -
Page 3: Introdution
The model number is located on the bottom and record the serial number in the space provided below(available). Refer to these numbers whenever you call upon your COMMAX dealer regarding this product. Model No. -
Page 4: Important Safeguard
2. Important Safeguard ▲ Damage Requiring Service: This equipment from the power source and source and refer servicing to qualified service personnel under the following conditions: ⓐ when the power is damaged. ⓑ if liquid has been spiled or objects have hallen into the unit ⓒ... -
Page 5: Part Names
3. Part Names. - Page 6 ① Camera Lens: Transfering images, Keep it clean to get clear view ② LED & illumination Sensor : Providing clear image at night ③ Speaker : Delivering the voice from the monitor to the camera ④ Name card : You can write the house number ⑤...
-
Page 7: Installation & Wiring
4. Installation & Wiring... - Page 8 ① Line up the holes of wall and flush box and fix it on the wall. ② Do the monitor wiring cosidering the polarity according to the the image (Wiring diagram) ③ Fit the product from the above and press it against the bracket. Then, check the monitor screen, if it shows the place that you would like to see.
-
Page 9: Package Contents
5. Package contents Connector Manual (4PX200) Door Camera Flush box Camera Screw(4EA) 현관카메라 현관카메라 현관카메라 벽걸이 현관카메라 벽걸이 벽걸이 브라켓 벽걸이 브라켓 브라켓 카메라 브라켓 카메라 카메라 SCREW CAP 카메라 SCREW CAP SCREW CAP SCREW CAP (M3X8) 고정 스크류 고정 스크류 고정... -
Page 10: Specification
6. Specification Model DRC-41UN Power source 12V (from Monitor) Wiring 4 wires(Polariry)C Camera Module C-MOS(COLOR) Communication Duplex Frequency NTSC STANDARD Min. Lux. 0.1Lux(300mm from camera) Light (Operation in Dark) Camera Angle Horizontal 68°, Vertical 55° Angle Adjustment Up, Down, Left, Right, 10° each Temperation -10°C(tested up to -40°C) ~ +50°C... - Page 11 513-11, Sangdaewon-dong, Jungwon-gu, Seongnam-si, Gyeonggi-do, Korea Int’l Business Dept. : Tel.; +82-31-7393-540~550 Fax.; +82-31-745-2133 Web site : www.commax.com Printed In Korea / 2013.06.105 PM1041UN0010...


Need help?
Do you have a question about the DRC-41UN and is the answer not in the manual?
Questions and answers