Table of Contents
Advertisement
Quick Links
Advertisement
Table of Contents

Related Manuals for Sentry360 IS-IP200-IRB


Summary of Contents for Sentry360 IS-IP200-IRB
-
Page 1: User Manual
IS-IP200-IRB, 220-IRB-30 User Manual Ver 1.0 ©Sentry360 2014... -
Page 2: Table Of Contents
Table of Contents Overview ..........................3 Features ........................3 Package Contents......................4 Dimensions ........................5 Connectors ........................6 Camera Cabling ......................... 8 Connect Power ......................8 Connect Ethernet Cable ....................8 Connect Alarm I/O......................8 Installation ......................... 9 Ceiling / Wall Mounting ....................9 System Requirements .....................11 Access Camera ........................12 Configure Video Streams ....................16... -
Page 3: Overview
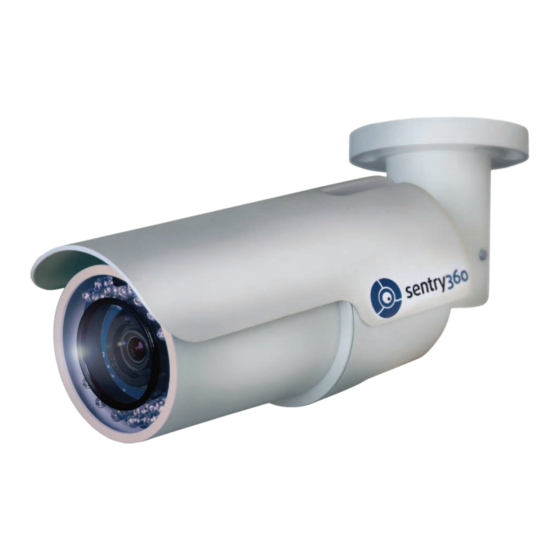
The IS-IP200-IRB camera is a Quad-streaming, H.264 & MJPEG encoding, 2.0 Megapixel resolution, IP-addressable, network camera. It is designed to deliver full-motion, high-definition, progressive scan digital video across local area networks. The IS-IP200-IRB features a design with no moving parts, a 1/2.7” CMOS sensor, Power over Ethernet, 23 built-in IR-LEDs, and Audio-In/Audio-Out. -
Page 4: Package Contents
Package Contents Please check the package contains the following items listed below. Camera (Cable included) Power Terminal Block (x1) M4 Inner Hex Wrench (x1) Alarm Terminal Block (x1) Plastic Screw Anchors (×5) M4 Self Tapping Screws (×5) Desiccant Desiccant User Guide Quick Guide... -
Page 5: Dimensions
Dimensions The IS-IP200-IRB dimensions are shown below. -
Page 6: Connectors
Connectors The diagram below shows the IS-IP200-IRB reset button and various connectors. Definition for each connector will be given as follows. All-in-one Cable Cable Definition Remarks Network (with PoE) RJ-45 connector with LED AC 24V-1 DC (-) Power Reserved Power connection... - Page 7 Micro SD Card Slot Factory Default Button Reboot Button NOTE: Before installing, please refer to in the package to place ESICCANT UIDE the desiccant in the camera to prevent moisture from condensing on the IS-IP200-IRB glass cover.
-
Page 8: Camera Cabling
Use of Category 5 Ethernet cable is recommended for network connection; to have best transmission quality, cable length shall not exceed 100 meters. Connect one end of the Ethernet cable to the RJ-45 connector of the IS-IP200-IRB, and the other end of the cable to the network switch or PC. -
Page 9: Installation
Please read the instructions provided in this chapter thoroughly before installing the IS-IP200- IRB. Ceiling / Wall Mounting The IS-IP200-IRB can be installed directly on a wall or ceiling with the integrated 2-axis adjustable Bracket Mount. Please note that the wall or ceiling must have enough strength to support the camera. - Page 10 Step 5. Use the supplied hex wrench and cross screwdriver to loosen the hex bolt / screw on the side of the bracket mount and the camera housing to adjust the position of the IS-IP200-IRB.
-
Page 11: System Requirements
System Requirements To access the IS-IP200-IRB via web browser, please ensure your PC has a good network connection, and meets system requirements as described below. Items System Requirement ® ® 1. Intel Pentium M, 2.16 GHz or ® Personal Computer... -
Page 12: Access Camera
Access Camera Step 1. Power your camera using the correct power source (PoE switch, PoE injector, or 12V adapter). Step 2. Download, install, and run sentryView™, Sentry360’s camera configuration tool, here: http://sentry360.com/product/sentryview/ Step 3. Click the Scan button in sentryView™ to scan your network for connected cameras. - Page 13 Step 7. Your cameras are now configured. If you are using sentryCore™ as your Video Management System, please download the latest version here: http://sentry360.com/product/sentrycore/ Step 8. Right click on a camera and select Browse. The prompt for entering the default username and password will appear for logging in to the IS-IP200-IRB.
- Page 14 NOTE: ID and password are case sensitive. Installing DC Viewer Software Online For the initial access to the IS-IP200-IRB, a client program, DC Viewer, will be automatically installed to the PC when connecting to the camera. If the web browser doesn’t allow DC Viewer installation, please check the Internet security...
- Page 15 Image and Focus Adjustment The image displays on the Home page when successfully accessing to the IS-IP200-IRB. Adjust zoom and focus as necessary to produce a clear image. Note: Please refer to IS-IP200-IRB M for more button function detail.
-
Page 16: Configure Video Streams
Configure Video Streams Users can setup Video Resolution on the Video Format page of the user-friendly browser-based configuration interface. Video Format can be found under this path: Streaming > Video Format. Click on <Save> to confirm the setting. -
Page 17: Configuration Files Export / Import
Click on <Save> and specify a desired location for saving the configuration file. Upload To copy an existing configuration file to the IS-IP200-IRB, please first click on <Browse> to select the configuration file, and then click on the <Upload> button for uploading. -
Page 18: Appendix A: Delete The Existing Dc Viewer
Appendix A: Delete the Existing DC Viewer For users who have installed the DC Viewer in the PC previously, please first remove the existing DC Viewer from the PC before accessing the IS-IP200-IRB. Deleting the DC Viewer In the Windows <Start Menu>, activate <Control Panel>, and then double click on <Add or Remove Programs>. -
Page 19: Appendix B: Setup Internet Security
Step 4. Click on <OK> to accept the settings. A prompt window will appear for confirming the setting changes, click <Yes(Y)> to close the Security Setting window. Step 5. Click on <OK> to close the Internet Options screen. Step 6. Close the browser window, and restart a new one to access the IS-IP200-IRB.
Need help?
Do you have a question about the IS-IP200-IRB and is the answer not in the manual?
Questions and answers