
Related Manuals for Sentry360 FS-IP12360-V


Summary of Contents for Sentry360 FS-IP12360-V
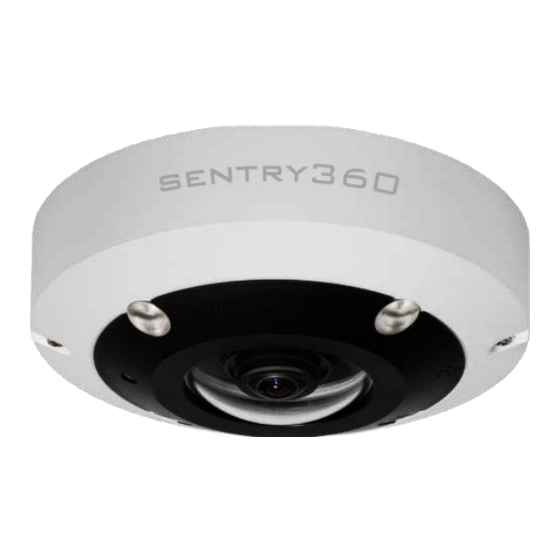
- Page 1 FullSight™ IP 12.0 Megapixel Ultra-Compact 360° Dome User Manual FS-IP12360-V Mini Dome IP Camera User’s Manual Ver. 1.0 FS-IP12360-V...
-
Page 2: Table Of Contents
Table of Contents Overview ..........................2 Features ........................2 Package Contents ....................... 3 Function Cables ......................4 Camera Cabling ........................5 Ethernet Cable Connection ..................5 Alarm I/O Connection ....................5 System Requirements ......................6 Access Camera ........................7 Configuration Files Export / Import ................... 10 Appendix A: Delete the Existing DC Viewer ................ -
Page 3: Overview
360 degree view. An optically corrected panoramic lens, designed exclusively for the FullSight™ camera, allows for immersive 360 degree live view as well as pan-tilt-zoom during playback with the use of Sentry360’s API or SDK with any 3rd party network video recording software certified partner. -
Page 4: Package Contents
Package Contents Please check the package contains the following items listed below. FS-IP12360-V Self-Tapping Screw (x3) Plastic Screw Anchor (x3) Quick Guide (bundled software and documentation) -
Page 5: Function Cables
Dimensions The dimensions of the camera are shown below. Function Cables Connector Definition Remarks RJ-45 For network and PoE connection DC 12V – AC 24V 1 Power Power (DC 12V / AC 24V) connection DC 12V + AC 24V 2 Alarm In –... -
Page 6: Camera Cabling
Camera Cabling Before users connect cables, make sure that all cables and the power adaptor are placed in dry and well-waterproofed environments, e.g. waterproof boxes. The purpose is to prevent moisture accumulation inside the camera and moisture penetration into cables, which might lead to camera breakdown. Ethernet Cable Connection For best transmission quality, cable length shall not exceed 100 meters. -
Page 7: System Requirements
System Requirements To perform the IP camera via web browser, please ensure the PC is in good network connection, and meet system requirements as described below. Items System Requirement ® ® 1. Intel Pentium M, 2.16 GHz or ® Personal Computer Intel Core 2 Duo, 2.0 GHz... -
Page 8: Access Camera
Access Camera Step 1. Power your camera using the correct power source (PoE switch, PoE injector, or 12V adapter). Step 2. Download, install, and run sentryView™, Sentry360’s camera configuration tool, here: http://sentry360.com/product/sentryview/ Step 3. Click the Scan button in sentryView™ to scan your network for cameras. - Page 9 Management System, please download the latest version here: http://sentry360.com/product/sentrycore/ Step 8. Right click on a camera and select Browse. The prompt for entering the default username and password will appear for logging in to the FS-IP12360-V The default login ID and password for the Administrator are:...
- Page 10 <Finish> to exit the installation process. Step 3. Click on <Finish> to close the DC Viewer installation page. Once the DC Viewer is successfully installed, the FS-IP12360-V Home page will be able to correctly display as the figure below.
-
Page 11: Configuration Files Export / Import
Configuration Files Export / Import To export / import configuration files, users can access the Maintenance page on the user-friendly browser-based configuration interface. The Maintenance setting can be found under this path: System> Maintenance. Users can export configuration files to a specified location and retrieve data by uploading an existing configuration file to the camera. -
Page 12: Appendix A: Delete The Existing Dc Viewer
Appendix A: Delete the Existing DC Viewer For users who have installed the DC Viewer in the PC previously, please remove the existing DC Viewer from the PC before accessing to the IP camera. Deleting the DC Viewer In the Windows <Start Menu>, activate <Control Panel>, and then double click on <Add or Remove Programs>. -
Page 13: Appendix B: Setup Internet Security
Appendix B: Setup Internet Security If ActiveX control installation is blocked, please either set Internet security level to default or change ActiveX controls and plug-ins settings. Internet Security Level: Default Step 1: Start the Internet Explorer (IE). Step 2: Click on the <Tools> tab on the menu bar and select <Internet Options>. Step 3: Click on the <Security>...
Need help?
Do you have a question about the FS-IP12360-V and is the answer not in the manual?
Questions and answers