Table of Contents

Related Manuals for Classe Audio SSP-30


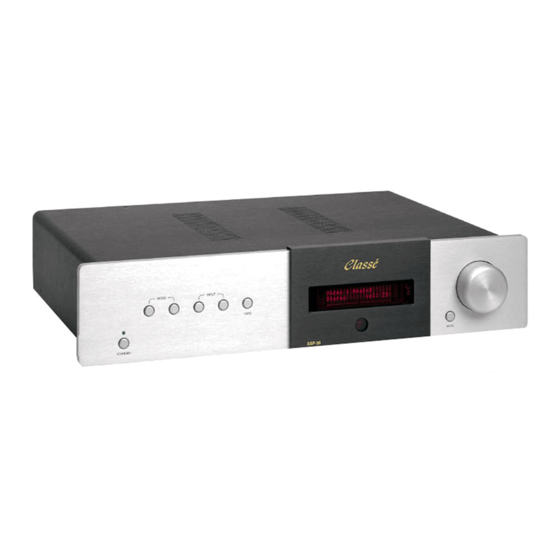
Summary of Contents for Classe Audio SSP-30
- Page 1 Classé SSP-30 PREAMPLIFIER / PROCESSOR SERVICE MANUAL v 1.0...
- Page 2 Index Mechanical Assembly PC Boards Testing Procedures Diagrams...
-
Page 3: Mechanical Assembly
SSP-30 MECHANICAL ASSEMBLY... -
Page 4: Face Plate Assembly
FACE PLATE ASSEMBLY SSP-30 1 MJ-2347P 2 L2C4XR02 3 L2C3XR02 Classé - 1... -
Page 5: Top View
FACE PLATE ASSEMBLY) SSP-30 TOP VIEW 1 N-4K 2 SDB161PVB20F 3 Flat Washer 4 Nut 5 L2C4XR02 6 6-32 x 1/4 SHSS 7 L239XR00 Classé - 2... -
Page 6: Chassis Rear View
CHASSIS REAR VIEW SSP-30 1 D501-J12-S2-15-QA 5 656-042 2 RCA Jack 6 EAC-309 3 4-40 x 3/8 BHCS 7 6-32 x 3/8 BHCS 4 N-1K Classé - 3... - Page 7 CHASSIS REAR VIEW SSP-30 1 4-40 x 3/8 BHCS 5 RS-232 2 Toslink 6 Standoff 3 XLR 7 4-40 x 3/8 BHCS 4 4-40 x 3/8 BHCS 8 S-video Connector Classé - 3...
- Page 8 CHASSIS SSP-30 TOP VIEW 1 PLA CAPFR1 2 HDW #8 FLAT WASHER 3 BZO 8-32x3/4” BHCS 4 L2C1XR06 Classé - 6...
- Page 9 PARTIAL ASSY SSP-30 TOP VIEW 1 TVC-STD TINAN 2 TCM-STD TITAN 3 T-60C 4 B2C4XR02 5 B2CAXR00 Classé - 8...
- Page 10 SHIPPING AREA - FINAL ASSY SSP-30 1 L2C2XR03 2 MPF-0605-100-BO Classé - 9...
-
Page 11: Pc Boards
SSP-30 PC BOARDS... - Page 12 B2CAXR00 - SWITCH SSP-30 Classé - 10...
-
Page 13: Front Board
FRONT BOARD SSP-30 Classé - 10... -
Page 14: Testing Procedures
SSP-30 TESTING PROCEDURES... - Page 15 START - UP SSP-30 1-check all wires and components 2-Check screws and bolts 3-Connect the jumpers for 120 Volts 4-Turn the bias all the way to 0 volts 5-Connect the unit in bypass mode 6-Connect the unit with variable transformer...
-
Page 16: Final Test
FINAL TEST SSP-30 1. Before final test unit was 4 days on burn-in-bench with music. 2. Take the unit from burn-in-bench to Q.C and play it immediately. Keep the line 120V A.C. 3. Check physically and check the components. -check all capacitor and devices direction. Capacitor stand up right way i.e. check co- solder. -
Page 17: Diagrams
SSP-30 DIAGRAMS... -
Page 18: Front Panel
FRONT PANEL SSP-30 Miscellaneous,VF-displayand IR-receiver misc.sch Slot connector IR-receiver ABCDEFGHIJK 1234567890 VF-display LED's and LED-display leds.sch LED-display Buttonsand rotary buttons.sch Rotary Classé - 16... - Page 19 FRONT PANEL SSP-30 LatchIn 1N4148 Manual latching DataInput Input1 Input2 Input3 Input4 Input5 Input6 Input7 Input8 100n 100n 100n 100n 100n 100n 100n 100n 100n SH/DL SW11 SerialClk CLK inh MISO TP18 IC15A 74HC165 1N4148 1N4148 1N4148 1N4148 1N4148 1N4148...
- Page 20 FRONT PANEL SSP-30 LatchOut SerialClk 100n 470R 100n MOSI SERIN 470R 470R SERIN 470R 470R SerialClk SRCLK 470R 470R SRCLR SRCLK 470R 470R SRCLR AnaIn 470R 470R LatchOut RCLK 470R RCLK 470R EnLeds EnLeds SEROUT 100n 100n 100n 100n 100n...
- Page 21 FRONT PANEL SSP-30 StandardSlot Circuits: IR receiver Slot Connector C101 100n R109 100uF 330R R110 C102 REC1 100uF Reserved2 SlotSelect SerialClk TSOP1736 GeneratingStrobes MISO Interrupt MOSI -reset Out1 Out3 Reserved1 Out2 Reserved2 100n IdentClk IdentDataOut X20P2M Out1 LatchIn Out2 LatchOut...
- Page 23 "EX-S" bypass, CS mode Option C109 C118 C182 +15A -15A R133 C183 C107 C113 -15A R140 100n 100n R131 not installed R139 Main_Lb R134 Sw_Lb IC27A TL072 IC27B TL072 Main_L +15A Main_R C198 McSClk SCLK McMosi Dout Main_C R148 C199 McCSWCs -15A R153...
- Page 27 5. Replace Video Board by reversing step 2. Make sure that the ribbon cables are properly aligned with the connectors on the Video Board. 6. Connect the upgraded SSP-30 to the programming computer with a serial cable (9 pin) and the supplied baud rate converter. The cable goes...
Need help?
Do you have a question about the SSP-30 and is the answer not in the manual?
Questions and answers