Advertisement
Quick Links
Advertisement

Related Manuals for Vook VDT2504HD


Summary of Contents for Vook VDT2504HD
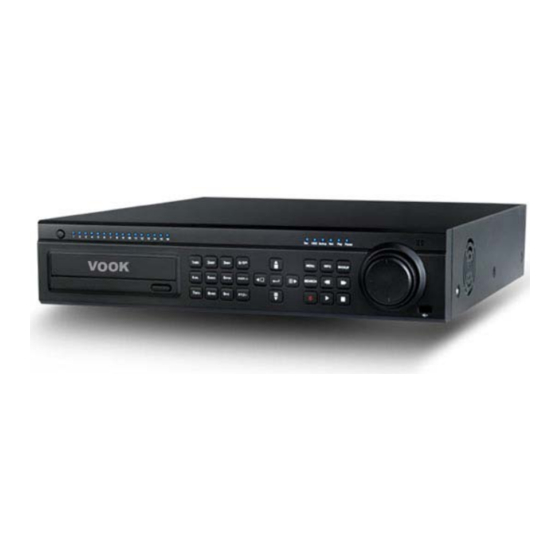
- Page 1 VOOK QUICK START QUIDE VDT2504HD VDT2508HD VDT2516HD VOOK premium DVR...
-
Page 2: Install Hard Drive &Dvd Writer
Place the DVD writer onto the bottom case as below. Fig 1.2 Connect the DVD Writer Step2: Screw the DVD writer. Note: this installation situation is suitable for installing three hard drivers and one DVD writer in the device. VOOK premium DVR... - Page 3 Change screen display mode like1/4/9/16 channel Enter button Confirm selection To connect external USB devices like USB flash, USB port USB HDD for backup or update firmware; or connect to USB mouse 2.2 Rear view for 4-ch DVR: VOOK premium DVR...
- Page 4 Fig 2.2 Rear view for 8-ch DVR Connect to monitor Video input channels from 1-8 Connect Connect to monitor as an AUX output channel backup by channel. Only video display, no menu show Audio output, connect to Talk the sound box VOOK premium DVR...
- Page 5 Connect to speed dome Grounding Connect to keyboard Grounding For cooling the device POWER INPUT Switch on/off 3. Power on Step1: connect with the source power; switch on the power button near the power port on the rear panel VOOK premium DVR...
-
Page 6: Basic Setup
Click right mouse, or press ENTER button on the front panel can enter into the main menu. Menu-System refers to Fig 4.2: Fig 4-2 Main menu setup Basic configuration: user can set video system, menu language, audio, time and authorization check. VOOK premium DVR... - Page 7 The column means the seven days of a week from Monday to Sunday, the row means 24 hours of a day. Click the grid to do relevant setup. Blue means checked area, gray means unchecked area. Fig 4-3 Schedule record setup VOOK premium DVR...
- Page 8 This unit supports live record playback, time search and event search. It displays full or 4 screens in playback. 4.3.1 Live playback Click Play button to playback the record. Refer to Figure4-7. User can do concrete operation by click the buttons on screen. VOOK premium DVR...
- Page 9 Click Search button, the searched event information will displayed in the event list box, user can select date, channel, tick off Motion, Sensor or All accordingly. Double click a video file to playback. VOOK premium DVR...
-
Page 10: Remote Surveillance
Using DHCP to get IP address automatically Click the Menu button, enter into System—Network configuration (refer to Fig 5-1), enable DHCP in the both the DVR and the router. VOOK premium DVR... - Page 11 Input name and password correctly, and enter to view. Connect the DVR to Internet through dial-up ADSL Input IP address, Subnet, Gateway gotten from your ISP. If using ADSL, please input user name and password, and click OK. The DVR will connect the server and VOOK premium DVR...
- Page 12 80, add the port number after IP address or domain name. IE will download ActiveX automatically. Then a window pops up and asks for user name and password. Input name and password correctly, and enter to view. VOOK premium DVR...
Need help?
Do you have a question about the VDT2504HD and is the answer not in the manual?
Questions and answers