
Related Manuals for Outdoor GreatRoom Company Providence Fire Pit


Summary of Contents for Outdoor GreatRoom Company Providence Fire Pit
- Page 1 Providence Fire Pit Installation Instructions For All Providence Fire Pit Models And top Styles P a g e...
-
Page 2: Table Of Contents
Contents Package Contents and Required Tools………3 Placing and assembling the Table.…4-7 Connection……………………….…………….8 Igniter Installation…………….………………………...9 Locating Propane tank………..………….11 Finishing Touches…………………………..12 90209 REV A 4-4-14 P a g e... -
Page 3: Package Contents And Required Tools
Required Tools 2 Open Ended Wrenches To make gas connections Leather Gloves To protect hands from rough edges found on the coffee table. One (1) AAA Battery (not included) Required for piezoelectric igniter installation. Electric Screw Gun with Philips tip (used for metal tops excluding brushed stainless model) Included in packaging... -
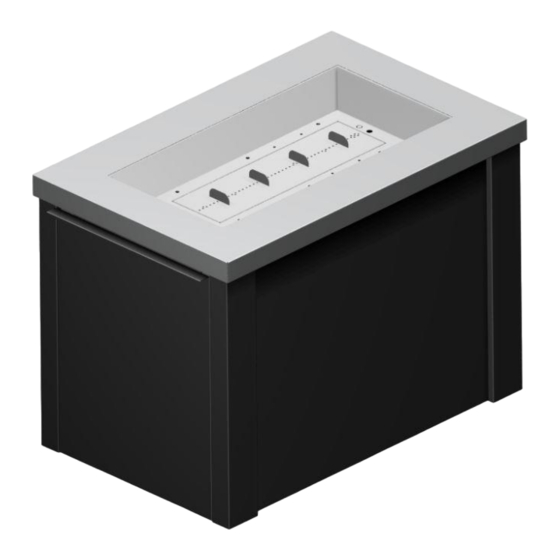
Page 4: Placing And Assembling The Table
Placing and Assembling the Fire Pit table (STAINLESS STEEL TOP) 1. Remove all components from packaging. 2. Move the base (remove door) to desired location and set into place. 3. When locating your coffee table, refer to the manual included with your burner and maintain clearance to combustibles. - Page 5 Placing and Assembling the Fire Pit table (Silver and Copper Vein Powdercoated Tops) 1. Remove all components from packaging. 2. Move the base (remove door) to desired location and set into place. 3. When locating your coffee table, refer to the manual included with your burner and maintain clearance to combustibles.
- Page 6 5. Set burner into place with the igniter at the opposite end from the door of the fire pit. See the section labeled Gas Connection and Igniter Installation to install gas lines and piezoelectric igniter , then set the metal top into place on TOP of the burner.
- Page 7 Placing and Assembling the Fire Pit table (Marbelized SuperCast top) 1. Remove all components from packaging. 2. Move the base (remove door) to desired location and set into place. 3. When locating your table, refer to the manual included with your burner and maintain clearance to combustibles.
-
Page 8: Gas Connection
Read and understand your Crystal Fire owner’s manual before beginning burner hookups or using the device. Gas Connection 1. Remove stainless steel top (if applicable) and lift burner out of base to expose control valve. 2. Connect the incoming gas hose to the valve and using two wrenches tighten securely. -
Page 9: Igniter Installation
Igniter Installation 1. Make sure the valve is in the OFF position 2. Unscrew sparker cap and hex nut. Install as shown below. P a g e... - Page 10 3. To properly install ignition system, a spark and ground wire need to be attached to the igniter box. Make sure both black wires attached to the burner are securely plugged into the backside of the sparker box as shown. ...
-
Page 11: Locating Propane Tank
Locating your Tank 1. Your tank should be positioned so that the fuel can be shut off after each use. 2. Slide the tank into the framework past the line shown below. This is to allow the door to close completely. 3. -
Page 12: Finishing Touches
Finishing touches Once fire pit is set up and in the desired position, scatter decorative glass on burner surface forming an even layer of beads. DO NOT BURN WITHOUT GLASS OR OTHER DECORATIVE SUBSTRATE PRESENT IMPORTANT Please consult your Crystal Fire instruction manual for detailed instructions and important information related to hooking up your linear burner, including safety information, proper tightening of connections with two wrenches and full burner setup and lighting... - Page 13 Warranty: Fire pit tables are covered under a 1- year manufacturer’s warranty. Please visit http://www.outdoorrooms.com/warranty-form to register your product. 13 | P a g e...
- Page 14 14 | P a g e...
- Page 15 15 | P a g e...
- Page 16 © 2014 The Outdoor GreatRoom Company 2015 Silver Bell Road • Suite 195 • Eagan, MN 55122 Toll Free: 1-866-303-4028 • Sales@OutdoorRooms.com 16 | P a g e...
Need help?
Do you have a question about the Providence Fire Pit and is the answer not in the manual?
Questions and answers