
Related Manuals for Optiview VR series


Summary of Contents for Optiview VR series
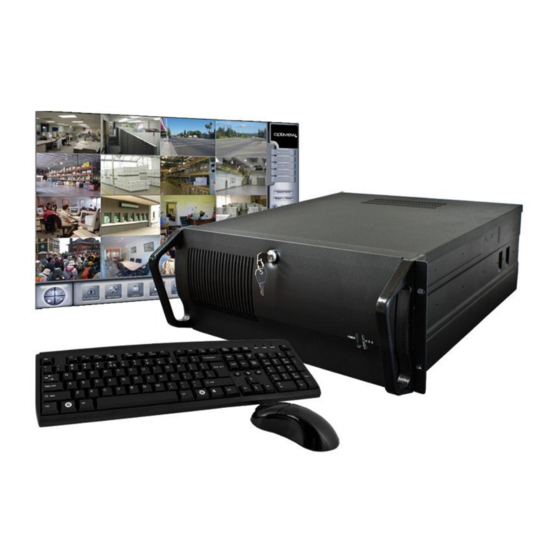
- Page 2 I. Get to know your connectors and back panel 1. After unpacking the DVR, set it up on a sturdy shelf free from vibrations, dust, high humidity and moisture. 2. Connect the following at the back of the computer: a. PC USB mouse and keyboard – plug in the USB mouse at the USB ports located at the back of the PC shown here below b.
- Page 3 II. Starting your DVR System After power cable, USB mouse, keyboard, monitor and all your camera cables have been connected to the DVR system, you are now ready to turn ON your DVR system. Turn ON the main black color power switch at the back of the computer, the DVR will start to load the software in a few moments.
- Page 4 III. Customize your DVR System: Create DVR User Accounts Three most common things customized on a VR Enterprise DVR system: A. setup up personalized username and password B. setup the DVR on your private network C. Change date and time clock of the DVR system A.
- Page 5 III. Customize your DVR System: Create DVR User Accounts Create DVR User Account – below is the user graphics menu to add a DVR user account. a. Click “New User” button b. Enter the username, authority level and password for your new account as shown below: Note: password should only be 8 characters...
- Page 6 Service Provider or Microsoft for technical support. If you need to have a detailed technical support in configuring your private network, Optiview does offer a Networking Technical Support at the rate of $65.00 per hour (subject to change without prior notice). This support requires the customer to have Internet subscription from your Internet Service provider and a software will be installed on your computer to remotely configure your network devices (routers, modem etc…)
- Page 7 IV. Customize your DVR System – Configure Network Setup 2. Setup a Static IP address to your DVR system What is an IP address? IP addresses also known as network address are four sets of numbers separated by periods that allow computers to identify each other. Every computer has at least one IP address, and two computers should never have the same IP address.
- Page 8 IV. Customize your DVR System – Configure Network Setup Step 3: The command prompt may look different on your screen, but it display a line “Ethernet adapter Local Area Connection”. Type ipconfig /all in that window, and then press the enter key.
- Page 9 5.2 Double click on the Local Area connection icon 5.3 Click Properties >>>>> highlight Internet Protocol version 4 (TCP/IP), click OK. 5.4 Enter the local network address to be use for the DVR system. Every network is using a different set of network address range, check with your modem or router as to what range of network address to use.
- Page 11 V. Customize DVR System Time Clock Step 1: From your DVR desktop screen, using your mouse, double click the time clock at the lower right corner of your desktop screen. To simply change the date and time, click your mouse on “Change date and time settings….” Step 2: Click “Change Date and Time….”...
Need help?
Do you have a question about the VR series and is the answer not in the manual?
Questions and answers