Table of Contents
Advertisement
Quick Links
© 2012, Moog Videolarm, Inc. All Rights Reserved
With Sunshield
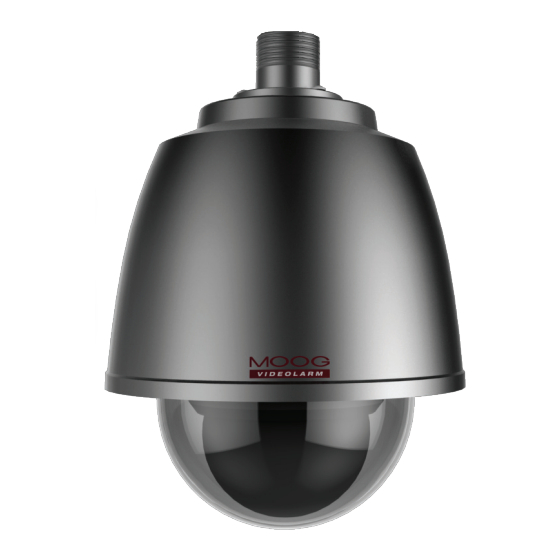
S t a i n l e s s S t e e l D o m e
Rugged Environmental Camera Enclosure Housings
Installation and Operation Instructions for the following models:
SSDP75CN2Y
Stainless steel dome, pendant mount, 24Vac input, heater and
blower, sunshield
SSDP75CN2
Stainless steel dome, pendant mount, 24Vac input, heater and blower
SSDP75CN
Stainless steel dome, pendant mount, no electronics
Before attempting to connect or operate this product, please read these instructions completely.
To be used with the 81-IN5481 Instruction Manual.
www.moogvideolarm.com
81-IN5482
03-21-2012
Advertisement
Table of Contents

Related Manuals for Moog Videolarm SSDP75CN2Y


Summary of Contents for Moog Videolarm SSDP75CN2Y
- Page 1 © 2012, Moog Videolarm, Inc. All Rights Reserved With Sunshield S t a i n l e s s S t e e l D o m e Rugged Environmental Camera Enclosure Housings www.moogvideolarm.com Installation and Operation Instructions for the following models:...
- Page 2 IMPORTANT SAFEGUARDS SAFETY PRECAUTIONS Read these instructions. Keep these instructions. CAUTION Heed all warnings RISK OF ELECTRIC SHOCK DO NOT OPEN Follow all instructions. Do not use this apparatus near water. CAUTION: TO REDUCE THE RISK OF Clean only with damp cloth. ELECTRIC SHOCK, DO NOT REMOVE COVER ( OR BACK).
- Page 3 If Purchaser believes that the Product is defective in material or workmanship, then written notice with an explanation of the claim shall be given promptly by Purchaser to Moog Videolarm. All claims for warranty service must be made within the warranty period.
- Page 4 Electrical Specifications Contents of Box SS Dome Power 24VAC Class 2 Only 24 VAC 92 Watts Accessories: Heater: 50 Watts, Blower: 2 Watt Camera Power: (See Camera Specifications): 40 Watts Max Tools Required: .100” Flat Head Screwdriver Phillips Head Screwdriver English 24 VAC 92 Vatios...
- Page 5 Mount Sold Separately 1” Straight Conduit Run connection wires through mount and attach to wall Wall mount bracket is designed for straight conduit. If with suitable mounting hardware. this tting is desired, install it rst. • Funcione con los alambres de la conexión a través del montaje y •...
- Page 6 Secure lanyard from dome housing to clip on Complete all wiring connections. wall mount. • Termine todas las conexiones del cableado. • Acollador seguro de la bóveda que contiene al clip en el montaje de la pared. • Accomplissez tous les raccordements de câblage. •...
-
Page 7: Replacement Parts List
X3 PLACES After Camera installation. Attach lanyard to the Fasten trim ring assembly to main housing trim ring assembly. with a phillips screwdriver. • Después de la instalación de la cámara. Ate el acollador al montaje • Sujete el montaje del anillo del ajuste a la cubierta principal del anillo del ajuste. - Page 8 Should a problem arise, rest assure that Moog Videolarm stands behind its products by offering impressive warranty plans: 3 Years on all Housings, Poles, Power Supplies, and Accessories and 5 Years on camera systems (SView, QView, Warriors), and InfraRed Illuminators.
Need help?
Do you have a question about the SSDP75CN2Y and is the answer not in the manual?
Questions and answers