Table of Contents
Advertisement
Quick Links
Advertisement
Table of Contents

Related Manuals for Microh LED Trickster


Summary of Contents for Microh LED Trickster
-
Page 3: Introduction And Unpacking
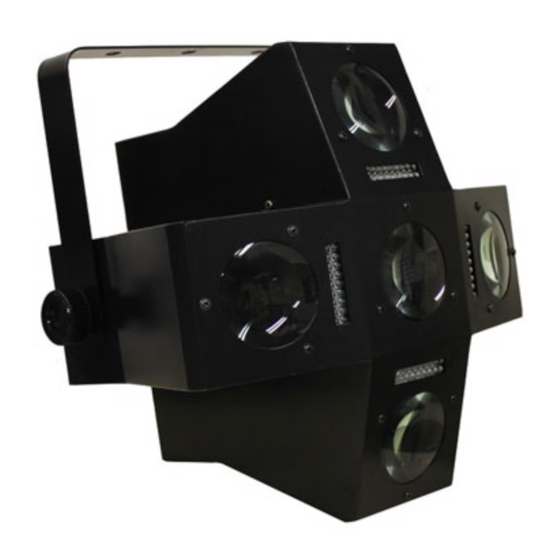
Please install and operate the fixture according to instructions. Meanwhile, please keep this manual for future reference. The MICROH LED TRICKSTER effects fixture is made of a new type of high temperature cast aluminum casing. The fixture is designed and manufactured strictly following CE standards, complying with international standard DMX512 protocol. -
Page 4: Mounting And Installation
2. MOUNTING AND INSTALLATION Caution: For added protection, mount the fixtures in areas outside walking paths, seating areas, or in areas were the fixture might be reached by unauthorized personnel. Before mounting the fixture to any surface, make sure that the installation area can hold a minimum point load of 10 times the device’s weight. - Page 5 Plug in the provided 3 pin XLR cable to the female 3-pin XLR output of your controller and the other side to the male 3-pin XLR input of the LED TRICKSTER effects. To connect the units to DMX, you must daisy chain the...
- Page 6 For installations where the DMX cable has to run a long distance, or is in an electrically noisy environment, it is recommended to use a DMX terminator. This helps in preventing corruption of the digital control signal by electrical noise. The DMX terminator is simply an XLR plug with a 120 Ω resistor connected between pins 2 and 3,which is then plugged into the output XLR socket of the last fixture in the chain.
- Page 7 1 - 14 15 - 29 30 - 44 GREEN 45 - 59 RED+GREEN 60 - 74 BLUE 75 - 89 RED+BLUE 90 - 104 RED+GREEN 105 - 119 RED+GREEN+BLUE 120 - 134 WHITE CHANNEL 2 COLOUR 135 - 149 RED+WHITE 150 - 164 GREEN+WHITE...
- Page 8 1 - 14 15 - 29 30 - 44 GREEN 45 - 59 RED+GREEN 60 - 74 BLUE 75 - 89 RED+BLUE 90 - 104 RED+GREEN 105 - 119 RED+GREEN+BLUE 120 - 134 WHITE CHANNEL 4 COLOUR 135 - 149 RED+WHITE 150 - 164 GREEN+WHITE...
-
Page 9: Technical Specifications
We recommend a frequent cleaning of the device. Please use a moist, lint- free cloth. Never use alcohol or solvents. There are no serviceable parts inside the device. Please refer to the instructions under “Installation instructions”. Should you need any spare parts, please order genuine MICROH parts from your local dealer. - Page 10 DISCLAIMER – MICROH believes that the information contained within this user manual is accurate. However, Microh is not responsible for any error or addendums to this manual. If you have any comments or general suggestions on how this manual can be improved please contact info@microhpro.com. Thank you.
- Page 11 NOTES:...
Need help?
Do you have a question about the LED Trickster and is the answer not in the manual?
Questions and answers