Table of Contents
Advertisement
Quick Links
Works with
iScan Air
Scanner App
All trademarks are the property of their respective owners and all rights are
acknowledged.
Images and screenshots used in this User Guide may vary according to the
devices used and its operating system. Images and screenshots shown inside
are example only.
Compatible with Apple iOS, Mac OS X,
Android OS, and Windows PC/Phone
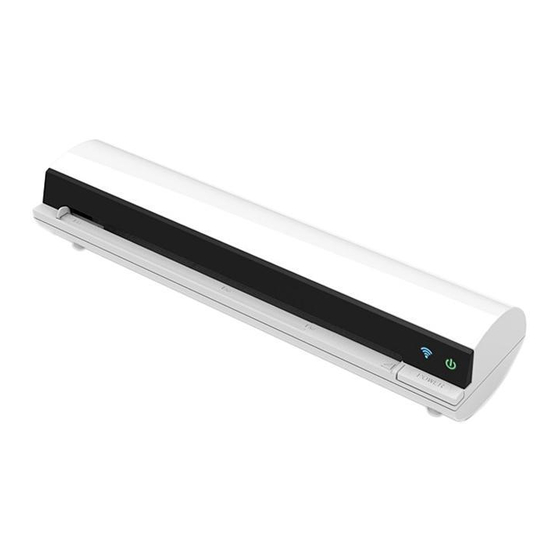
Wireless Scanner
For smartphones, tablets, and computers
Wi-Fi
®
802.11g/n
supported
POWER
POWER
V3.2
Advertisement
Table of Contents

Subscribe to Our Youtube Channel
Related Manuals for Mustek S400W iScan Air


Summary of Contents for Mustek S400W iScan Air
- Page 1 Wireless Scanner Works with iScan Air Scanner App For smartphones, tablets, and computers All trademarks are the property of their respective owners and all rights are acknowledged. Wi-Fi ® Images and screenshots used in this User Guide may vary according to the 802.11g/n devices used and its operating system.
-
Page 2: Safety And Precautions
Safety and Precautions Never store the unit in hot, or very cold, or humid or dusty places. • For an extended storage period, we recommend storing the unit in a cool and dry place. • To help keep the scanning area clean, store the unit in a proper case when not in use. •... -
Page 3: Table Of Contents
Contents Safety and Precautions ..................2 Contents ......................3 Supported Devices ..................... 4 Unpack ......................5 Scanner Parts ....................6 Charge the Battery ..................... 7 Install the iScan Air .................... 8 Connect via Wi-Fi Network ................... 9 Scan and Save ....................10 Scan ..................................10 Save ..................................11 Use the Photo Sleeve .................. -
Page 4: Supported Devices
Supported Devices The Scanner is compatible with following devices: iPad (4th generation), iPad (3rd generation), iPad 2, iPad, iPad mini with iOS 5.0 or later. iPhone 5, iPhone 4S, iPhone 4, iPod touch with iOS 5.0 or later. Android mobile devices (smartphones and tablets) with OS 2.3.3 or later. Mac computers with OS X 10.7 or later. -
Page 5: Unpack
Unpack Make sure following items are included. POWER POWER Scanner USB Cable Calibration Card Cleaning Board (See p.7) (See p.17) (See p.13) Cleaning Strip Photo Sleeve User Guide (See p.15) (See p.12) -
Page 6: Scanner Parts
Scanner Parts Wi-Fi LED Indicator Feed Slot Exit Slot Power LED Indicator RESET POWER POWER Reset Pin-hole Paper Guide POWER Button (System Shutdown) Mini USB Port (for charging only) -
Page 7: Charge The Battery
Charge the Battery The Scanner has a built-in rechargeable battery to provide power, make sure it has been fully charged before use. Press POWER button to turn Off the Scanner. * The Power LED indicator will turn off. Connect the USB cable to the Scanner at small end and to a computer( ), or to USB power adapter(... -
Page 8: Install The Iscan Air
Install the iScan Air The Scanner includes free iScan Air apps to scan images directly to your devices. You need to install iScan Air from Internet to your device before use. NOTES • Ensure that your device has Internet access via your service provider or wireless connection. -
Page 9: Connect Via Wi-Fi Network
Connect via Wi-Fi Network You can make a direct wireless connection between the Scanner and your device in following steps. Press and hold POWER button for 3 seconds. * Wait about 20 seconds until the LED blinks blue light. Enable the Wi-Fi mode on your device, and search the network name “DIRECT-xxxxxx_iScanAir”... -
Page 10: Scan And Save
Scan and Save NOTES • Ensure Wi-Fi function is enabled on the Scanner and connected to your device prior to use. (See p.9) • Make sure your device is supported. (See p.4) Scan Press iScan Air app on your device to open it. Place a photo/document facing up against right edge, adjust the Paper Guide, gently push it in until it is pulled into the Feed Slot. -
Page 11: Save
Scan and Save (cont'd) Press the Scan button to start scanning. * The LED indicator will blink pink light during scanning, the iScan Air app will show real-time preview. Save Press Save to save the image to your device’s photo folder. -
Page 12: Use The Photo Sleeve
Use the Photo Sleeve Use the Photo Sleeve when photos are fragile or small to avoid damage or jams, and get the best result. Remove the plastic foil on the Sleeve, place the photo inside of it, and insert the tab into the slot at the open end. -
Page 13: Clean Rollers
Clean Rollers Dirt and residues can build up on the Scanner’s rollers and affect image quality. Clean the rollers periodically to get the best result using the included Cleaning Board. NOTES • Make sure the Cleaning Board is clean and free of dust before use. - Page 14 Clean Rollers (cont'd) Press the Clean button to begin the process. * The Cleaning Board will be pulled into the Scanner and the LED indicator will blink pink light during cleaning. * Mechanical sounds produced during the cleaning process are normal. POWER Wait until the Cleaning Board is ejected with a 'Cleaning done.' message appeared.
-
Page 15: Clean Lens
Clean Lens Dirt and residues can build up on the Scanner’s lens and affect image quality. Clean the lens periodically to get the best result using the included Cleaning Strip. NOTES Make sure the Cleaning Strip is clean and free of dust •... -
Page 16: Calibrate
Calibrate NOTES • Always clean Scanner’s rollers and lens first before calibration. If cleaning rollers and lens did not improve image quality, then please perform calibration procedures. • If necessary, perform calibration few times until image quality is improved. • Make sure the Calibration Card is clean and free of dust before use. - Page 17 Calibrate (cont'd) Press the Calibrate button to begin the process. * The Calibration Card will be pulled into the Scanner and the LED indicator will blink pink light during calibrating. * Mechanical sounds produced during the calibrating process are normal. POWER Wait until the Calibration Card is ejected with a 'Calibration done.' message appeared.
-
Page 18: Helpful Hints
Helpful Hints Scanner does not turn on. Check if the POWER button is pressed on. • Check if Scanner’s battery has drained and no power is available. • Scanner cannot connect to your device. Try moving Scanner closer to your device. The effective wireless transmission range is 60~100 feet (18~30m) unobstructed. •... -
Page 19: Specifications
Specifications Scanner Type A4 color sheetfed scanner Image Sensor Color CIS (Contact Image Sensor) Light Source LED (R, G, B) Scan Size Min. 55mm x 90mm (2.2" x 3.5") ; Max. 216mm x 356 mm (8.5" x 14") (W x L) Scan Thickness 0.08mm ~ 0.6mm (with supplied Photo Sleeve) Scan Resolution...
Need help?
Do you have a question about the S400W iScan Air and is the answer not in the manual?
Questions and answers