Table of Contents
Advertisement
Advertisement
Table of Contents

Related Manuals for Mustek BearPaw 2400CS Plus


Summary of Contents for Mustek BearPaw 2400CS Plus
- Page 1 Welcome! Mustek Systems Inc.
- Page 2 Mustek. Mustek may have patents or pending patent applications, trademarks, copyrights, or other intellectual property rights covering subject matter in this document.
-
Page 3: Table Of Contents
Contents Welcome ..................... 1 Unpacking the Scanner ............... 2 Installing Drivers ................2 Using the Scanner Buttons on the Control Panel ......... 3 Scanner Hardware Buttons Settings ......... 3 • Scanner (non-changeable) Default Settings ....4 Scan ..................5 Copy .................. -
Page 4: Welcome
2. Select Scanner Help on the Direct Scan icon of your Windows® taskbar, or 3. Click on the Help button found in the BearPaw Panel, or 4. Click on the Link button, then Help System. Help is also available at http://www.mustek.com.tw http://www.mustek.com... -
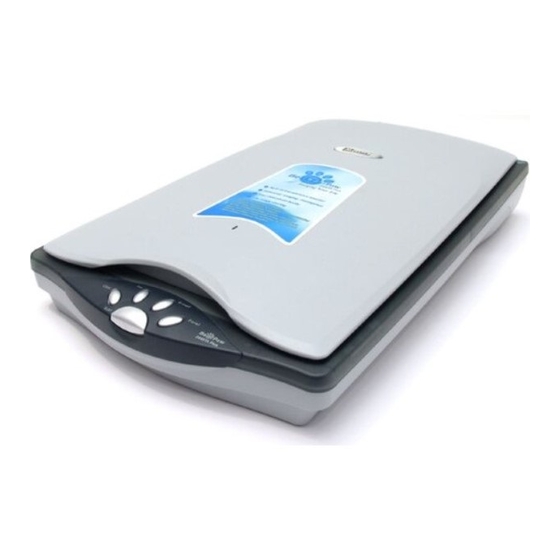
Page 5: Unpacking The Scanner
Unpacking the Scanner Unpack the package and inspect the items closely to make sure no item is damaged. The package should include: The Scanner USB Cable BearPaw Scanner User‘s Guide Installation CD Scanning Utilities Manual (either included in the Installation CD or printed separately) Installing Drivers Please complete the software drivers installation before installing the scanner. -
Page 6: Using The Scanner Buttons On The Control Panel
Using the Scanner Buttons on the Control Panel Make sure that the Direct Scan is enabled (shown) on your Windows® taskbar in order for the scanner buttons to work. If in case Direct Scan is disabled and user wants to enable it, perform the following: Direct Scan 1. -
Page 7: Scanner (Non-Changeable) Default Settings
Sound On/ Off Button You can turn the BearPaw panel sound off and on by clicking this button. Scanner (non-changeable) Default Settings... -
Page 8: Scan
Scan To perform a scan, do the following: 1. Place the document with the image you want to scan face down on your scanner window glass. 2. Press the SCAN button. Screen display will show scanning progress. Upon attaining 100%, your system will automatically load your preferred image editor from the supported list This function is only compatible withPhoto Express™... -
Page 9: Fax
Whiten Background Sometimes, you may be copying an aged text that turned brown or a book printed on un- bleached/recycled paper. Doing so often results in light gray background. Check this box to get rid of the unpleasant shade, that helps to save ink or toner when you print it. -
Page 10: Email
To enhance your overall BearPaw experience, this function was designed to work only with the Mustek® fax utility software provided when you installed the software drivers. Make sure you have a valid fax modem connec- tion. In case your fax modem is connected to a PBX... -
Page 11: Panel
Status and Web Link Progress Bar Settings Help Stop/Cancel Personal Style Link Copy E-mail Scan If you press any scanner button when BearPaw Panel is open, the BearPaw Panel will be hidden from view and scanner button function operates as usual. BearPaw Panel Settings Clicking on the Settings button located on the BearPaw Panel will show the following screen... -
Page 12: Scan
BearPaw Panel (non-changeable) Default Settings Scan To perform a scan, do the following: 1. Place the document with the image you want to scan face down on your scanner window glass. 2. Click on the Scan button. Status and Progress Bar area will show scanning progress. - Page 13 Click anywhere on the screen and use the Plus (+) and Minus (–) button to change its value Click on this key to bring out the Copy Panel Settings screen Copy button 4. Click on the Copy button and Status and Progress Area will show copying progress.
-
Page 14: Fax
To enhance your overall BearPaw experience, this function was designed to work only with the Mustek® fax utility software provided after you install the software drivers. Make sure you have a valid fax modem connec- tion. -
Page 15: Email
E-mail To perform an E-mail, do the following: 1. Place the document with the image you want to E-mail as an attachment face down on your scanner window glass. 2. Click on the E-mail button. Status and Progress Bar area will show E-mailing progress. -
Page 16: Personal Style
Personal Style Allows you to make changes to your system’s startup screen, wallpaper, system logo, icons, cursor, screen saver, shutdown screen, or even recover the default settings to the above men- tioned items, by doing the following: To change the startup screen, wallpaper, system logo, screen saver, or shutdown screen: 1. - Page 17 To change your Windows® cursor: 1. Place the document with the image you want to scan face down on your scanner window glass. 2. Click on the Personal Style button and a drop down menu will appear. 3. Click on Cursor and the Status and Progress Bar area will show its progress.
-
Page 18: Personal Style (Non-Changeable) Default Settings
Personal Style (non-changeable) Default Settings All images are scanned in color mode. Link To use the additional programs bundled with your scanner, click on the Link button and the following items appear: 1. BearPaw VIP Area – allows you to connect directly with our website for the latest enhance- ment to your overall BearPaw experience. -
Page 19: Other Setting
Other Setting Green Function Allows you to set the period of inactivity (1 to 20 minutes) before the lamp inside the scanner shuts down, thereby prolonging lamp life. Make sure that the Direct Scan is enabled (shown) on your Windows® taskbar in order for the scanner buttons to work. -
Page 20: Using The Twain Dialog Box
Using the TWAIN Dialog Box There are three separate methods to scan an image namely: 1. Scanner Control Panel SCAN button. 2. BearPaw Panel. 3. TWAIN Dialog box. Refer to the Scanning Utilities Manual for a de- scription of these to facilitate your use of the scan- ner;...
Need help?
Do you have a question about the BearPaw 2400CS Plus and is the answer not in the manual?
Questions and answers