Advertisement
Quick Links
Download this manual
See also:
User Manual
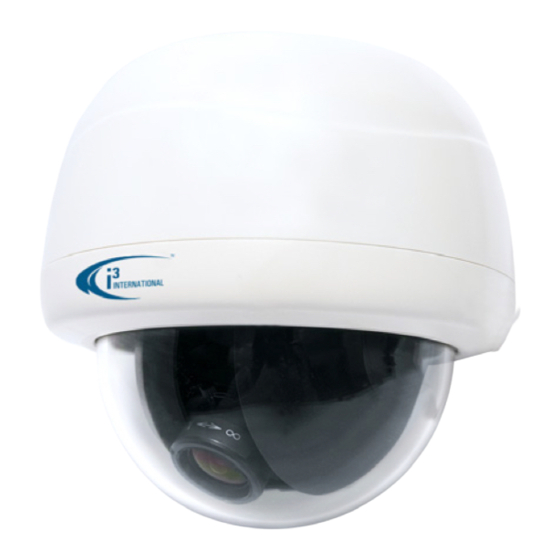
3MP Network Dome Camera
SAFETY
When installing your Ax61/Ax62 camera be sure to avoid:
•
excessive heat, such as direct sunlight or heating appliances
•
contaminants such as dust and smoke
•
strong magnetic fields
•
sources of powerful electromagnetic radiation such as radios or TV transmitters
•
moisture and humidity
•
areas with mechanical vibrations
•
fluorescent lamps or objects that reflect light
•
unstable light sources as this may cause flickering
•
temperatures below -10° Celsius or 14° Fahrenheit and above 50° Celsius or 122°
.
Fahrenheit
For more details on installation and operation, please refer to the CD
•
provided.
POWER SUPPLY
Ensure the supplied voltage meets the power consumption requirements of this camera
before powering the camera on. Incorrect voltage may cause irreparable damage to the
video camera and will effectively void the camera warranty.
PoE power is supported in the indoor (Ax61/Ax62D-series) and outdoor (Ax62V) installa-
tions.
CLEANING
•
For maximum optical clarity, the camera dome or lens must remain clean. Use a soft,
dry cloth to remove finger prints or dust from the dome cover.
•
Use a blower to remove dust from the lens.
•
Clean the body with a soft, dry cloth. If it is very dirty, use a cloth dampened with a
small quantity of neutral detergent, then wipe dry.
•
Do not use volatile solvents such as alcohol, benzene, or thinners, as they may dam-
age the surface finishes.
SERVICING
To avoid electrical shock and to preserve the product warranty, DO NOT disasemble the
camera. Refer servicing to qualified personnel only.
PACKAGE CONTENTS
In addition to this manual and a fully assembled camera, the dome camera packing box
includes:
(All Ax61/Ax62 series)
1.
User Manual CD x1
2.
Guide Pattern sticker x1
3.
Flush Mount template (the box
lining) x1
4.
Plastic Anchor x4
5.
Hex key x1
6.
Standard RJ45 Connector x1
7.
Short RJ45 Connector x1
8.
2nd video monitor output BNC
cable x1
i3-TRNG-CAMS-Ax61/Ax62-QuickGuide.indd
(Ax61D/Ax62D series only)
9.
Flat Head Screw (Tapping Type) x4
10. Flat Head Screw (Machine Type 26L) x3
11. Rubber plug x8
12. NPT 1/2" Rubber x1
13. NPT 3/4" Rubber x1
(Ax62V series only)
14. Round Head Screw (Tapping Type) x4
15. Desiccant in a package x1
Note: Attach to the inside of the inner liner.
16. Rubber gasket x1
17. O-rings x4
Quick Start Guide
ACCESSORIES (not to scale)
All Ax61/Ax62 series
Lens Direction
User Guide
Note: Mounting surface material
determines screw type. Refer to manual.
IP Finder
GUIDE PATTERN
1
2
8
6
7
Ax61D/Ax62D series only
10
11
12
13
9
CAMERA PARTS AND DEFINITIONS
1
1
6
5
Ax61/Ax62-series
M
6
3
4
5
Ax62V series only
14
15
17
16
137mm
a
a
b
b
2
3
4
c
c
Rev.
141202
d
d
Advertisement

Related Manuals for i3 International Ax61 series


Summary of Contents for i3 International Ax61 series
-
Page 1: Quick Start Guide
Quick Start Guide 3MP Network Dome Camera Ax61/Ax62-series SAFETY ACCESSORIES (not to scale) All Ax61/Ax62 series When installing your Ax61/Ax62 camera be sure to avoid: • excessive heat, such as direct sunlight or heating appliances • contaminants such as dust and smoke Lens Direction •... -
Page 2: Disassembling The Camera
Annexxus camera interface will be displayed in the Internet Explorer window. You should be able to see the camera image on the screen. If you do not see the camera image on the screen, call i3 International tech CAMERA CONTROL PANEL support for troubleshooting tips: 1.877.877.7241...
Need help?
Do you have a question about the Ax61 series and is the answer not in the manual?
Questions and answers