Table of Contents
Advertisement
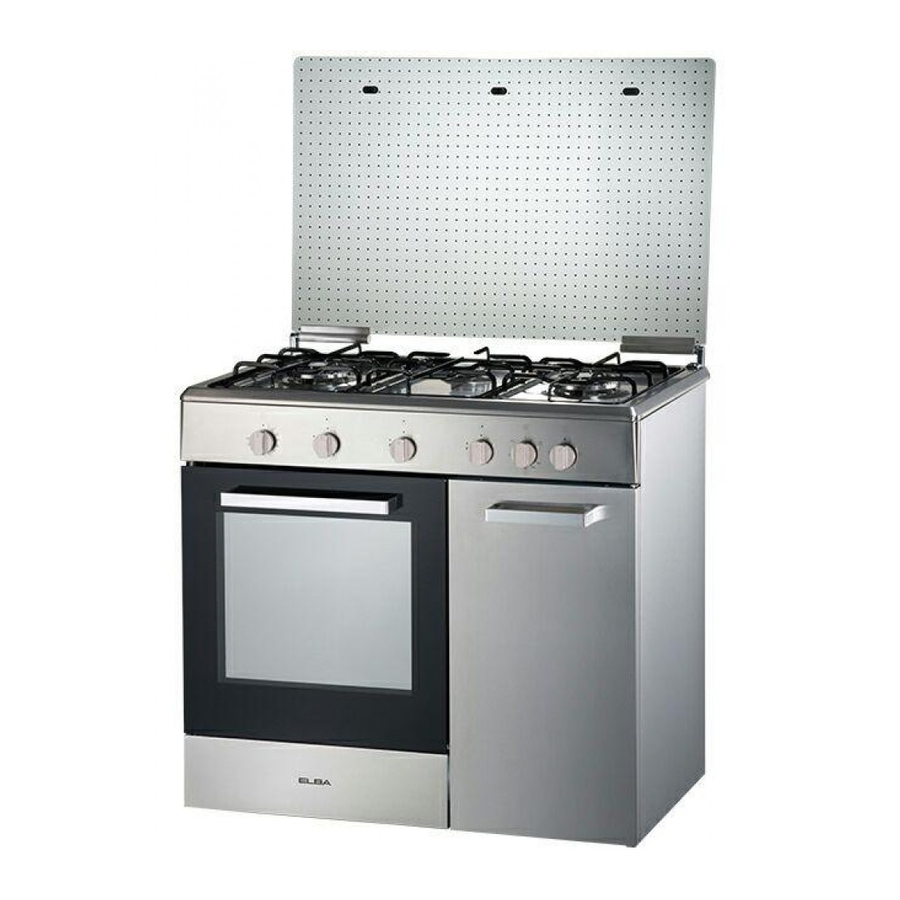
GAS COOKER
GAS OVEN SERIES
Owner's Manual
Please read this manual carefully before
operating your set.
Retain it for future reference.
Record model number and serial number
of the set.
See the label attached on the set and
quote this information to your dealer
when you require service.
For The Warranty Terms & Conditions, Please Refer To Warranty Certificate
Advertisement
Table of Contents

Subscribe to Our Youtube Channel
Related Manuals for Elba GAS OVEN SERIES


Summary of Contents for Elba GAS OVEN SERIES
- Page 1 GAS COOKER GAS OVEN SERIES Owner’s Manual Please read this manual carefully before operating your set. Retain it for future reference. Record model number and serial number of the set. See the label attached on the set and quote this information to your dealer when you require service.
-
Page 2: Table Of Contents
INDEX SAFETY PRECAUTIONS Page 03 INSTRUCTIONS FOR INSTALLATION Page 04 Dimensions and Installation Features Page 05 Electrical Connection Page 06 Connection of the Feeding Cable to the Mains Page 06 Electrical Features Page 06 Ventilation Page 07 Combustible Surfaces Page 07 Gas Connection Page 07 Conversion of Universal LPG to Natural Gas... -
Page 3: Safety Precautions
Please read this instruction carefully. It is advisable to keep this instruction manual in a safe place for future reference. SAFETY PRECAUTIONS Keep electrical appliances out of reach from children. Do not let them to operate the appliances without supervision. This product is for household and indoor use only. -
Page 4: Instructions For Installation
INSTRUCTIONS FOR INSTALLATION WARNING: Before using the appliance, please remove all plastic films and packaging material from the appliance. Do not use the appliance as a space heater. When the appliance is not in use for a long period, it is recommended to disconnect the current and to shut off the gas supply. -
Page 5: Dimensions And Installation Features
DIMENSIONS AND INSTALLATION FEATURES The cooker is supplied with an anti-tilting chain to prevent the appliance from tilting forward and causing accidental damage to the gas pipe. Take the expansion with hook and make an adequate hole in the wall behind, at the same height as the chain fixing area. -
Page 6: Electrical Connection
ELECTRICAL CONNECTION This appliance must be installed by a qualified person in accordance with the latest edition of the IEE Regulations and in compliance with the manufacturer instruction. Ensure that the voltage is the same as stated on the rating plate. The rating plate can be found at the rear panel of the appliance. -
Page 7: Ventilation
VENTILATION In general, the appliance should have adequate ventilation for complete combustion of gas, proper piping of flue and to maintain temperature of immediate surroundings within safe limits. Make sure the kitchen is well ventilated for safety purpose. Do not leave unattended flame in the kitchen. -
Page 8: Conversion Of Universal Lpg To Natural Gas
CONVERSION OF UNIVERSAL LPG TO NATURAL GAS When converting from Universal LPG to Natural Gas ensure to replace with the approved NG regulator (not included). Please contact service centre to purchase the injector for conversion. To change the gas supply from Universal LPG to Natural Gas, remove the enamel trivet on top of the burner. -
Page 9: Instructions For Use - Gas Hob
INSTRUCTIONS FOR USE - GAS HOB 3-Burners 4-Burners DESCRIPTION OF SYMBOLS WARNING: 1) This appliance shall be installed in accordance with the regulations in force and only used in a well-ventilated space. Do not use the appliance in the car barn, basement and room without windows. 2) The use of a gas cooking appliance might result the production of heat and moisture in the room in which it is installed. -
Page 10: Description Of The Main Parts Of The Gas Hob
DESCRIPTION OF THE MAIN PARTS OF THE GAS HOB 1 = Grid 2 = Burner Cap 3 = Burner Head 4 = Ignition 5 = Actuation Knob IGNITION AND OPERATION OF THE BURNERS In order to ignite a burner, it is necessary to depress the knob while rotating it anticlockwise, until the index is aligned with the position corresponding to the maximum gas delivery (i.e. -
Page 11: Recommendations
RECOMMENDATIONS In case of electric power failure, it is necessary to carry out the above-described operations by putting a gas lighter or a flame near the burner (in such an event, pay the utmost attention not to burn yourself). In any case, the ignition device must not be actuated for longer than 15 seconds. Should the ignition manoeuvre fail, or should the burner be accidentally turned off, immediately close the actuation knob and repeat the ignition after one minute at least. -
Page 12: Instructions For Use - Oven
INSTRUCTIONS FOR USE - OVEN GAS OVEN THERMOSTAT KNOB – BOTTOM HEATING The thermostat knob has two functions to select: Bottom Heating and Upper Grill function. To use the bottom heating, open the door fully, press the thermostat knob and turn it anticlockwise to the maximum temperature. The electric ignition is activated automatically. -
Page 13: Gas Oven Thermostat Knob - Upper Grill
GAS OVEN THERMOSTAT KNOB – UPPER GRILL To use this function you must first extinguish the bottom oven by moving the relevant knob to the (●) position. Press the knob and turn clockwise to the ( ) position. The upper grill function will be activated and the temperature cannot be adjusted. -
Page 14: Instructions For Cooking
INSTRUCTIONS FOR COOKING OVEN COOKINGS For a perfect cooking, it is necessary to pre-heat the oven to preset cooking temperature. To minimise food splashes into the oven (which can produce smoke sometimes) deep baking dishes are recommended. Use instead high edged containers, preferably terracotta containers, put on the grate at about half the height of the oven. -
Page 15: Maintenance And Cleaning
MAINTENANCE AND CLEANING Do not use jet of steam for cleaning. Before any operation carried out, disconnect the appliance from electrical mains. Wash the enamel parts with lukewarm water and detergent. Do not use abrasive products. Wash the burner ring frequently with hot water and detergent. Make sure to remove any deposits which could block the flame outlet. -
Page 16: Cleaning The Oven
CLEANING THE OVEN WARNING: ENSURE THAT ALL CONTROLS ARE IN THE “OFF” POSITION AND WAIT FOR THE GRILL ELEMENT TO COOL DOWN. 1) Support the front of the grill element while you remove the knurled screw retaining the element. 2) Lower the front of the element carefully to the rest position. 3) When cleaning the oven make sure do not apply any forces to the grill element. -
Page 17: Replacing The Oven Bulb
REPLACING THE OVEN BULB Once the oven has been electrically disconnected, unscrew the glass protection cap and the bulb. Always remember to use high temperatures resistant (300ºC / E14) bulb for the oven. Reassemble the glass cap and reconnect the oven after replacing the bulb. Voltage : 220-240V Wattage... -
Page 18: Main Specifications
MAIN SPECIFICATIONS Rated Voltage : 220-240V / 50Hz Oven Light : 300 / E14 x 1 Oven Capacity : 70 Litres Oven Output Power: 2.50kW (Bottom) / 1.8kW (Upper) Rated Power : 3-Burner 2 x Triple Ring Burner (3.8kW x 2) 1 x Semi Rapid Burner (1.75kW x 1) 4-Burner 1 x Triple Ring Burner (3.8kW x 1)
Need help?
Do you have a question about the GAS OVEN SERIES and is the answer not in the manual?
Questions and answers