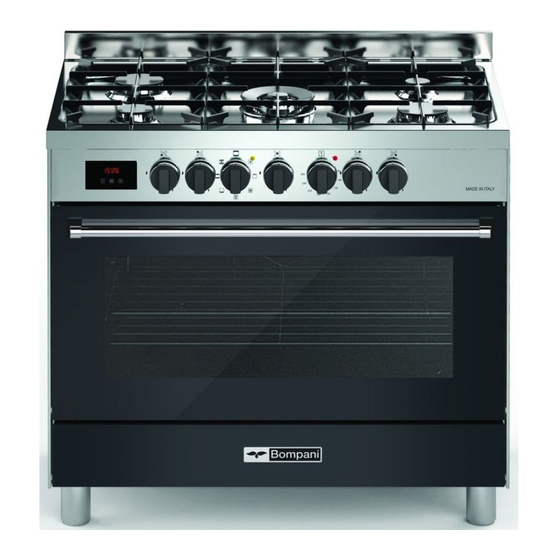
Bompani 96A Instructions For Use And Maintenance Manual
Giant oven gas and gas-electric cookers
Hide thumbs
Also See for 96A:
- Operating instructions manual (76 pages) ,
- Instructions for use and maintenance manual (76 pages)
Summary of Contents for Bompani 96A
- Page 1 Instructions for use and maintenance of gas and gas-electric cookers. Series: 96A - 96N GIANT OVEN...
-
Page 2: Table Of Contents
Index Introduction - Thank you for choosing one of our qua- Technical data and specifications ..3 lity products, capable of giving you the Installation ........4 - 7 very best service. To make full use of its Ventilation ........... 4 performance features, read the parts of Positioning.......... -
Page 3: Technical Data And Specifications
Technical data and specifications • The appliance is not intended for use by Nominal external Cooker persons (including children) with reduced dimensions 90x60 physical, sensory or mental capabilities, or Height at hob cm. 85 lack of experience and knowledge, unless Height with lid raised cm. -
Page 4: Installation
Installation INSTALLATION proper flueing and to maintain temperature of This appliance shall be installed only by au- immediate surroundings within safe limits. thorised personnel and in accordance with the manufacturer's installation instructions, POSITIONING local gas fitting regulations, municipal building Remove the packaging accessories, including codes, water supply regulations, electrical wir- the films covering the chrome-plated and stain- ing regulations, AS 5601 - Gas Installations and... -
Page 5: Gas Connection
Installation - once released from the three springs, the is in the installed position. glass can be extracted from the lower seat The installer must supply and install a restrain- of the inside of the door. ing device (typically chain) utilising the anchor - Fix the handle using the 2 screws provi- point provided for the anti tilt chain closest ded. -
Page 6: Minimum Setting
Installation - Never over-tighten the injectors; - the blue wire is the neutral; - after replacing, check that all the injectors are - the brown wire is live; airtight. - the lead must never touch hot surfaces over about 75 degrees C; - replacement leads must be of type HO5RR-F SETTING HOB BURNER MINIMUM LEV- or H05V2V2-F . -
Page 7: For The User
For the user Installation burning match towards the burner; IT MUST HOW TO USE THE COOKER NOT IGNITE. Time needed to excite the magnet during igni- VENTILATION tion: 10 seconds approx. All gas cooking appliances produce heat Automatic tripping time, after flame has been and moisture in the rooms where they are turned off: not more than 90 seconds for hob installed. -
Page 8: Electrical Switch-On
For the user HOW TO USE THE ELECTRIC GRILL FOR COOKERS WITH ELECTRIC IGNI- - For models with “Multifunction Electric TION Oven” only, controlled by two knobs All the above applies, except that the match separately /selector-thermostat), grilling is no longer required; a spark is obtained is permitted with the door closed, with- by pressing the button on the control panel out using the front side. -
Page 9: Using Multifunction Electric Oven
For the user MULTI-FUNCTION ELECTRIC OVEN - symbol :oven lamp on (it will remain With different heating elements controlled on even if the knob pointer is turned to the on even if the knob pointer is turned to the using a selector switch and regulated by a other settings). -
Page 10: Using The Electronic Timer
For the user switch (pan symbol on). USE OF THE ELECTRONIC TIMER (Fig. SEMIAUTOMATIC OPERATION WITH COOKING DURATION This allows the start time and cooking duration Set the cooking duration: at the end of the time to be programmed. If food does not need countdown the oven switches off and a to be watched, this timer can be selected even buzzer sounds. -
Page 11: Using The Mechanical Spring Clok
For the user the timer is ready to start: at 11am the oven GRAMME will come on automatically and the sym- - The programme starts after about 4 seconds bol will light up. of it being set. - When cooking is over (12 am) the sym- - The set programme can be checked at any AUTO... -
Page 12: How To Insert The Oven Shelfs
For the user HOW TO INSERT THE OVEN SHELF off the power supply. The power supply will To insert the oven shelf properly, just slide be restored automatically once the outside the shelf following the relevant side supports. temperature of the oven has dropped back To pull the shelf out, it is necessary to gently within acceptable limits. -
Page 13: Abnormal Operation
For the user used as a space heater. This appliance is not suitable for use in marine craft, caravans or mobile homes, unless each burner is fitted with a flame safeguard. DO NOT MODIFY THIS APPLIANCE. MAINTENANCE SCHEDULE We recommend that you clean your appli- ance as soon as any spillovers occur and that you keep your appliance clean &... -
Page 14: Figures
Figures = AUXILIARY = SEMI-RAPID = RAPID TC(W) = WOK CONNECTION DIAGRAM TWO-PHASE Wire gauge > 3,5 kW > 3,5 kW > 3,5 kW > 3,5 kW > 3,5 kW 3x2,5 mm 3x2,5 mm 3x2,5 mm 3x2,5 mm 3x2,5 mm 2,2 - 3,5 kW 3x1,5 mm U-LPG 0 - 2,2 kW... - Page 15 Figures a a a 1 1 1 0 0 1 1 0...
- Page 16 Figures 13 - 58 13 - 58 13 - 58 • Chain x2 Rear wall TIMER STOP Oven MINUTE MANUAL MINDER END OF COOKING DURATION COOKING Automatic BELL SAUCEPAN 88 - 88 8 - 88 8 - 88 symbol symbol MODE •...


Need help?
Do you have a question about the 96A and is the answer not in the manual?
Questions and answers