Table of Contents
Advertisement
Quick Links
Advertisement
Table of Contents

Subscribe to Our Youtube Channel
Related Manuals for Heatmiser PRT-W1


Summary of Contents for Heatmiser PRT-W1
- Page 1 Model: PRT-W Model: PRT-W...
-
Page 2: Table Of Contents
Model: PRT-W Table of Contents Product Image Holiday Programming Table of Contents Frost Protection What is a Programmable Power ON / OFF Room Thermostat? 25-28 Optional Features Installation Procedure Re-calibrating the Thermostat Installing the Batteries Factory Reset Replacing the Batteries Remote Air Sensor Wiring Pairing with the RC1-W Receiver 10-11... -
Page 3: What Is A Programmable Room Thermostat
What is a Programmable Room Thermostat? A programmable room thermostat is both a programmer and a room thermostat. The best way to do this is to set the room thermostat to a low temperature – say 18°C , and then turn it up by 1°C each day until you are comfortable with the The programmer allows you to set “On”... -
Page 4: Installation Procedure
Installation Procedure Mount the thermostat at eye level. Read the instructions fully so you get the best from our product. Don’t Do not install near to a direct heat source as this will affect functionality. Do not push hard on the LCD screen as this may cause irreparable damage. This wireless thermostat is designed to be surface mounted. -
Page 5: Installing The Batteries
Installing the Batteries 2x AAA batteries have been supplied with this thermostat. To access the battery holder, push and release the compartment door located on the bottom face of the thermostat. Insert the batteries in the empty battery holder, ensuring that each battery is orientated for the correct polarity + / - . -
Page 6: Replacing The Batteries
Pairing With the RC1-W Receiver Replacing the Batteries If using with the UH1-W wiring centre, turn to page 11. With the thermostat turned OFF: Batteries have a fixed lifespan and will need to be replaced occasionally to ensure the thermostat operates correctly. •... -
Page 7: Pairing With The Uh1-W Wiring Centre
Pairing the Thermostat • Press Clock repeatedly until you see feature 06 (Receiver Type) ....... The options within feature 06 are: 00 = UH1-W or 01 = RC1-W receiver. • Use the Up/Down keys to set feature 06 to 00 (UH1-W) ......•... -
Page 8: Lcd Display
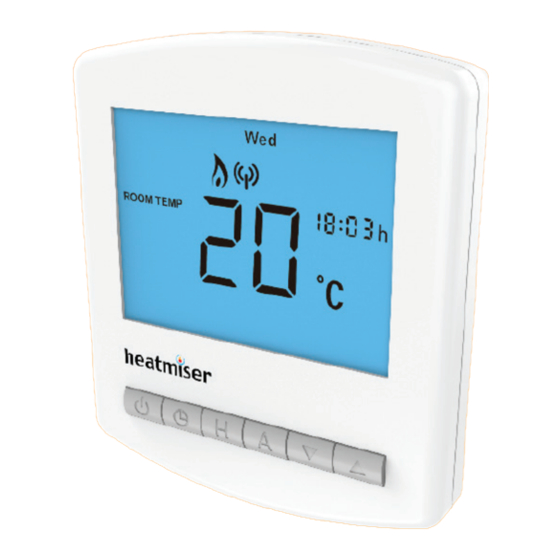
LCD Display Room Temp - Indicates the current temperature sensor mode. Day Indicator - Displays the current day. Frost Icon - Displayed when the thermostat is in frost protection mode. Flame Icon - Displayed when the thermostat is calling for heat, flashes when the Optimum Start function is in operation. -
Page 9: Setting The Clock
Setting the Clock Temperature Display To set the clock, follow these steps. The temperature display information is driven by two different inputs; the sensor measurement and the target temperature you have set. • With the thermostat turned ON, press the Clock key twice ......... •... -
Page 10: Comfort Levels Explained
Comfort Levels Explained • Use the Up/Down keys to enter the required WAKE time ....... The thermostat provides Weekday/Weekend or 7 Day Programming options. You should consult the “Optional Features” section to select the required mode. • Press H to confirm settings ..................The thermostat is supplied with comfort levels already programmed, but these can be •... -
Page 11: Temperature Control
Temperature Control Locking the Thermostat The Up/Down keys allow you to adjust the set temperature ....... The thermostat has a keypad lock facility. To activate the lock follow these steps. When you press either key, you will see the word SET and the desired •... -
Page 12: Temperature Hold
Temperature Hold Holiday The temperature hold function allows you to manually override the current operating The holiday function reduces the set temperature in your home to the frost program and set a different temperature for a desired period. protection temperature setting (see page 25). •... -
Page 13: Frost Mode
Frost Mode Heating On/Off The heating is indicated ON when the flame icon is displayed. Pressing the Power button once will place the thermostat in frost protect mode. When the flame icon is absent, there is no requirement for heating to achieve the set temperature but the thermostat remains active. -
Page 14: Optional Features Explained
Optional Features Explained Feature 09 – Underfloor Heating or Radiator Zone (UH1-W Only): This setting determines whether the thermostat will activate the pump & boiler output on the UH1-W. If set to 00 the outputs will be activated. 00 = UFH, 01 = Radiators THE FOLLOWING SETTINGS ARE OPTIONAL AND IN MOST CASES Feature 10 –... -
Page 15: Frost Protection
Adjusting the Optional Settings Optional Settings - Feature Table FEATURE DESCRIPTION SETTING To adjust the optional settings, follow these steps. Temperature Format 00 = C, 01 = F (°C = Default) • Press and hold the Power button to turn the thermostat OFF ......Switching Differential - 03 C (01... -
Page 16: Re-Calibrating The Thermostat
Wiring Diagram - Re-calibrating the Thermostat Remote Air Sensor If you need to re-calibrate the thermostat, follow these steps. • Press and hold the Power button to turn the thermostat OFF ......REMOTE AIR PROBE • Press and hold BOTH the Power and Down keys together until the Set feature 12 to 01 to temperature appears on the screen ................ - Page 17 Heating Professionals: Request a copy of our product installation guide containing detailed technical specifications for our complete product range: www.heatmiser.com/guide Want More Information? Call our support team on: +44 (0)1254 669090 Or view technical specifications directly on our website: www.heatmiser.com...
Need help?
Do you have a question about the PRT-W1 and is the answer not in the manual?
Questions and answers