Table of Contents
Advertisement
Advertisement
Table of Contents

Summary of Contents for Marcy CL303
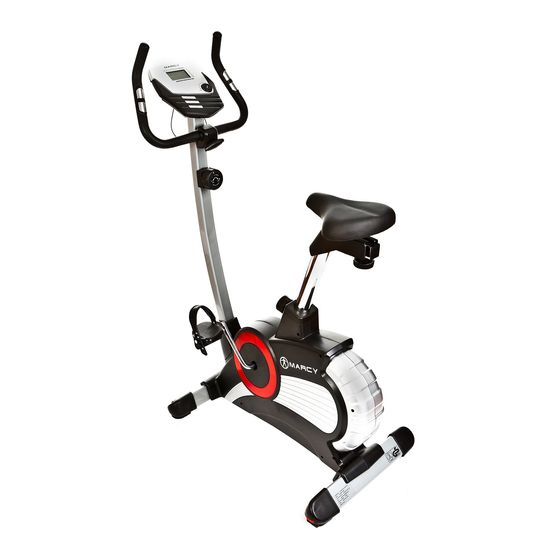
- Page 1 Magnetic Cycle Product Code: CL303 19/01/2012-1...
-
Page 2: Table Of Contents
Contents Important Safety Information Weight Limit Capacities Hardware Parts List Pre Assembly Check List Assembly Instructions 6 - 8 User Guide Computer Instructions Exercise Instructions Fault Finding Chart Additional Information Care Maintenance Exploded Diagram Parts List Limited Warranty Supplied by Escalade International Ltd www.escaladesports.co.uk E mail: info@escaladesports.co.uk... -
Page 3: Important Safety Information
IMPORTANT SAFETY INFORMATION READ ALL INSTRUCTIONS BEFORE USING THIS OWNER’S MANUAL CONTAINS ASSEMBLY, OPERATION, MAINTENANCE AND SAFETY INFORMATION. IN THE INTEREST OF SAFETY, PLEASE MAKE CERTAIN THAT YOU READ AND UNDERSTAND ALL THE INFORMATION BELOW. 1. This Cycle is intended for class H (H=Domestic) use only. It is not designed for commercial use. 2. -
Page 4: Hardware Parts List
HARDWARE PARTS LIST ( 20) 8* 19*2T 4PC S ( 9) 8*2.5T 1PC S ( 12) M 8* 65L 1PC S ( 26) M 8* 73L, 4PC S ( 13) 8 * 12 * 30L 1PC S ( 10) 8* 14* 2T 1PC S 82 N-shape Wrench Harpoon wrench 83 Hexagon Key... -
Page 5: Pre Assembly Check List
PRE-ASSEMBLY CHECK LIST N O . 36 N O . 4 N O . 32 N O . 01 N O . 25 N O . 47 N O . 27 N O . 17 N O . 23 N O . 06 Part No. -
Page 6: Assembly Instructions
ASSEMBLY INSTRUCTIONS STEP 1 Attach the Front Stabilizer (27) and Rear Stabilizer (23) to the Main Frame using 4 Allan Head Bolts (26) and 4 Flat Washers (20). STEP 2 The Left and Right Pedals (25 L & R) are marked ‘L’ and ‘R’. Assemble the pedals onto their appropriate crank arms. - Page 7 STEP 3 Assemble the Saddle (32) onto the Horizontal Slider (4) and secure into position using 3 Washers and Nylon Lock Nuts. Assemble the Seat Post Cover (70) and Saddle/ Horizontal Slider Assembly onto the Saddle Post (36) and secure into position using 1 Washer (37) and Lock Knob (38). Insert the Saddle Post assembly into the Main Frame.
- Page 8 STEP 5 Loop the Pulse Sensor Wire Cable over the top of the Handlebar Post. Attach the Handlebar (6) to the clamp on the Handlebar Post and secure into position using Plastic Cover (8), Flat Washer (10) Spring Washer (9), Steel Tube (13) and T Knob (12). STEP 6 Connect the Upper Sensor Computer Cable into the rear of the Computer (1).
-
Page 9: User Guide
User Guide Transportation Seat Adjustment To adjust the seat, loosen the quick release knob by turning it anti clockwise and pulling out. Adjust the seat to the desired height and release the knob. Re-tighten before use. Levelling If the cycle is not level, adjust the end caps located on the Rear Stabilizer... - Page 10 EXERCISE COMPUTER FUNCTION BUTTONS FUNCTION VALUES RPM/Speed / Time / Distance / Calories / Pulse Control Wheel UP/DOWN RESET Key Adjust / add or reduce function Reset default function value value TOTAL RESET Key Reset ALL default function value. MODE Select Key Confirm your selection.
- Page 11 Getting Started The computer will automatically sense when you begin to exercise. The functions of Speed, RPM, Time, Distance and Calories will begin to count up as soon as you begin exercising and stop when you have finished. Entering Preset Data Turn the control wheel until the function you wish to enter is flashing.
-
Page 12: Exercise Instructions
EXERCISE INSTRUCTIONS Using your cycle will provide you with several benefits, it will improve your physical fitness, tone muscle and in conjunction with a calorie controlled diet help you lose weight. 1. The Warm Up Phase This stage helps get the blood flowing around the body and the muscles working properly. It will also reduce the risk of cramp and muscle injury. -
Page 13: Fault Finding Chart
. The Cool Down Phase This stage is to let your Cardio-vascular System and muscles wind down. This is a repeat of the warm up exercise e.g. reduce your tempo, continue for approximately 5 minutes. The stretching exercises should now be repeated, again remembering not to force or jerk your muscles into the stretch. As you get fitter you may need to train longer and harder. -
Page 14: Additional Information
ADDITIONAL INFORMATION Packaging Disposal Government guidelines ask that we reduce the amount of waste material disposed of in land fill sites. We therefore ask that you dispose of all packaging waste responsibly at public recycling centres. End of Life Disposal We at Escalade hope you enjoy many years of enjoyable use from your Cycle. -
Page 15: Exploded Diagram
EXPLODED DIAGRAM PARTS LIST AND TOOLS ( 20) 8* 19*2T 4PC S ( 9) 8*2.5T 1PC S ( 12) M 8* 65L 1PC S ( 26) M 8* 73L, 4PC S ( 13) 8 * 12 * 30L 1PC S ( 10) ?8* ?14* 2T 1PC S 8 10 9 13... -
Page 16: Parts List
PARTS LIST Description Description COMPUTER 42 WASHER PULSE SENSOR CABLE 43 CHAIR COVER(L/R) END CAP 44 R/H TOOTH PLUG SLIDING SEAT BLOCK 45 ROUND NUT HAND PULSE SENSORS 46 MAGNETIC BRAKE SYSTEM HANDLE BAR 47 MAIN FRAME FOAM GRIP 48 SPRING FOR IDLER PULLEY PLASTIC HANDLEBAR COVER 49 CRANK PULLEY SPRING WASHER... -
Page 17: Limited Warranty
LIMITED WARRANTY Escalade warrants this product to be free from defects in workmanship and material, under normal use and service conditions, for a period of one year from the date of purchase. This warranty extends only to the original purchaser. Escalade’s obligation under this Warranty is limited to replacing damaged or faulty parts at Escalade’s option.


Need help?
Do you have a question about the CL303 and is the answer not in the manual?
Questions and answers