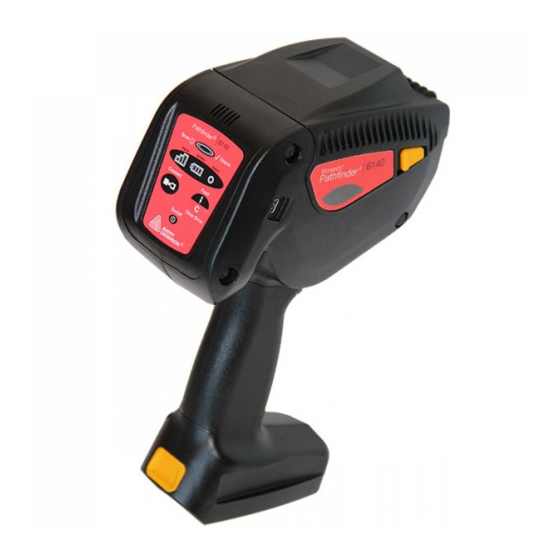
Avery Dennison Pathfinder 6140 Equipment Manual
Handheld printer
Hide thumbs
Also See for Pathfinder 6140:
- Programmer's manual (80 pages) ,
- Quick reference (46 pages) ,
- Operating instructions manual (8 pages)
Table of Contents

Subscribe to Our Youtube Channel
Related Manuals for Avery Dennison Pathfinder 6140


Summary of Contents for Avery Dennison Pathfinder 6140
- Page 1 EQUIPMENT MANUAL Pathfinder® 6140 Handheld Printer 28028 653258 04/18/07 7512 $15.50 SALE 58523 32232 $25.00 PEARL EARRINGS 99565 45453 9 04/18/07 7512 $200.00 TC6140EM Rev. AB 4/13 ©2012 Avery Dennison Corp. All rights reserved.
- Page 2 Each product and program carries a respective written warranty, the only warranty on which the customer can rely. Avery Dennison Corp. reserves the right to make changes in the product, the programs, and their availability at any time and without notice. Although Avery Dennison Corp.
-
Page 3: Table Of Contents
T A B L E O F C O N T E N T S INTRODUCTION ..........................1-1 Using this Manual.......................... 1-1 Audience ............................1-1 Using the Battery .......................... 1-2 Charging the Battery ........................1-2 Inserting and Removing the Battery ..................... 1-2 Checking the Battery Status ...................... -
Page 5: Introduction
I N T R O D U C T I O N The Pathfinder® 6140 prints, scans bar codes, and communicates with other devices. The printer features 2D laser scanner Adjustable supply width capabilities Graphic printing capabilities Low power shutdown to conserve the battery ... -
Page 6: Using The Battery
U s i n g t h e B a t t e r y The printer’s power source is a 7.4V lithium-ion battery. The printer uses only this battery; do not substitute batteries. Note: Charge the battery when you receive the printer, even if you do not plan to use it right away. Charging the Battery To charge the battery, use one of the Monarch®... -
Page 7: Battery Safety Information
created to promote recycling of rechargeable batteries. For more information about how to recycle batteries in your area, visit www.rbrc.org. Batteries can also be returned postage- paid to: Avery Dennison ERC 200 Monarch Lane Door #39 Miamisburg, OH 45342 Do not disassemble, short-circuit, heat above 80°C, or incinerate the battery;... -
Page 8: Using The Operator Panel
U s i n g t h e O p e r a t o r P a n e l Button Description On/Off Turns the printer on and off Connect Connects the printer with your smart device Feed/Clear Feeds supply through the printer or clears the Error error condition Icon... -
Page 9: Loading Supplies
L O A D I N G S U P P L I E S The printer uses two types of supplies: Labels Tags There are two print modes. The way you load the supplies depends on the print mode you use. Peel mode removes the backing paper from the supplies as it prints the labels. - Page 10 L o a d i n g S u p p l i e s To load supplies: 1. Turn on the printer. Pow er Button 2. Push the latch buttons to open the supply cover. 2-2 Equipment Manual...
- Page 11 3. Spread the supply holder tabs apart with one hand so it adjusts to the size of your supply roll. 4. Press the supply lock tab all the way down (towards the inside of the printer) to lock the supply holder at 1.2”. Adjust it to the middle position to lock the supply holder at 1.5”. Adjust it all the way up (towards the opening of the printer) to lock the supply holder at 2.0”...
-
Page 12: Loading For Non-Peel Mode
Loading for Non-Peel Mode 1. Feed the supply over the platen roller, peel bar, and label deflector. Platen Roller (black rubber) Peel Bar (metal) Label Deflector 2. Close the supply cover. 3. Calibrate the supply. See “Calibrating the Supply” for more information. Loading for Peel Mode 1. - Page 13 4. Close the supply cover. 5. Hold the backing paper and push up the label deflector until it snaps into place. 6. Press the Feed button. Loading Supplies 2-5...
- Page 14 2-6 Equipment Manual...
-
Page 15: Scanning Bar Codes
S C A N N I N G B A R C O D E S Your printer has a built-in scanner. To scan a bar code: 1. Point the scanner at a slight angle, approximately 4 – 8 inches from the bar code symbol. - Page 16 3-2 Equipment Manual...
-
Page 17: Care & Maintenance
C A R E & M A I N T E N A N C E Caring for and properly maintaining your printer protects it and keeps it running smoothly. This chapter explains how to clean the printhead, platen roller, sensor, and scanner window ... -
Page 18: Cleaning The Platen, Liner Drive, And Pinch Rollers
To clean the printhead: 1. Turn off the printer. 2. Open the supply cover and remove the supplies. 3. Check the supply holder for adhesive buildup and clean it if necessary. 4. Ground yourself by touching a metal object other than the printer. Grounding prevents electrostatic discharge, which may damage your printer. -
Page 19: Cleaning The Black Mark Sensor
Cleaning the Black Mark Sensor To clean the black mark sensor: 1. Turn off the printer and open the supply cover. 2. Remove the supplies. 3. Open the label deflector by gently pushing down on the label deflector. 4. Clean the black mark sensor with a dry cotton swab. Black Mark Sensor 5. -
Page 20: Clearing Supply Jams
Clearing Supply Jams To clear a supply jam: 1. Turn off the printer and open the supply cover completely. 2. Open the label deflector by gently pushing down on the label deflector. 3. Remove the supplies. 4. Carefully remove any jammed supply. Do not pull the jammed supply out through the front of the label deflector. -
Page 21: Troubleshooting
T R O U B L E S H O O T I N G This section lists some common printer problems and solutions. Problem Solution Printer does not print, Use a fully-charged battery. has voids, or is too light. Correctly load supply. -
Page 22: Error Codes
E r r o r C o d e s This section lists common error codes and their descriptions. When an error occurs, the printer’s status light is red and an error code may appear on your smart device. Code(s) Description Label Size Image width is invalid. -
Page 23: Technical Support
Failed to image. The field is positioned off the label. This error is only reported when enabled. PDF417 mode is invalid. The printhead has too many bad dots to print. The printer sensed a calibration of different-sized black marks. Make sure the correct supply is loaded. - Page 24 5-4 Equipment Manual...
-
Page 25: Specifications & Accessories
S P E C I F I C A T I O N S & A C C E S S O R I E S S p e c i f i c a t i o n s Width –... -
Page 26: Accessories
A c c e s s o r i e s Part Number Model/Description M0946201 (U.S.A.) 9462 Single Station M0946202 (Intl.) Battery Charger M0946501 (U.S.A.) 9465 4-Station M0946502 (Intl.) Battery Charger 124053 Deluxe Wrist Strap 127333 Shoulder Strap 126791 Petite Wrist Strap M0PHOL0401 Holster Assembly M0PHOL0402... - Page 28 28028 Avery Dennison 170 Monarch Lane Miamisburg, OH 45342 1-800-543-6650 (In the U.S.A.) 1-800-387-4740 (In Canada) www.monarch.com...
Need help?
Do you have a question about the Pathfinder 6140 and is the answer not in the manual?
Questions and answers