Table of Contents
Advertisement
Quick Links
Download this manual
See also:
Operating Manual
Advertisement
Table of Contents

Summary of Contents for RCS TR65
-
Page 1: Installation Manual
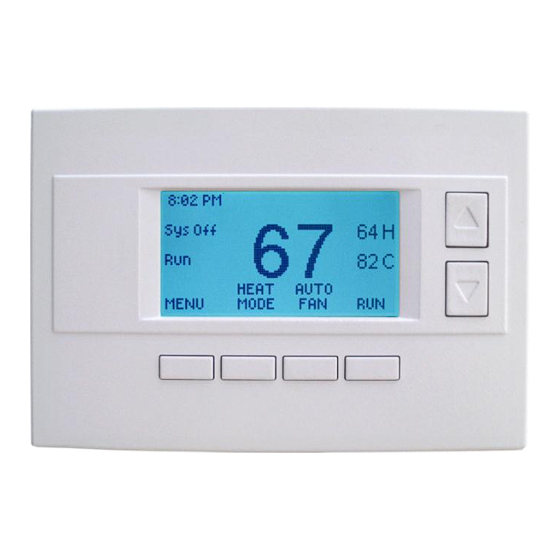
Model TR65 RS485 Thermostat Installation Manual DCN: 140-02165-01 4/20/12 *** IMPORTANT NOTICE *** DO NOT USE THIS PRODUCT FOR BUILDING FREEZE PROTECTION! YOU ARE ADVISED TO INSTALL A MECHANICAL FREEZE PROTECTION DEVICE ON YOUR SYSTEM FOR THIS PURPOSE. - Page 2 TR65 Thermostat Installation The TR65 thermostat is a two part thermostat with a Wall Display Unit (WDU) and a HVAC Control Unit. TR65 Wall Display Unit TR65 HVAC Control Unit HVAC System 4 Wire 5 Wire Thermostat wire or minimum...
-
Page 3: Wall Display Unit Installation
For new construction, thermostat wire or Cat 5 wire can be used. Remote Sensor Connection ( on the Wall Display Unit) Two remote sensors can be connected to the TR65 Wall Display Unit. Sensor RS1 will replace the internal sensor ... -
Page 4: Location And Mounting
Connect the Wall Display Unit to the HVAC Control Unit by four wires. In retrofit applications, the existing thermostat wiring may be used, however, for best results and in new construction, a Category 5 twisted pair cable is recommended. TR65 HVAC CONTROL UNIT TR65 WALL DISPLAY UNIT +12V... -
Page 5: Rs485 Network Connection
The RS485 communications port is a 2 wire (D+ and D –) plus ground, half-duplex network connection. Wiring options are direct to a host com port or wired to a RCS RS485 hub to allow star or homerun wiring. Host System... - Page 6 Connecting to RS232 Communications Ports RCS Model 485PB 5-Port RS232 to RS485 Converter with power outputs. HVAC Control Unit RS485 5 Port RS485 PC or Control System DB9 Serial Com Port Standard PC serial cable (incl) 12VDC Power (DB9 to DB9) Transformer (incl) B&B Electronics Model 485DB9TB RS232 to RS485 Converter - 2 wire...
-
Page 7: Power Connection
Power Connection The TR65 HVAC Control Unit requires 24VAC power. Power is provided from the HVAC system or by an external transformer (not supplied). Do NOT connect the HVAC system power if you are connecting an external power transformer. Power Alternate power input. -
Page 8: Hvac System Connection
HVAC System Connection The TR65 HVAC Control Unit connects to the HVAC system like a standard thermostat. Standard Gas/Electric HVAC System Wiring HVAC Control Unit Install jumper wire for power from HVAC System Standard HVAC System HVAC System THERMOSTAT CONNECTION... -
Page 9: Hvac System Setup
HVAC SYSTEM SETUP The TR65 must be configured for the correct HVAC system type. This is done by setting the dipswitch, SW1, on the HVAC Control Unit. You must know what type of HVAC system you have to correctly setup the thermostat. Determine the following before you install the TR65. -
Page 10: System Checkout
SYSTEM CHECKOUT It is strongly recommended that you hook-up and run a simple bench test before installing the TR65 thermostat. Not only will this save you time in system checkout but will also familiarize you with the TR65 operation. Quick Test NOTE: Before power up, set the dipswitch, DIPSW1, to ALL OFF. -
Page 11: Hvac System Quick Test
HVAC SYSTEM QUICK TEST In the event that you have difficulty with the TR65 controlling the HVAC system, you can perform the following quick test to confirm that the HVAC system is working correctly. The TR65 HVAC Control Unit connects to the HVAC system at the normal thermostat connections on the HVAC unit. -
Page 12: Wiring Diagram
TR65 Wiring Diagram HVAC Control Unit Model ZCV1 Rev K Wall Display Unit 180-01006-11 Model TS65 ZCV2 REV K Fuse Mini ATO type Alternate power input. External Transformer 24VAC 24C B 24VAC 40VA Power 24R R DATA 24C R Status LED...


Need help?
Do you have a question about the TR65 and is the answer not in the manual?
Questions and answers