Table of Contents
Advertisement
Quick Links
Advertisement
Table of Contents

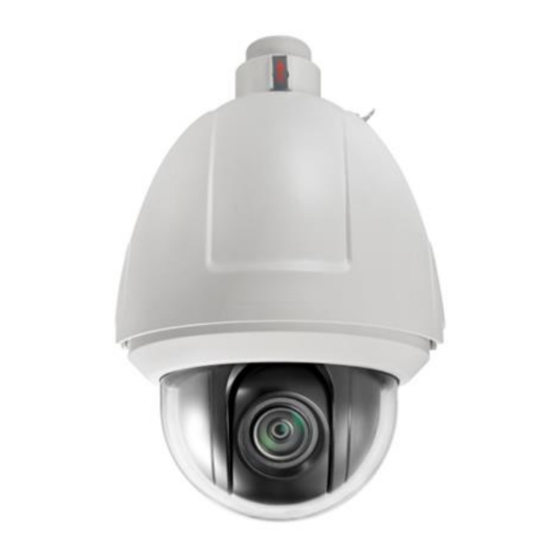
Summary of Contents for advidia A-200
-
Page 1: Quick Start Guide
A-200 Speed Dome Quick Start Guide UD.6L0201D0127A02... - Page 2 Advidia A-200 1 Overview Please turn the power off before connect the cables. The cable interfaces of network speed dome are shown in following figure(left). The cables are distinguished by different colors. The labels attached on the cables are for identification.
-
Page 3: Installation
Advidia A-200 2 Installation Before you start: Check the package contents and make sure that the device in the package is in good condition and all the assembly parts are included. Note: Do not drag the speed dome with its waterproof cables as shown in Figure 2-1, otherwise the waterproof performance is affected. - Page 4 Nuts and Washers Expansion Screws Figure 2-3 Secure the A-200-WM most commonly used but sold separately Notes: For cement wall, you need to use the expansion screw to fix the mount. The mounting hole of the expansion pipe on the wall should align with the mounting hole on the mount.
- Page 5 Advidia A-200 9. Hook the back box of the speed dome to the mount with the safety rope. Route the cables through the mount. 10. Align the direction label of pendant adapter with the label of the back box to install the speed dome.
-
Page 6: Setting The Dome Over The Lan
PC. Then, install the Advidia Camera Finder Utility to search and change the IP address of the camera. The following figure shows the cable connection of network speed dome. - Page 7 Advidia A-200 Figure 3-2 Advidia Camera Finder Utility Note: Devices can be searched and displayed in the list within 15 seconds after it goes online; it will be removed from the list in 45 seconds after it goes offline. Search online devices manually: You can also click to refresh the online device list manually.
- Page 8 Advidia A-200 Figure 3-3 Select a Device Figure 3-4 Modify Network Parameters 4. Enter the IP address of speed dome in the address field of the web browser to view the live video. Notes: The default value of the IP address is 192.0.0.64. The default user name of administrator is admin, and password is 12345.
-
Page 9: Accessing Via Web Browser
4 Accessing via Web browser System Requirement: Operating System: Microsoft Windows XP SP1 and above version / Vista / Win7 / Server 2003 / Server 2008 32bits CPU: Intel Pentium IV 3.0 GHz or higher RAM: 1G or higher Display: 1024×768 resolution or higher Web Browser: Internet Explorer 7.0 and above version, Apple Safari 5.02 and above version, Mozilla Firefox 3.5 and above version and Google Chrome8 and above version Steps:... - Page 10 6. Reopen the web browser after the installation of the plug-in and repeat the above steps 2-4 to login. Note: For detailed instructions of further configuration, please refer to the user manual of A-200 or contact technical support @ (713) 621-9779 option 2. The manual can be found at...
- Page 11 5 Optional A-200 accessories Please contact your advidia reseller for pricing on the following accessories not included with the A-200 PTZ. Wall Mount for A-200 PTZ A-200-WM Pole Mount for A-200 PTZ A-200-PM Corner Mount for A-200 PTZ A-200-CNR Ceiling Mount for A-200 PTZ...


Need help?
Do you have a question about the A-200 and is the answer not in the manual?
Questions and answers