Sign In
Upload
Download
Table of Contents
Contents
Add to my manuals
Delete from my manuals
Share
URL of this page:
HTML Link:
Bookmark this page
Add
Manual will be automatically added to "My Manuals"
Print this page
×
Bookmark added
×
Added to my manuals
Manuals
Brands
advidia Manuals
Security Camera
A-17
Quick start manual
advidia A-17 Quick Start Manual
Network dome camera
Hide thumbs
1
2
3
4
5
6
7
8
9
10
11
Table Of Contents
12
13
14
15
16
17
18
19
20
21
22
23
24
25
26
27
28
29
30
31
32
33
34
35
36
37
38
39
40
41
42
43
44
page
of
44
Go
/
44
Contents
Table of Contents
Bookmarks
Table of Contents
Table of Contents
Appearance Description
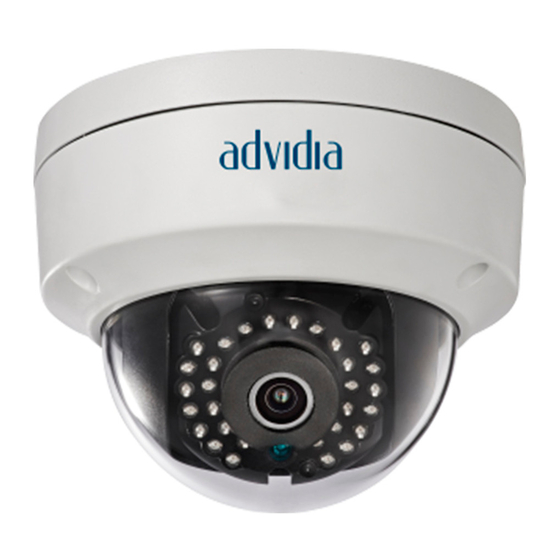
Overview of Type I Camera(A-17, A-37)
Overview of Type II Camera(A-27)
Installation
SD Card Installation
Ceiling Mounting
Mounting with Brackets
Network Cable Water-Proof Jacket Installation
Setting the Network Camera over the LAN
Wiring
Activating the Camera
Accessing Via Web Browser
Advertisement
Quick Links
Download this manual
Network Dome Camera
Quick Start Guide
Available from A1 Security Cameras
0
www.a1securitycameras.com email: sales@a1securitycameras.com
Table of
Contents
Previous
Page
Next
Page
1
2
3
4
5
Advertisement
Table of Contents
Need help?
Do you have a question about the A-17 and is the answer not in the manual?
Ask a question
Questions and answers
Related Manuals for advidia A-17
Security Camera Advidia A-15 Installation Manual
(8 pages)
Security Camera Advidia A-14 Installation Manual
(10 pages)
Security Camera advidia A-28-F User Manual
(89 pages)
Security Camera advidia A-18 Quick Start Manual
Network bullet camera (20 pages)
Security Camera advidia “A” Series User Manual
Network camera (80 pages)
Security Camera advidia A Series User Manual
(70 pages)
Security Camera advidia A-200 Quick Start Manual
Speed dome (11 pages)
Security Camera advidia A-200 Installation Manual
Speed dome (46 pages)
Security Camera Advidia A-47 Quick Operation Manual
Ir network mini dome camera (33 pages)
Security Camera advidia A-46 Quick Setup Manual
Mini dome camera (32 pages)
Security Camera advidia A-44 Installation Manual
(13 pages)
Security Camera advidia A-45 Quick Setup Manual
(22 pages)
Security Camera advidia A-44-IR V2 Quick Start Manual
(26 pages)
Security Camera Advidia A54 OD Quick Start Manual
Dome camera (29 pages)
Security Camera advidia A64 Quick Start Manual
(29 pages)
Security Camera advidia A-27-F User Manual
(89 pages)
This manual is also suitable for:
A-27
A-37
A-37-f
Table of Contents
Print
Rename the bookmark
Delete bookmark?
Delete from my manuals?
Login
Sign In
OR
Sign in with Facebook
Sign in with Google
Upload manual
Upload from disk
Upload from URL


Need help?
Do you have a question about the A-17 and is the answer not in the manual?
Questions and answers