Table of Contents
Advertisement
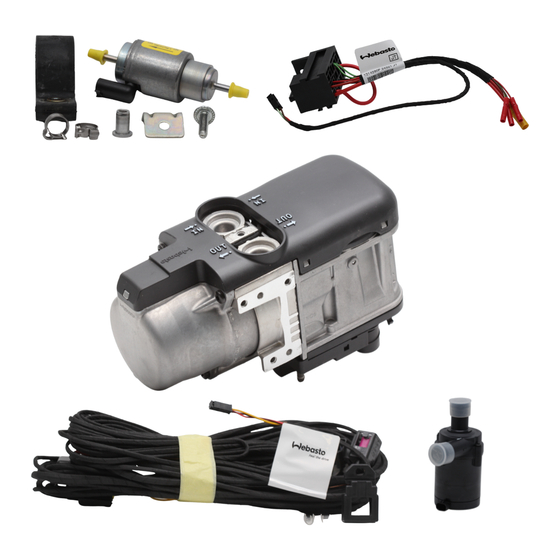
Water Heater Unit
Thermo Top E Additional Heater
Thermo Top C Additional Heater
Installation Instructions
SUBARU Legacy / Outback
Gasoline
from Model Year 2004
Left-hand drive vehicle
WARNING!
Hazard warning:
Incorrect installation or repair of Webasto heating systems may cause a fire or result in the
emission of carbon monoxide, which can be fatal. Serious or fatal injuries can be caused as
a result.
Specialist company training, technical documentation, specialized tools and equipment are
required to install and repair Webasto heating and cooling systems.
NEVER attempt to install or repair Webasto heating or cooling systems if you have not
successfully completed the company training and thereby acquired the required technical
skills, or if you do not have access to the required technical documentation, tools and
equipment needed to carry out correct installation and repairs.
ALWAYS follow all Webasto installation and repair instructions and observe all warnings.
Webasto does not accept any liability for defects and damage that are attributable to
installation by untrained staff.
Ident. No.:1302628C_EN
e1
00 0003
e1
00 0002
Fee Euro 10.00
Feel the drive
© Webasto AG
Advertisement
Table of Contents


Need help?
Do you have a question about the SUBARU Legacy and is the answer not in the manual?
Questions and answers