
Related Manuals for StarTech.com VGA2TV2WAY


Summary of Contents for StarTech.com VGA2TV2WAY
- Page 1 VIDEO CONVERTER 2 Way VGA to HDTV Converter/Scaler VGA2TV2WAY Instruction Guide * Actual product may vary from photo The Professionals’ Source For Hard-to-Find Computer Parts...
- Page 2 FCC COMPLIANCE STATEMENT This equipment has been tested and found to comply with the limits for a Class B digital device, pursuant to part 15 of the FCC Rules. These limits are designed to provide reasonable protection against harmful interference in a residential installation. This equipment generates, uses and can radiate radio frequency energy and, if not installed and used in accordance with the instructions, may cause harmful interference to radio communications.
-
Page 3: Table Of Contents
Table of Contents Introduction ............2 Features . -
Page 4: Introduction
Introduction Thank you for purchasing a StarTech.com VGA to HDTV 2 way converter. This product allows you to display your computer’s video signal on a HDTV-compatible display (such as a LCD or plasma television) or converts a HDTV signal for display on a computer monitor. -
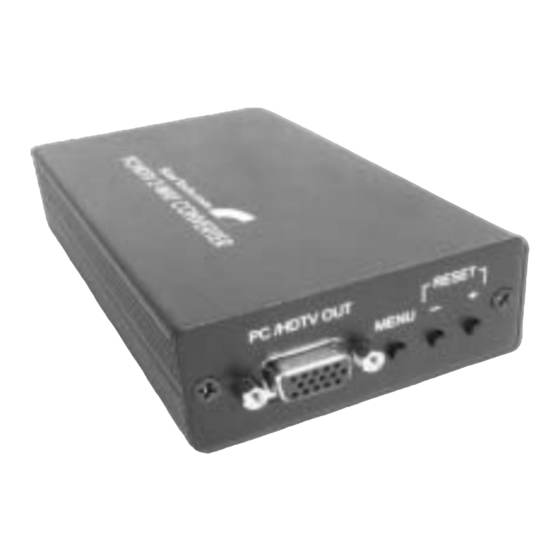
Page 5: Connecting Devices To The Video Converter
Connecting Devices to the Video Converter Front Panel Rear Panel Connecting a VGA signal source to a HDTV display WARNING: The default output signal from the video converter is 1024 x 768 (XGA) at 60 Hz. Not all HDTV devices have the capability to display this resolution, so it is advisable to consult the documentation for your display product before attempting installation. -
Page 6: Using The Menu Options
or similar) on the HDTV source. (This is the same set of connectors used by the previous display that you removed in step 1, if applicable.) 5. Connect the VGA connection from the VGA display to the PC/HDTV connection on the front panel of the video converter. - Page 7 setting. Input set up 4. When you are satisfied with your changes, press MENU to Output set up activate the setting. Picture Adjust 5. You can continue to adjust other settings, or select Exit from HV Adjust the OSD menus until the OSD disappears. OSD Adjust System Information The following options can be adjusted from the OSD menu...
-
Page 8: Troubleshooting
Troubleshooting Problem: I can’t see an image from the video source or the OSD. Cause: The input setting or output timing (resolution and refresh rate) is incorrect. Resolution: a) Adjust the settings back to the default setting. b) Ensure all cables are securely connected in the proper connectors. Problem: The image is distorted or blurry. -
Page 9: Specifications
Specifications Input Format RGBHV, YPbPr, YCbCr Input Signal Levels RGB @ 0.7V p-p, 75 ohm. H&V sync @ 3-5V p-p, TTL Y @ 1V p-p, 75 ohm. Pb,Cb,Pr,Cr @ 0.7V p-p, 75 ohm Output Format RGBHV, YPbPr Output Signal Levels RGB @ 0.7V p-p, 75 ohm. -
Page 10: Technical Support
Limitation of Liability In no event shall the liability of StarTech.com Ltd. and StarTech.com USA LLP (or their officers, directors, employees or agents) for any damages (whether direct or indirect, special, punitive, incidental, consequential, or otherwise), loss of profits, loss of business, or any pecuniary loss, arising out of or related to the use of the product exceed the actual price paid for the product. - Page 11 Revised: 6 April 2005 (A)
Need help?
Do you have a question about the VGA2TV2WAY and is the answer not in the manual?
Questions and answers