
Related Manuals for Syscom Video 22X PTZ III NETWORK DOME CAMERA


Summary of Contents for Syscom Video 22X PTZ III NETWORK DOME CAMERA
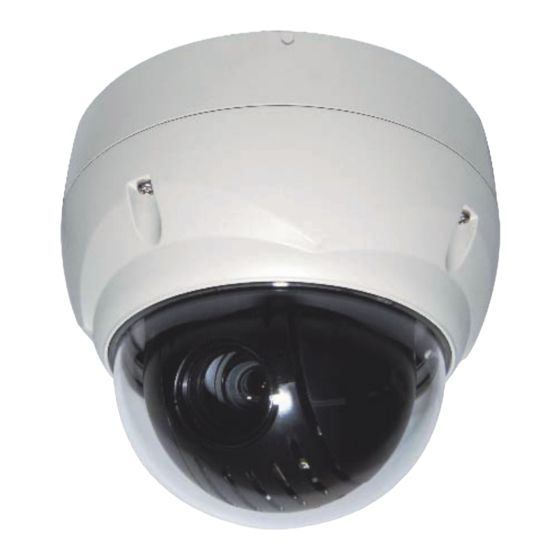
- Page 1 QUICK INSTALLATION GUIDE 22X PTZ III NETWORK DOME CAMERA Please read this manual thoroughly before use and keep it handy for future reference.
-
Page 2: Chapter 1 - Introduction
Chapter 1 — Introduction 1.1 Features The dome camera and the keyboard controller, PC software makes up the building blocks for any surveillance/security system. Using multiple keyboard controllers and multiple dome cameras, no place is too large for monitoring. Extensible and flexible architecture facilitates remote control functions for a variety of external switching devices such as multiplexers and DVRs. -
Page 3: Chapter 2 - Installation And Configuration
Chapter 2 — Installation and Configuration 2.1 Package Contents The dome camera is design to a compact, small size, hard dome camera housing. The housing is constructed of aluminum, steel and plastic. The housing is designed to be mounted both wall and ceiling type. The housing meets the Protection Classification IP66 standards for dust and moisture resistance. -
Page 4: Installation
2.2 Installation The dome camera is for use in surface or pendent mounting applications and the mounting member must be capable of supporting loads of up to 3.5lb (1.6kg). (Pendent mounting must use pendent mount accessory.) The dome camera’s mounting bracket should be attached to a structural object, such as hard wood, wall stud or ceiling rafter that supports the weight of the dome camera. - Page 5 CAUTION: Before installing mounting bracket to surface pre-adjust the four mounting screws "A" on the base of the dome camera to best match the mounting bracket locked position. Unscrew the locking screw on the side of the dome's base and fit the tab of the mounting bracket into the locking slot. Screws "A" should not be too tight or too loose when the dome is in the locked position.
-
Page 6: Basic Configuration Of Dome Camera System
2.3 Basic Configuration of Dome Camera System Wire Color Description Red: 12VDC+ Main Power: 2pin terminal White: 12VDC- Pink, Brown Heater Power(Option): 3pin terminal Black: GND Gray: Alarm Input Yellow: GND Alarm Input/Output, RS485: 6pin terminal Black&White: Alarm Output Green: RS485+ Blue: RS485- Black Ethernet: RJ45 Modular Jack... -
Page 7: Setting Dome Camera Address (Id)
2.4 Setting Dome Camera Address (ID) To prevent damage, each dome camera must have a unique address (ID). When installing multiple dome cameras using a multiplexer, it is suggested that the dome camera address match the multiplexer port number. The factory default setting is 1. 2.5 Connections •... - Page 8 2.6 IP Assignment When the dome camera, encoder or decoder is first connected to the network it has no IP address. So, it is necessary to allocate an IP address to the device with the “SmartManager” utility on the CD. 1.
-
Page 9: Getting Started
2.7 Getting Started Once installed apply power to the dome camera. The dome camera will start a configuration sequence. PRESET TITLE AREA TITLE STATUS of AF AE FOCUS and AE FUNCTION UNDER RUNNING CAMERA TITLE INFORMATION EMPTY DATA DISPLAY CAMERA ID DOMEID:001 PAN &... -
Page 10: Chapter 3 - Program And Operation
Chapter 3 — Program and Operation 3.1 Dome Camera Selection Before you program or operate a dome camera, you must select the dome camera by pressing No. + CAM keys. Example: Pressing 1 , 0 + CAM keys sequentially will select dome camera 10. The selected dome camera ID will be displayed on the LCD monitor of the keyboard controller. -
Page 11: Chapter 4 - Operation By Web Browser
Chapter 4 — Operation by Web Browser The network camera can be used with Windows operating system and browsers. The recommended browsers are Internet Explorer, Safari, Firefox, Opera and Google Chrome with Windows. Note: To view streaming video in Microsoft Internet Explorer, set your browser to allow ActiveX controls. -
Page 12: Access From The Internet
4.2 Access from the internet Access from the internet once connected, the network camera is accessible on your local network (LAN). To access the video encoder from the Internet you must configure your broadband router to allow incoming data traffic to the video encoder. To do this, enable the NAT traversal feature, which will attempt to automatically configure the router to allow access to the video encoder. -
Page 13: General Controls
1) General controls The video drop-down list allows you to select a customized or pre- programmed video stream on the live view page. Stream profiles are configured under Setup > Basic Configuration > Video & Image. The resolution drop-down list allows you to select the most suitable one out of video resolutions to be displayed on live view page. -
Page 14: Pan/Tilt/Zoom Controls
Use this scale to control the volume of the speakers. Use this scale to control the volume of the microphone. Use this scale to control the volume of the speakers and microphones. 3) Camera Menu controls If the network camera has been appropriately configured, the Live View page displays the controls available for the OSD menu. -
Page 15: Resetting To The Factory Default Settings
4.6 Resetting to the factory default settings To reset the network camera to the original factory settings, go to the Setup > System > Maintenance web page or use the control button on the network camera, as described below: • Using the Reset Button Follow the instructions below to reset the network camera to the factory default settings using the Reset Button. - Page 16 22X PTZ III NETWORK DOME CAMERA 50302800B Printed in Korea...
Need help?
Do you have a question about the 22X PTZ III NETWORK DOME CAMERA and is the answer not in the manual?
Questions and answers